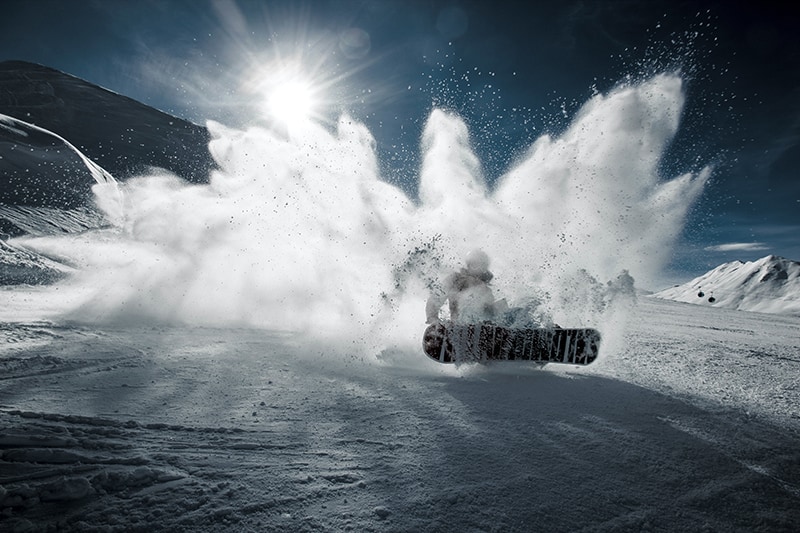
Source: Unsplash
An all-white landscape, fresh, clean—beautiful!—taking gorgeous pics of a snow-covered scene should be fairly simple, right? It can be. But as you may have already discovered, it also can be deceptively tricky. Not to worry, though. You’ll find a small collection of tips and other useful information right here. As you’ll soon be learning, it’s not really all that difficult. Sooner than you think, you’ll be a master at snow photography, nailing one spectacular snow picture after another. Let it snow!
Snow photography: the biggest challenge
The main issue with snow photography, to put it simply, might be your camera. It’s challenging for cameras with automated metering systems to adjust the exposure settings (the aperture and shutter speed pairing) to one that will capture and give you the bright white image you are looking at with your naked eye. What you and many others often end up with in your photographs is gray snow instead of the spectacular dazzling white you expect.
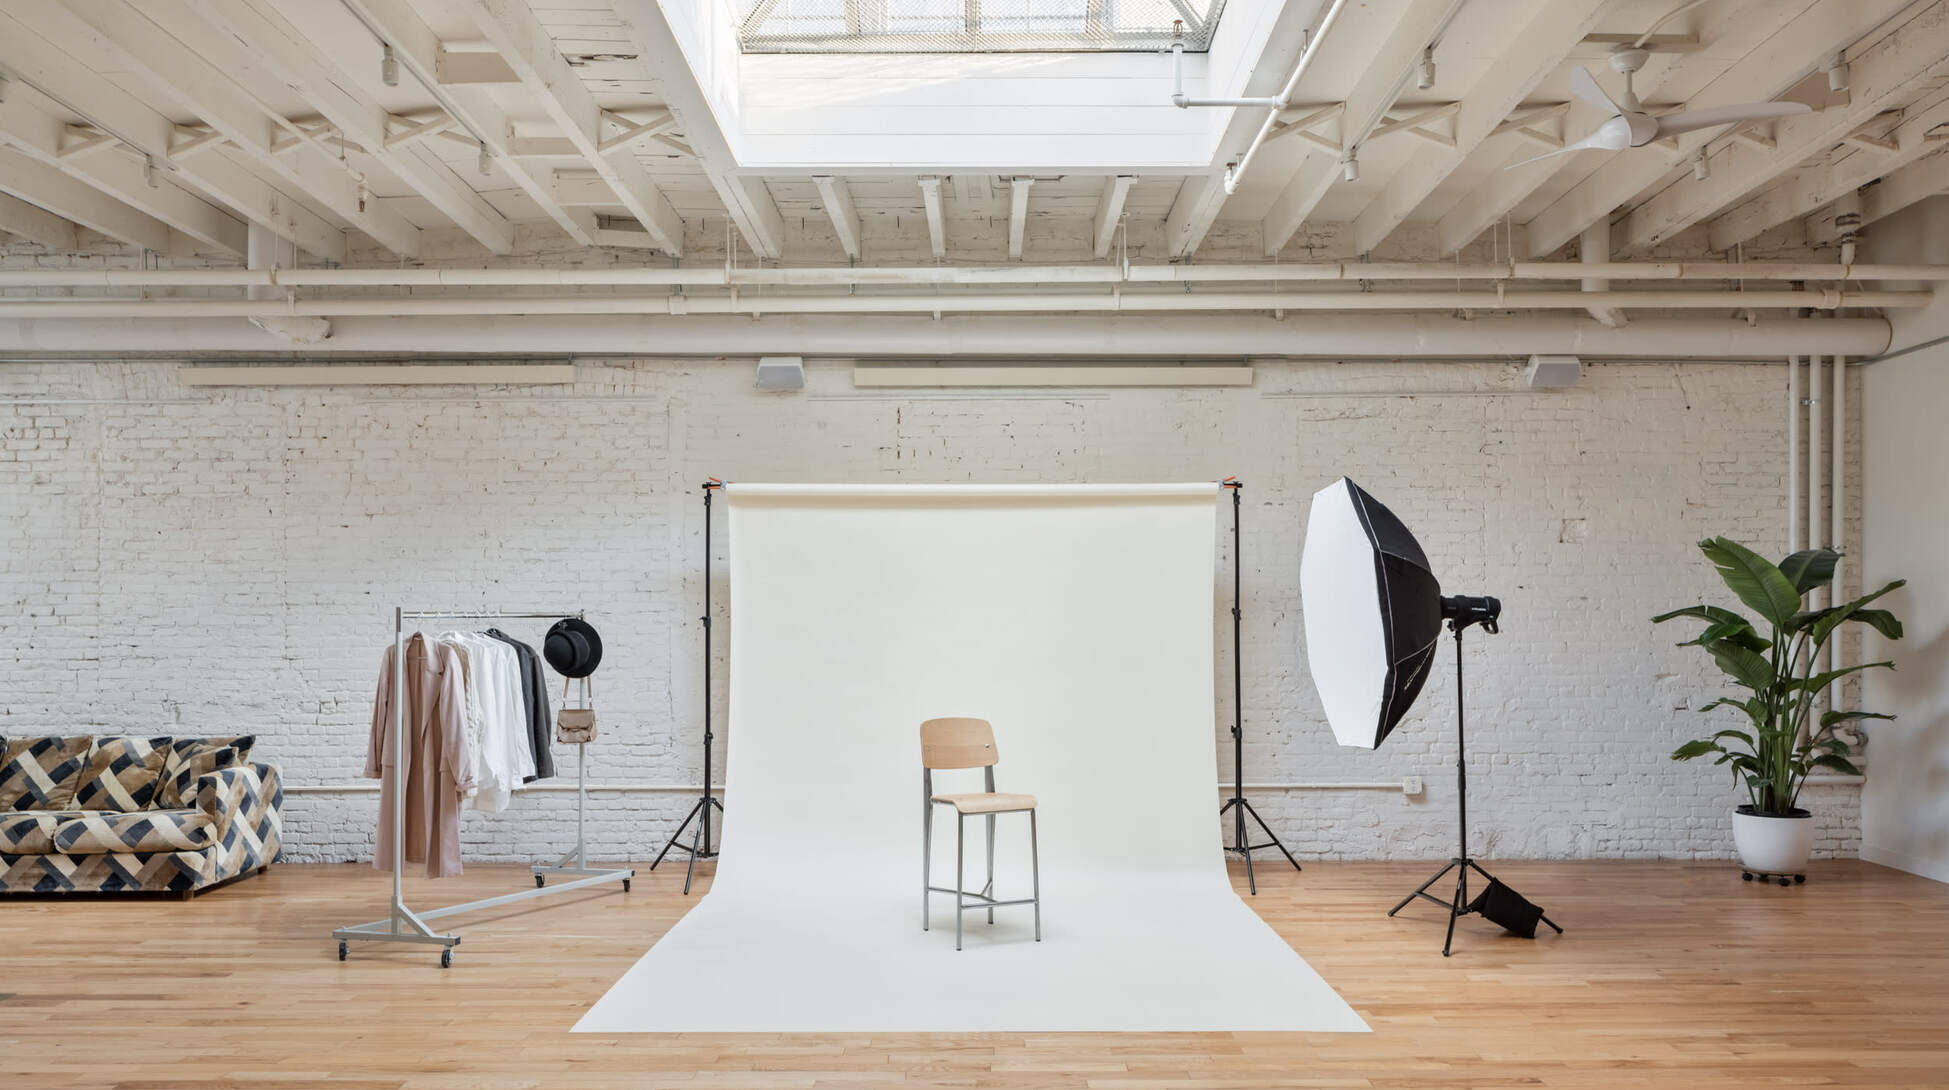
This quirk isn’t specific to just snow, by the way. In many images with fairly large sections of bright white (a model shoot, say, where everyone is clad in white on a white set, a common commercial image concept), all that white will look grayish. The clincher? There’s nothing wrong with your equipment at all. Your camera’s metering system is doing its job correctly, and doing exactly what it was designed to do!
How to fix your camera’s metering system
We won’t go neck deep into the science and tech behind this. And besides, doing so often causes heated debates among experts. But it’s easy enough to understand the effects—we can literally see them—and figure out how to deal with and fix it at a practical level.
In a nutshell, the goal of your camera’s meter is to balance out the tones of your image. Whether the tones are too dark or too light, the metering system aims to adjust the exposure settings to a balanced state. That, of course, is between dark (black) and light (white), so gray.
Therefore, your camera’s metering system figures that all that bright white it’s detecting must be an overexposure. It then proceeds to change the exposure settings (if your camera’s fully automatic) to turn that way to what it thinks is balanced — gray!
That’s very simplified, but the gist of it. This metering system balancing act works very well with normal, regular photographs, with all the different colors and tones in a typical scene. You don’t really see a balancing “gray” amid all that — you’ll see a different tone of red, for instance, lighter or darker, but you won’t see gray. With snow and other very white images, however, heck yeah you’ll see it turn gray. You may hear other photographers refer to that balanced gray tone as “18% gray” or “middle gray.” It all means the same thing.
What about dark images?
Just in case you were wondering, cameras do a similar thing with images of really dominantly black subjects! With close-up pictures of black cats, their fur is often rendered a bit on the grayish side than the darker black they really may be. However, his balancing job with black just isn’t quite as obvious and immediately noticeable as it is with a grayed-out snow photo.
How to master snow photography
Now that you have a good working idea of what’s going on with your snow photography exposures, we can explore easy ways to remedy the situation and get you capturing the gorgeous bright white snow pictures you want.
Your camera may already have a built-in solution
Some cameras actually have a “snow mode” or similar! This mode tells the camera that you’re shooting a bright white snow scene. Look through your camera’s instruction manual to see if it has it or something like it. If it does, activate it whenever you do any kind of snow photography.
Now that your camera knows that exposing for white snow is what you want, it takes its meter reading, then automatically compensates when it sets the exposure. The end result is your bright white snow will look like bright white snow in your pictures.
Manually adjust your camera’s Exposure Compensation feature
Cameras have long come with Exposure Compensation controls, typically dials or buttons with the plus (+) and minus (-) symbols. Smartphone cameras have them, too! You use them to manually direct the camera to override its meter readings.
Unfortunately, how their controls work and even what their settings refer to often differs from camera to camera, so you’ll want to crack open your camera’s instruction manual to see how to use them. What they do, however, is the same.
In this case, you want to brighten (+) the exposure from whatever the camera’s meter reading says it is. One or two (+) clicks or dial notches or bars (or however your camera does it) should do the trick.
Change your metering mode
This is another feature commonly found in cameras that can come in really handy for correcting the exposures in snow photography. Even the simplest of today’s digital cameras usually employ different metering modes.
By default, what’s usually automatically in effect is commonly referred to as matrix metering (also called evaluative metering). The camera’s meter takes in the whole image visible in the frame, and rapidly calculates what it thinks is a good exposure reading for all of it. Then there’s spot metering mode, which is what you want.
Use spot metering mode
What spot metering, you take a small “spot” that appears on the screen, often a tiny hollow circle right in the middle of the frame, and aim it directly at the part of the image where you want the camera to do a meter reading on. You’re basically telling the camera to ignore everything else in the frame that isn’t in that spot. Then you tell the camera to take the whole picture using that spot reading. How this feature works will again differ from camera to camera.
You might use a camera with that small hollow middle spot, for instance, which requires physically moving the camera around to aim that spot. Still, other camera systems have you tap the screen to indicate to the camera that’s the spot or zone you want it to do a meter reading on. And there’s another one where you move the spot or square cursor around using arrow buttons.
This method only works if you can find something in the scene that isn’t white snow or covered by it. An exposed tree trunk or leaves, for example. You can also zoom in (you don’t really want to walk up to it and leave your tracks in the snow) to fill up more of the frame and do a spot reading from that, as long as you’re reasonably assured that it’s getting the same amount of light as the snow surrounding it.
Start clicking!
With the exposure issue now taken care of, all that’s left for you to do is to get out there and start taking pictures. Dress warmly, keep your equipment dry, and have loads of fun!
If you’re looking for new spaces to shoot, have you considered booking a private Peerspace rental in a snowy location? Peerspace is home to thousands of hourly rental venues in snow-dusted climates. Take a look around and see what sparks your imagination!
Find snow photography locations on Peerspace
Get together somewhere better
Book thousands of unique spaces directly from local hosts.
Explore SpacesShare your space and start earning
Join thousands of hosts renting their space for meetings, events, and photo shoots.
List Your Space


