How to Build Your First Lighting Kit
-
 Written by Peerspace Staff
Editorial Team
- March 27, 2019
- 6 min read
- Photography

Source: Peerspace
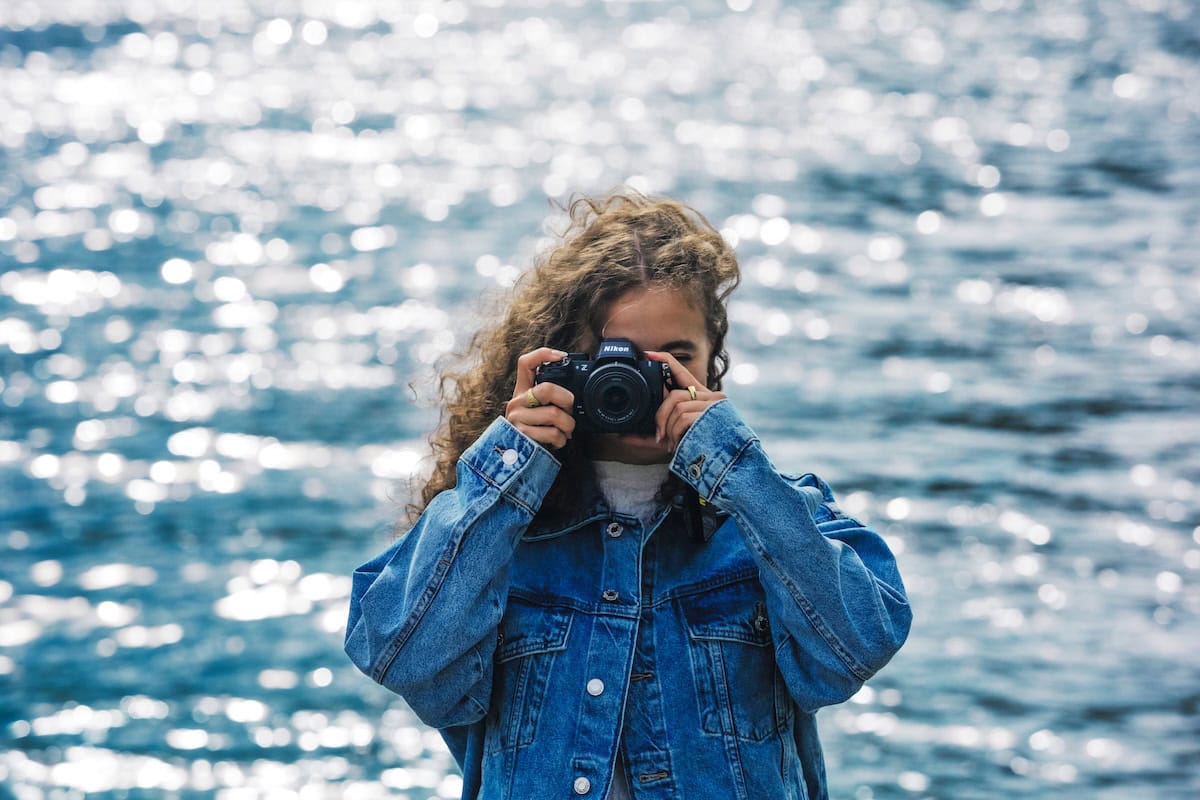
If you’ve shot in natural light for a while, you’re no doubt aware of how beautiful these images can be. However, you’re also likely aware that you’re completely beholden to the conditions of the day. After all, you can’t control the sun. You have to work around its position, and if the day of your shoot is overcast, you’re out of luck on the natural light front.
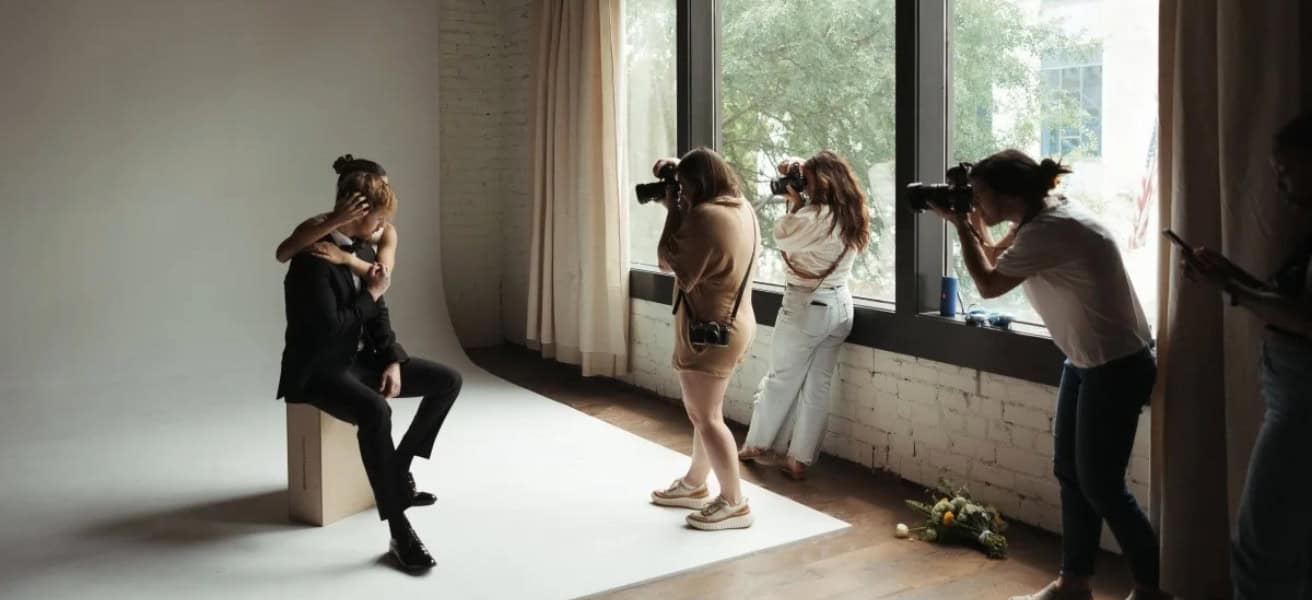
This is where on-location lighting comes into play. Most people think of lighting equipment as a feature of indoor studios, but innovations in lighting — the ones that have made strobes and power sources smaller — mean you can get lights in the field easily. As a bonus, your field lighting will work fine in a studio setting as well, so if you want to also set up a home studio, you’ll be able to do this. Many Peerspace hosts have lighting available with their rentals, too.
Since these kits are versatile in this way, we recommend building your first lighting kit and making it capable of being deployed while you’re on location. There are a few different approaches to this; we’ll break down the considerations so you can make the best decision for you.
Portable strobes
Studio strobes can be heavy and obtuse. Power cables get in the way, and a heavier light requires a heavier light stand. None of this is convenient when shooting on location. To address this problem, companies have developed strobes with on-board rechargeable batteries, just like your camera’s. These portable strobes give you most of the power you’d get with a traditional studio light. Plus, you benefit from the convenience of a smaller size and more portability — ideal for an on-the-go lighting kit.
Also, these lights are large enough to still accommodate a variety of full-size light modifiers, such as soft boxes or barn doors. The downside is that they’re often pricey. Some companies make lower-cost (and generally, lower-power) versions of these lights, but making the initial investment in a brighter light is worth considering. This is especially true if you’ll be using lights frequently and want to be prepared for whatever lighting situation you may encounter.
Speed lights
Another approach to building a lighting kit is to use several speed lights. For years, speed lights have had some manner of wireless function, and modern cameras will often have wireless control for speed lights built into the body. This means you may not need a remote mounted in your hot shoe. But, if that isn’t the case for you — or your speed lights don’t have that feature — then you’ll wind up needing the remote or a speed light on your camera that can act as a “master” unit.
Speed lights are the smallest and lightest portable lighting option out there, and they’re bright enough for indoor studio work as well. That brightness, however, does have its limits. A portable strobe is often five times brighter than a speed light. Because of their small size and light weight, speed lights often make a poor platform for larger light modifiers.
There are still plenty of light modifiers available for speed lights, but they’re rarely as effective as their full-sized counterparts. It all comes down to what you need your lights to do and how portable you need them to be. Here, the speed light setup excels. They’re lightweight, take traditional batteries, and will mount on any tripod or a very small stand instead of requiring a specialized, heavier light stand. Speed lights are also incredibly affordable, so if budget is an issue, this is the way to go.
Light modifiers
If you want to really get the most out of your lights, you’ll need some modifiers. Light modifiers are devices that you attach to a strobe or speed light that changes the way the light hits your subject. Softboxes cover the front of a light and diffuse it evenly over a distance — the larger the box, the more coverage of your subject.
Umbrellas work by being in front of the light (so you’ll turn the light away from your subject) and bouncing light in the direction of your choosing. These also create a soft, even light with good fall off on your subjects, and generally feature more light spill than softboxes. Barn doors and beauty dishes focus the light more in a specific direction, so if you need to really light up faces, these are good options.
Speed lights that can’t accommodate larger accessories often have smaller versions made specifically for them. There are some trade-offs, but again, this is a more portable setup. Speed lights also come with a number of plastic diffusers that can create a similar effect.
Ready-made kits
There are a number of affordable ready-made lighting kits on the market that come with lights, stands, and modifiers. These lights are almost always continuous — meaning they don’t flash, which severely limit the brightness you can get from them. This kind of lighting never has on-board power, so if you want to take it into the field, you’ll need to buy a large portable battery.
These kind of kits may be tempting because of their cost, and they work well as an intro into basic light setups. However, it won’t take much use before you hit their limits and wish you had something that offers more control and power. So we don’t recommend going this route unless you absolutely need to get some sort of light for as cheap as possible. You’ll always get a better result with a pair of low-priced speed lights without spending much more on the setup.
Getting into photography lighting is exciting, and it’s not as difficult or price prohibitive as you might think. The most important thing you can do when building a kit is figure out exactly what you’ll need your lights to do and how frequently you’ll use them. If you plan on shooting outside of studio conditions, you’ll need brighter lights than if you’re shooting in a room that can block out all light.
Building your first lighting kit also doesn’t have to happen overnight — you can start with a single light and go from there as you find out what you need. This spreads out the expense and makes sure you aren’t buying gear you won’t actually use. Set your budget and look at what’s available for your camera, but also anticipate future needs — it’s better to buy something once, even if it’s a little more than you want to spend, than to buy an inferior product only to find out you’ll need the more expensive light after all.
Find unique photoshoot locations on Peerspace
Get together somewhere better
Book thousands of unique spaces directly from local hosts.
Explore SpacesShare your space and start earning
Join thousands of hosts renting their space for meetings, events, and photo shoots.
List Your Space