Source: Unsplash
The tranquility of the forest is enough to lure in any avid photographer, and the rich variety of subject matter, texture, form, color, and lighting are sure to keep you busy. It might be easy to assume that photographing the woods is easy, but there are plenty of tips and tricks which will turn your woodland hikes from Instagram worthy to print-and-frame worthy. Put on your best hiking boots and come with us as we discuss the ins and outs of forest photography.
1. Whatever the weather, whether we like it or not
We’re not on a fashion shoot here, so one of the first tips we would give to the budding photographer is to forget the notion that sunshine and a clear forecast are always the best shooting conditions. Out in nature, every weather condition has something special to offer.
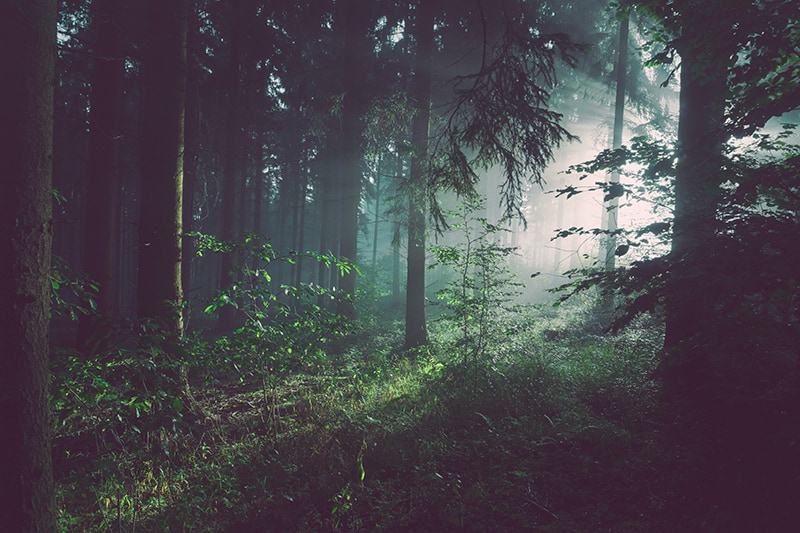
In fact, the muddy, foggy, misty days often look the best in the forest, lending a magical, fairy tale-like aesthetic which seems to speak of elves and sorceresses hiding just out of sight. Make sure you bring a waterproof case or cover for your gear, in case you get stuck in the rain, and consider bringing a tripod since overcast skies will probably have you shooting on lower shutter speeds.
2. Spend time in one spot
Outdoor photography is always subject to changing weather and lighting conditions, so be sure to slow down in the forest or you might miss a special, fleeting moment, such as a ray of light falling onto a single tree as the clouds part, illuminating the leaves for a minute or two before falling back into shadow.
Don’t be afraid to sit on a fallen log and observe the area around you in silence—many of the forest creatures will be startled by your movement, after all, and sitting quietly will heighten your chances of spotting a shy squirrel foraging for nuts, or a young buck peeking its head around a nearby tree. Going slowly will also allow you to notice little details which you might have otherwise missed, which leads us to our next point.
3. Bring a telephoto or macro lens
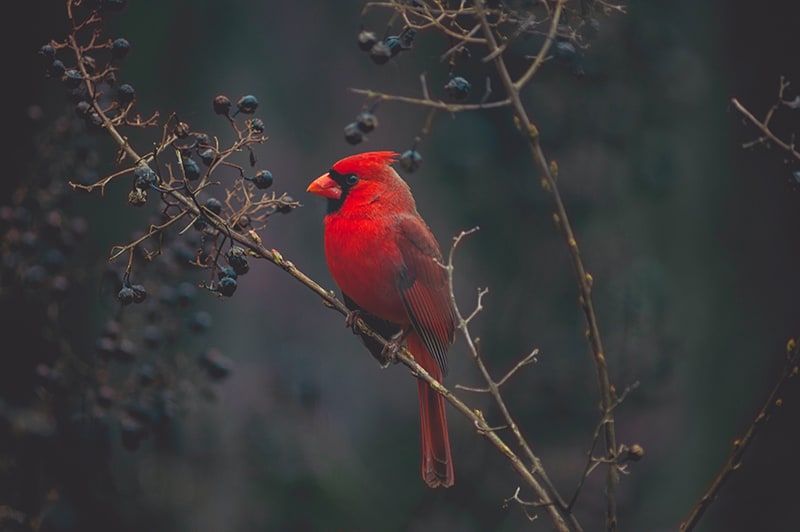
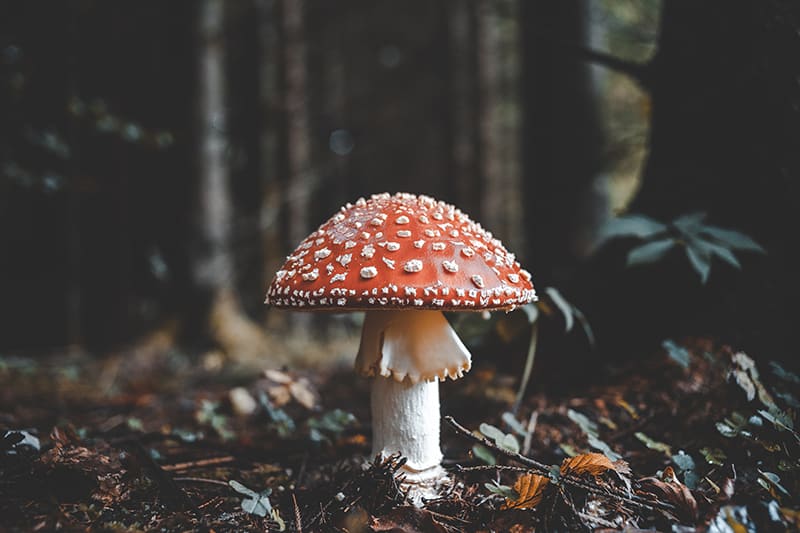
The forest is a big place, and you’ll be temped to want to show the whole thing in the frame, but sometimes it’s best to focus in on the texture of the bark, or the emerging mushroom poking up off of the forest floor. Macro lenses bring our focus down to the minutiae of forest life, seeing it in the way that a mouse or fox would see it.
On the other hand, a telephoto lens will show a complete scene—the tumbling creek with its moss-covered rocks, or the deer trail winding its way through the ferns and fallen logs—while still bringing our attention to an isolated area. Telephoto lenses offer a deeper sense of intimacy than what we achieve with wide-angle lenses, and might help you to feel closer to the natural world around you.
4. Bring a wide-angle lens
With that being said, we must of course acknowledge the sweeping vistas and dynamic world views which we can only achieve with a wide-angle lens. Point your wide-angle lens up at the canopy, and it’s like the trees are arcing overhead to join together in unison; aim the wide-angle lens at the base of a huge old-growth tree, and its gnarled roots will seem to go on forever, creating the sort of mystical environment where we would find an Ent or two rambling past, singing of old world memories. The wide-angle lens also allows us to capture the scale of the forest, which can be an impressive sight.
5. Return frequently, and at different times of day
If you find yourself capturing the same photos again and again, maybe it’s time to shake things up a bit. Oftentimes, the forest is a completely different place early in the morning, when the night-time mists have yet to burn off, or just before the sun sets completely, when the shadows begin to deepen and only a hint of our recognizable scenery remains.
Of course, we all know about the magic of, well, magic hour, but there are magical moments throughout every hour of the day, so it is worth changing your routine and heading to the woods at off-peak hours. For example, when was the last time you watched the sun rise? How was that light different than at breakfast time, or later? What animals were stirring? Was there still dew on the ground? All of these factors can give us interesting new perspectives.
6. Bring a tripod and do long exposures
Long-exposure photography is a great way to add depth and artistic play into our work. Of course the babbling brook is transformed into a graceful, milky waterscape, but there are many more effects we can capture with longer shutter speeds. Fog and mist are great opportunities to play with long-exposure, and once it gets even darker, all sorts of creative images can be taken in the woods with light painting.
All you need is a flashlight to get started, but you can also experiment with steel wool (make sure to not start a forest fire!), glow-sticks, LED or Christmas lights, or any other light source. Long-exposure can also be used to intentionally blur the photo, jarring the viewer and inducing a sense of urgency and movement in your photograph. Another fun technique is using a slow shutter speed and slowly tilting your camera up, allowing part of the photo to be in focus, and the rest to gracefully blue into an abstract image.
7. Avoid the sky
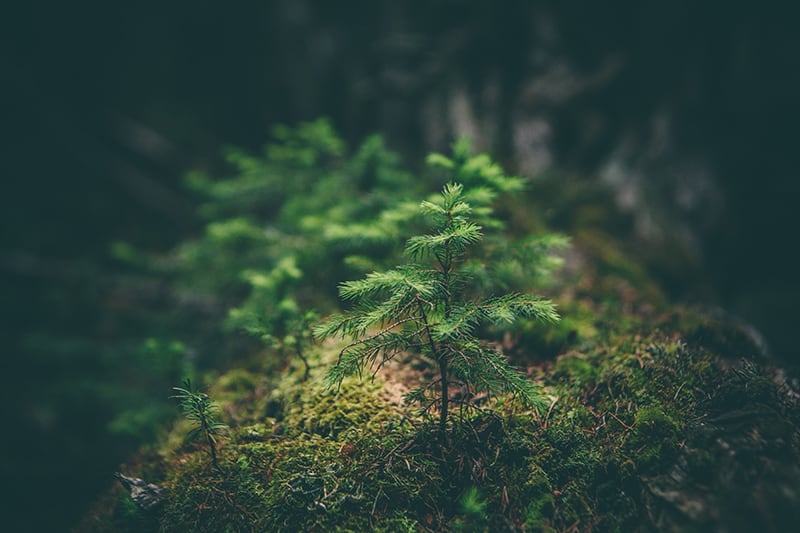
Lee Acaster is an award-winning landscape photographer based out of England, and one of his biggest tips for photographing forests is to leave out the sky, as the woods are “by their very nature, very dark” and areas where the sky peaks through the branches will usually be several stops overblown. It’s easiest to accomplish this by heading deep into the woods, but if you are shooting in a more urban environment then it’s important to be utilise some creative framing and cropping to keep your image balanced and composed.
8. Bring a polarizing filter
Especially if it’s unavoidable to have some bright sky in your photos, a polarizer is a great way to take your photography up a notch. Polarizing lenses darken the skies and cut down on reflections, so they can also be useful for photographing woodland lakes and ponds. A polarizer will also intensify your colors, so summertime will give you vibrant, popping greens, while the autumn will produce rich oranges, red, and golds.
9. Experiment with an infrared filter
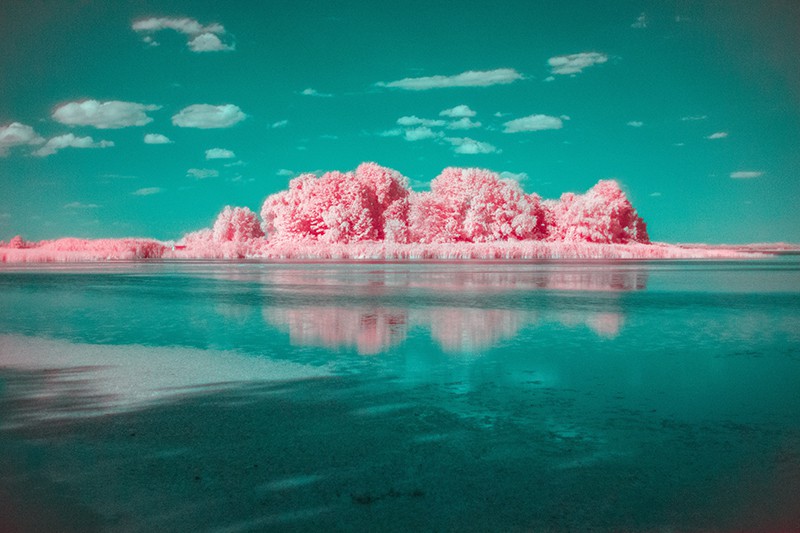
One of the most unique ways to experiment with your photography is by applying an infrared filter, which constricts the type of light coming into the sensor, and turns the recognizable world into a vibrant, alien landscape. There are a few requirements to shooting infrared, as some DSLRs and mirrorless digital cameras have an “IR-pass” built into their settings, preventing infrared light from entering.
To check if your camera is capable of shooting infrared, there is a very easy trick. Aim a remote control directly at your camera, with the button pressed down, and take a picture. If you can see a light coming from the remote, then your camera is able to capture IR light. It’s that simple.
If your camera isn’t capable of reading infrared, then you can always buy infrared film and shoot on an SLR, but make sure you get the film developed somewhere experienced with developing infrared film, and note that you will still need a filter to get the correct effect.
Once you’re ready with all the correct gear, it’s time to head to the forest and experiment. With infrared, it is better to shoot somewhere where there is still a lot of light coming in, such as at the edge of the woods or in a forest meadow or other open area, as infrared works best with high contrast, and the filter will cut down on the amount of light entering the camera anyway.
Another important note is that infrared shifts the area of focus. Older cameras and lenses typically have a red line or dot to note infrared focus, but if you’re shooting on a modern DSLR then it helps to switch to live view to tweak the focus.
10. Bring your flash
Deep inside the forest, it can be dark… really dark. If you want to avoid raising your ISO and courting with too much grain, then a flash can be a great addition to your kit. A flash can be especially useful when trying to capture an image in the foreground, without overblowing the background. Expose properly for the light in the background, and then use a touch of flash to even out the exposure for the foreground. A flash will also allow you to capture the nocturnal forest, including all the animals which come out to play once the sun has gone down!
11. Bring spare everything
As a final note, we want to remind you that, by its nature, the forest is isolated. Be sure to bring extra batteries—for your camera and flash if you are bringing one—as well as a spare memory card. The last thing you want is to find yourself with a full card and dead batteries after trekking deep into the woodland depths. It’s always better to be over-prepared than under-prepared!
Go explore!
The forest is a wonderful place to escape our daily routines and focus on new sights. Each fallen log, murmuring stream, or towering pine can provide us with rich material for forest photography, and with a little extra preparation we’re sure to come home with beautiful new images to add to our portfolios. With these tips and tricks, we’re sure that you’re ready to head into the woods right now and get started, so grab your camera and don’t forget a spare battery, and we’ll see you on the other side!
Find unique photo shoot venues on Peerspace
Get together somewhere better
Book thousands of unique spaces directly from local hosts.
Explore SpacesShare your space and start earning
Join thousands of hosts renting their space for meetings, events, and photo shoots.
List Your Space


