Source: Pixabay
Imagine a scenario in which a photographer meets with their client, saying, “Here are the pictures of the clear-glass product range you’ve been waiting for!” The client reviews the images and concludes that it looks dull. A bit surprised, the photographer says, “The glass is transparent and clear, so you’re seeing right through it.” However, the client explains that there’s nothing happening in this picture! It appears the client is not familiar with the techniques behind how to photograph glass.
The above scenario is not how you’d want your efforts and client conversations to go, we’re sure. If you are getting a headache wondering just how to photograph glass effectively, it’s probably time to brush up on some tips and key ideas to getting beautiful, professional-quality pictures of a tricky subject like glass and glassware. Without further ado, let’s take a look.
Setting up
Before you begin shooting, start off by cleaning your glass products to eliminate dust, smudges, or imperfections. Make sure you have a clean, neutral background (ideally white and black) and work with a light box, softening filters, reflector, and blackboard setup.
You can use a reflective surface, such as plexiglass to play with the glass product’s reflections, or a suitable filter. Do use a tripod, spare flashes, and a strong light source that can create a narrow beam of light.
Lighting
The trick to lighting glass lies in the shape and form of the product. The right kind of lighting focuses on the product’s form; eliminates reflections and flaws; and creates a unique flat look that is elegant and classy, highlighting the frame and silhouette.
There are two ways to achieve this with lighting. Set up a light box, with a bright plain background. Place the product straight in front of it, with the camera pointing straight at it, and shine a narrow beam of light directly at the glass product.
The light should go through the glass and hit the background strongly. The contrast in light and dark produced by the beam of light highlights the silhouette of the glass product, which makes it ready to capture.
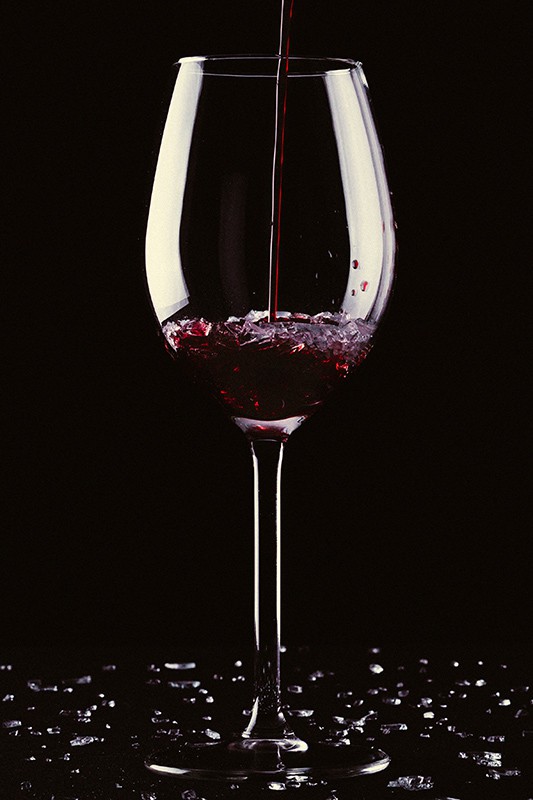
The other technique is to backlight the product. Set up a soft box behind the product, such that diffused light shines through the glass into the camera lens. Now, surround the top, bottom, right, and left with blackboards, so that the silhouette of the glass captures the black from the boards and the light shines right through!
Always make sure you use an umbrella, a soft box, or other methods of diffusion, so the light is not harsh, causing visible reflections or unwanted highlights. Direct lighting like this usually smooths out imperfections in the glass, making it much sleeker.
Once you become comfortable with your shots, you can try playing with adding another light source to create more depth.
Styling tips and tricks
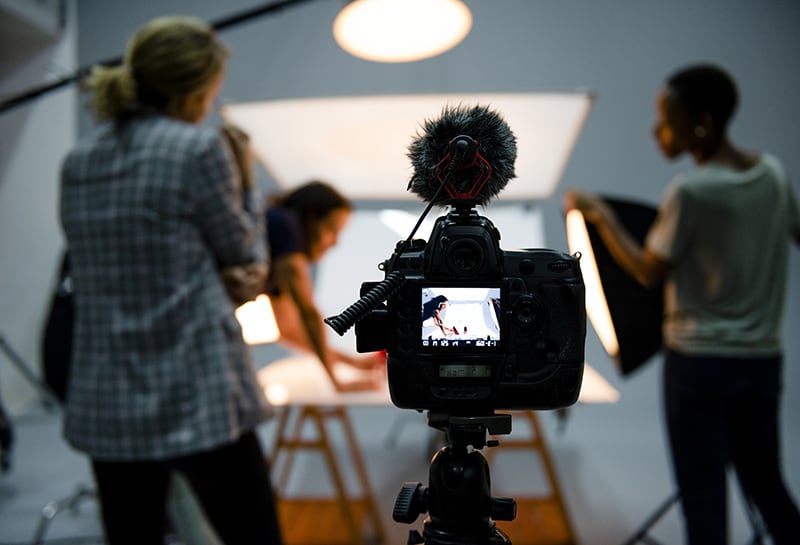
One of the key characteristics of styling glass is showcasing the reflective nature of the glass product. Many photographers achieve this by placing the product on a sheet of plexiglass, which is then placed on a black table/paper, creating a subtle vertical reflection that can be caught on camera.
Others simply fake it—for example, placing the wine glass they’re photographing on another upturned wine glass, giving viewers the illusion of a reflection! It can simply be faded out and corrected in intensity during post-production.
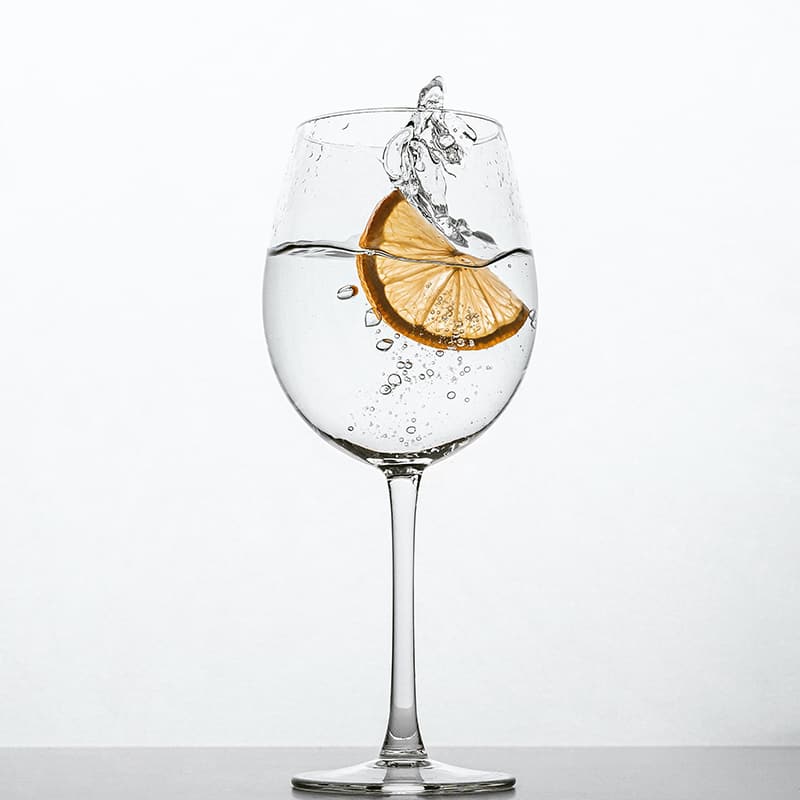
Accessories, if used correctly, can really bring out the glass’s qualities. Use of clear liquids (usually water, plain or sparkling, with some color mixed in), clear ice, and some accessories help ensure your shoot is not flat or one dimensional.
Keep in mind that in the case you are adding other dynamic accessories, be sure to light them separately with a smaller light source that’s slightly angled to give depth, so that these additions don’t appear as two-dimensional silhouettes.
Pick a simple composition around your hero glass piece, and do not over-style your images. Sometimes, rather than accessories, a simple action can add drama to a shot effortlessly.
Adjust the camera settings
Camera settings here can make or break your shoot, as you figure out how to photograph glass. What you need to remember, are adjusting your white balance to your light source (be it front lit or back lit), followed by using a long focal length—in the range of 60 mm and above.
Use a full focus f-stop like f/16 or higher. Low ISO settings will help you capture just the amount of detail needed. But the key to a good glass shot is the right exposure. Here, playing with your shutter speed and aperture will make a difference in the amount of light you let in.
Considering that a majority of glass styling is silhouette based, many photographers choose to overexpose their shots, as it wipes out imperfections. This again depends on the number of elements in your frame, so do what’s best that suits your setup.
Start shooting
Many photographers work with a tripod and a cable switch, and also many times, prefer using a flash, in the absence of a steady light source. There’s no one rule in how to photograph glass, but when elements like flash come into play, the other settings—like aperture, shutter speed, and so on—change.
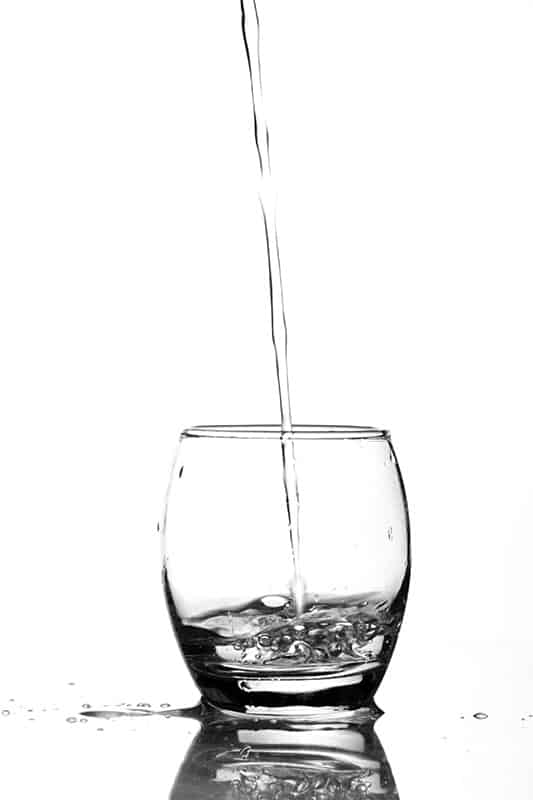
Your shoot cannot be static for a single product—you will want to change your settings to add dynamism. Over the course of a shoot, even simple things like pouring water or adding products can transform your composition. Glass is a fragile subject, so the slightest change will stand out.
During accessorized shots, ensure the placement is perfect and that liquids are not affecting your pictures. When you’re shooting action shots, you may want to use a shorter shutter speed or burst settings to capture the falling liquid or accessories.
But do remember to plan and organize your shots to ensure few hiccups down the stage.
Post-production
In your journey of how to photograph glass, it is easy to assume many things can be fixed in post-production. Post-production turns out to be a savior with this material—mistakes like accidental shifts, drops of water, flaws in the glass, smudges, and unwanted highlights and reflections can be addressed at this stage. Adobe Lightroom is a commonly used tool to help photographers here.
However, post-production is no substitute to a well-executed shoot. Since we’re dealing with lighting a reflective material like glass, it is best to achieve as much as possible during the shoot itself.
Capturing architectural glass
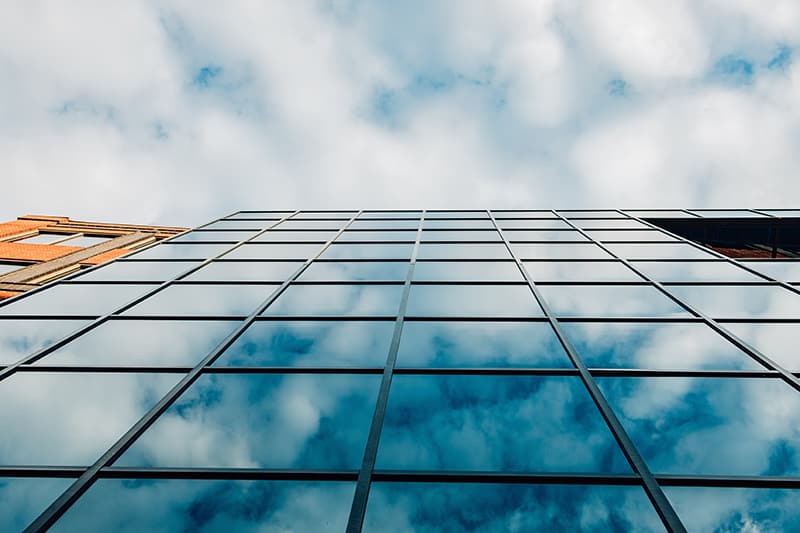
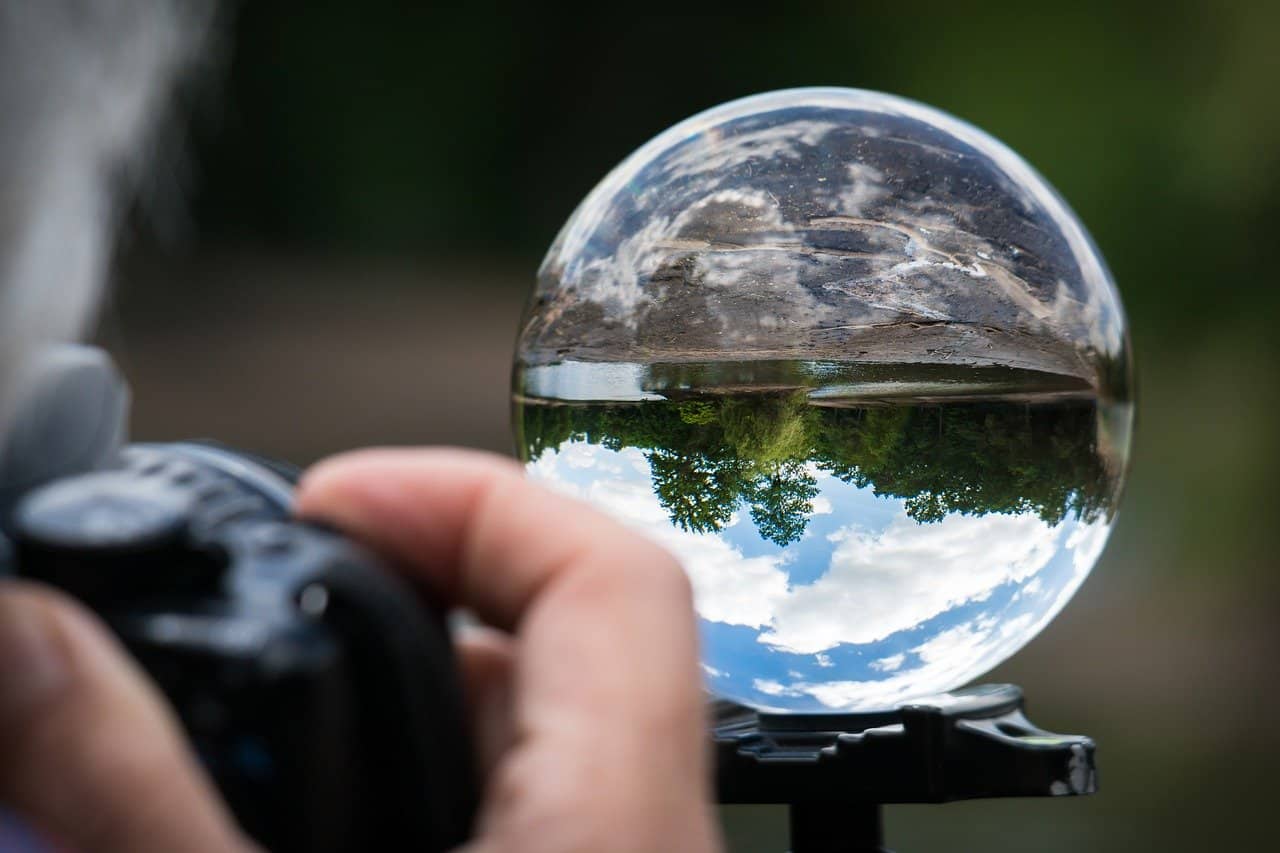
If you’re wondering how to photograph glass in an urban architectural context, know that the answer is actually quite simple—reflection! Be it in the form of raindrops that become the focus, helping you blur out the scene seen through the glass, or by a compositional architecture photograph, taken at an angle and perspective where the reflections into the glass give you an idea of its grandeur—glass’s own properties give you a hint of how to treat it.
So, go ahead and play! We’ve given you a basic checklist of how you can photograph glass, be it as a product or in an architectural context. While our tips may seem like they’re narrowing possibilities, the reality is in the creativity of the photographer, as to how cleverly shots can be directed for maximum impact in a single frame. And now, it is your turn to try these tricks out, and create a look that’s uniquely yours!
Find unique production venues on Peerspace
Get together somewhere better
Book thousands of unique spaces directly from local hosts.
Explore SpacesShare your space and start earning
Join thousands of hosts renting their space for meetings, events, and photo shoots.
List Your Space


