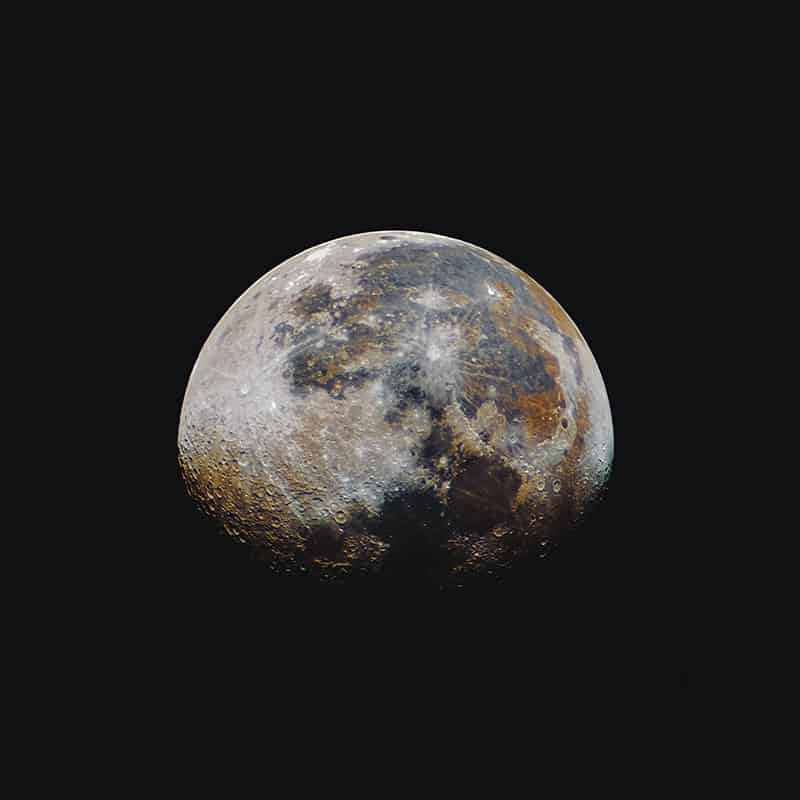
Source: Unsplash
Taking pictures of the moon is easy. Taking really good pictures of it is a different story. It isn’t unusual for initial attempts at photographing the moon to prove less than satisfactory. Yes, the moon can be tricky to photograph. But it’s an excellent opportunity to increase your photography skills and know-how. Learning how to photograph the moon will require experimentation and some trial-and-error, but the techniques you’ll learn, not to mention the killer moon images you’ll eventually capture, will make the effort well-worth it!
Understanding the moon
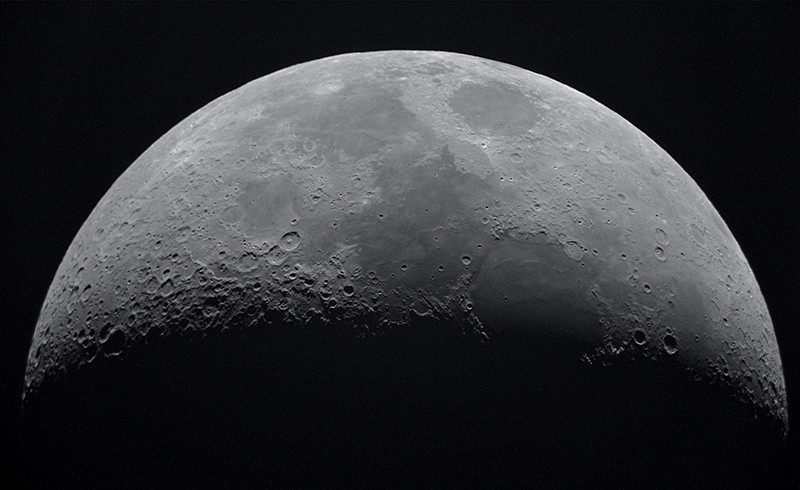
Although it often appears bright in the sky, photographing a detailed moon image is actually a low-light exercise. The moon, of course, also goes through scheduled phases where it receives different amounts of light to reflect from the sun, its source of illumination. Obviously, none of this is within your control at all.
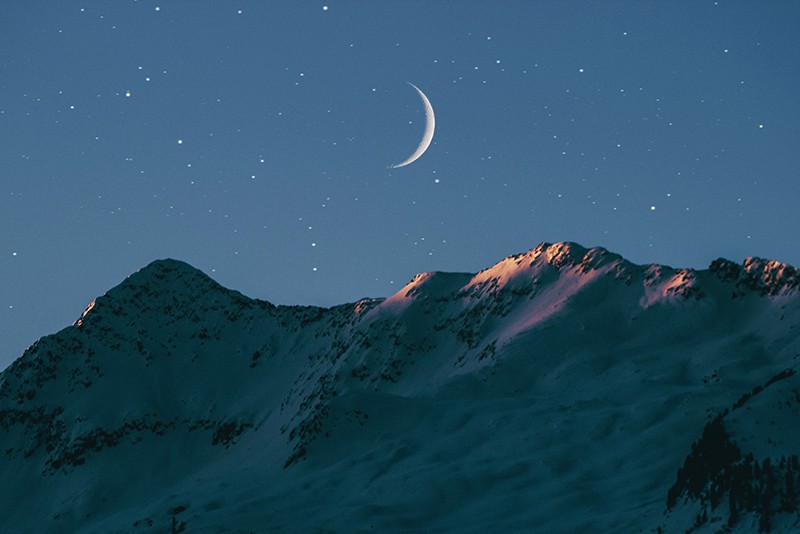
This means you’ll need to keep track of the schedule of the moon and its phases to know when you can photograph it, depending on your objectives. Since the moon receives a different amount of light in each of its phases, this also means the proper exposure you’ll need to use may differ for each phase.
All these considerations dictate the equipment you’ll want to have to produce top quality moon pictures.
Equipment
With the myriad of equipment and options available, we’ll keep the following information basic, general, and simple. We’ll mention some common options and alternatives, but use your judgment and make adjustments as needed, with the resources available to you.
The key piece of photo equipment you’ll want to use for capturing excellent detailed close-up moon images is a telephoto or zoom lens. The longer the lens and the greater the magnification, the better, but a lens around 200mm would work well. This ideal pretty much defines the additional equipment you’ll need.
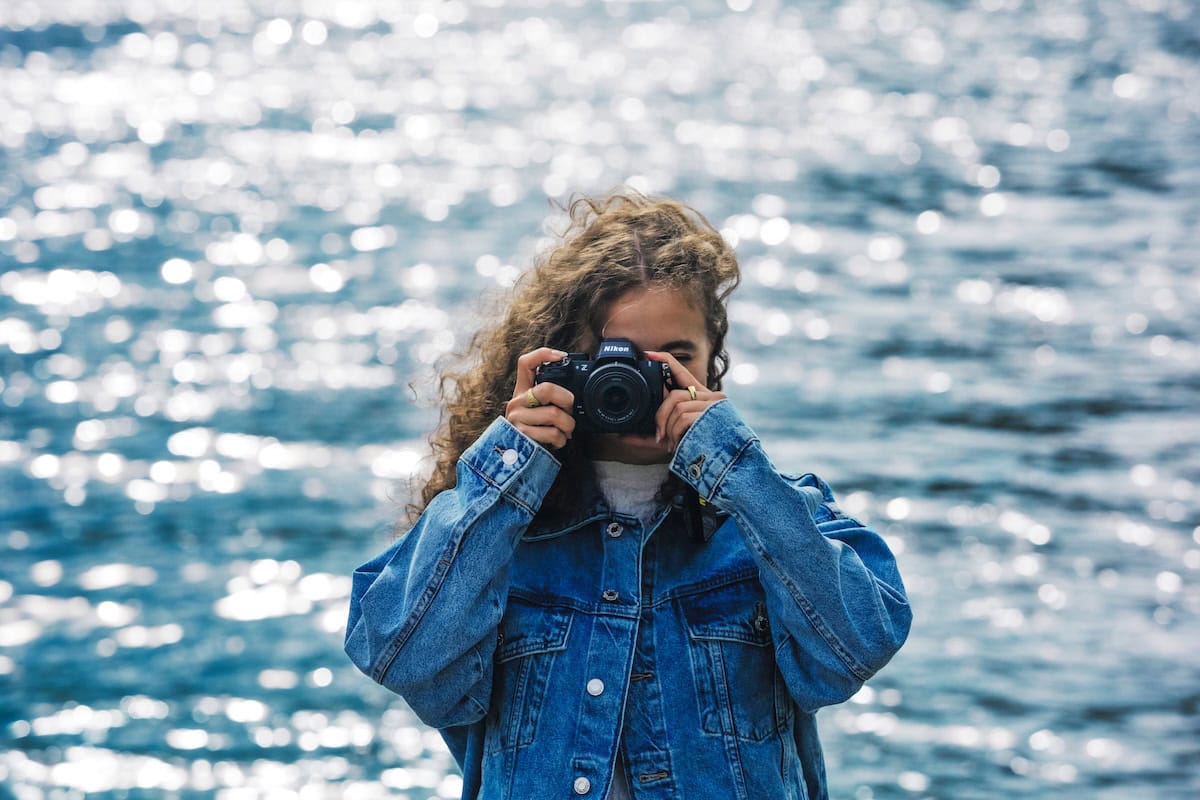
Longer focal length lenses, for instance, are mainly available as interchangeable lenses, so you’ll want a camera that uses those lenses, such as a DSLR or similar.
Long lenses are sensitive to camera shake, so you’ll want a tripod. You’ll want one anyway, regardless of what camera and lens you’re using, since low-light photography requires longer exposures.
Consider investing in a shutter release cable
An accessory that falls under the “optional but really good to have” category is a shutter release cable or remote shutter release. It’ll keep you from physically pressing the shutter, minimizing shake. An alternative but slightly less convenient “cheat” would be to use your camera’s timer—set it, click the shutter, step back and wait. No unintended shake!
But what about using point-and-shoot cameras or smartphones? As you may have figured out, their main handicap is having a single, fixed lens, likely with a focal length far short of ideal. And no, a “digital zoom” feature is not at all comparable to true optical magnification.
That’s just essentially like moving a printed page up close to your face—whatever you’re looking at will look bigger, but the actual physical page stays exactly the same size. There may, however, be add-on or attachment lenses that fit your device that magnify the image optically. Image quality will no doubt be technically inferior, but they may be good enough for you, and worth trying.
Pitfalls of smartphones and point-and-shoot cameras
One other technical issue that hinders smartphones and typical point-and-shoots: they have smaller sensors than their DSLR-level brethren. That’s like using smaller film; the larger the film, the more information and detail captured. Plus, small sensors heat up faster when electrically charged (it takes longer to boil a large pot of water, doesn’t it?); run a constant lengthy charge through it, such as when doing a long exposure, and you may get sensor overheating issues.
But if you’re determined to try your luck with a smartphone or point-and-shoot, go right on ahead. Use and apply whatever you can from the information here, and have at it. The results may suit your needs just fine!
If you want to get really serious, take a deep dive into the world of astrophotography cameras—these are more specialized cameras and lenses for taking ultra high-resolution images of celestial bodies.
Camera settings
Learning how to photograph the moon takes testing and patience. Use the guidelines below as starting points for your experiments. With just a bit of work, you’ll be nailing moon shots with ease.
- Set your camera to manual mode (if you don’t have one, try aperture priority).
- Set your camera’s ISO to 100 or less.
- Shoot RAW if you can to maximize details and post-processing image editing ease.
- Turn off image stabilization (you’re on a tripod).
- If you’re using a dSLR, enable mirror lock-up to eliminate possible shake from a mirror slap.
- You want sharp, clean, and crisp shots; start with an aperture of f/11 or f/16 and see what you get. One thing you’ll want to try and determine with your tests is the “lens sweet spot,” the aperture where your lens will produce its sharpest images. Shooting the moon is actually an excellent way to figure this out!
- Apertures are also affected by the phase of the moon, and environmental conditions. If conditions aren’t that clear, you can try opening up the aperture to f/8 or f/5.6, and see if that helps.
- The shutter speed is probably what you’ll fiddle with and test a lot, affected by many variables, like brightness and even focal length. Check out the simple rule below that will help with your tests.
Something else you’ll want to know is the Looney 11 Rule, which is incredibly useful when learning how to photograph the moon. It’s an easy-to-remember “rule of thumb” that helps you get your camera settings quickly to a good exposure for sharp detailed shots of the moon.
It’s simple: Set your aperture to f/11, and the shutter speed to the reciprocal or inverse of your ISO setting.
So, if you’ve set ISO 100, start with a 1/100 shutter speed. ISO 200? Try 1/200. And so on. You’ll find that your results will likely get close to the exposure you want without using light meters or any other fancy equipment.
Those are the basics, pretty much. Not much to it besides testing, testing, testing.
One last important tip
Knowing how to photograph the moon technically will never produce good shots if you’re shooting from a bad spot. Spend a considerable amount of effort scoping out an excellent location to shoot from; it’s probably the most important factor for getting high quality moon pictures.
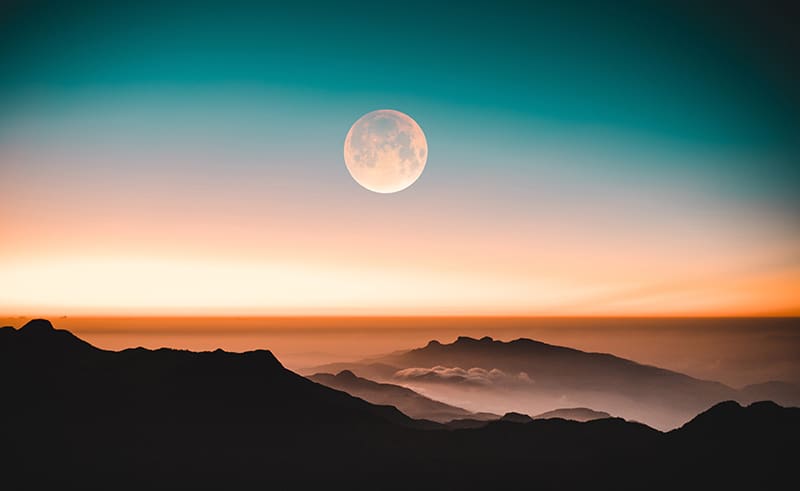
You’ll want a location that’s fairly dark (minimal or no ambient lighting), and with clear air quality (minimal pollution, haze, dust, moisture, etc.). This is why serious moon photographers like to venture out to remote locations. In fact, they seek out higher elevations, increasing the likelihood of getting a clean, clear, unobstructed view of the moon.
As you can see, the equipment and know-how needed to photograph the moon isn’t really extensive. All that’s needed now is just to go out and try it yourself. Good luck, and have fun!
Find unique photo shoot locations on Peerspace
Get together somewhere better
Book thousands of unique spaces directly from local hosts.
Explore SpacesShare your space and start earning
Join thousands of hosts renting their space for meetings, events, and photo shoots.
List Your Space

