How to Use a Softbox
-

Editorial Team
- October 8, 2021
- 7 min read
- Photography

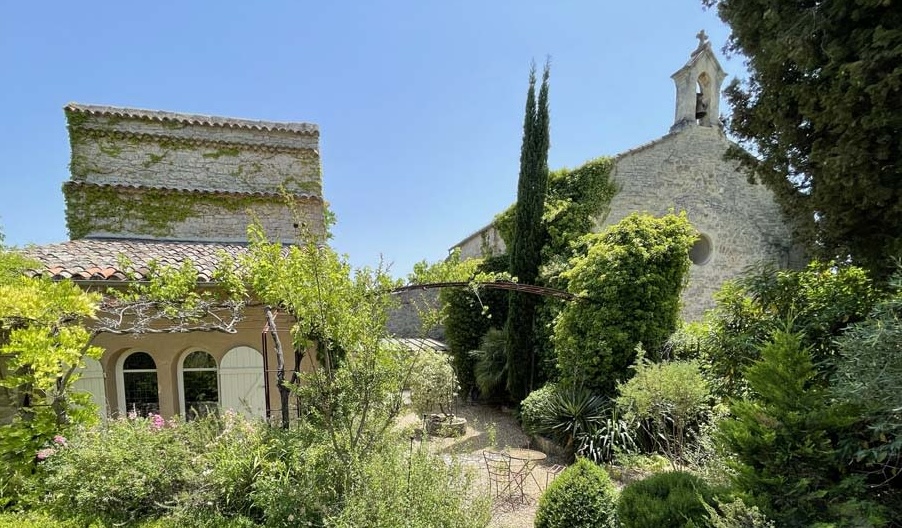
Source: Flickr / George Shahda
Anyone who pursues photography needs to learn the ins and outs of using a softbox sooner or later. Lighting is often the magic that makes or breaks a photo.
Ever taken a photograph of someone where the shadow beneath their nose extends down their face? Or how about those cellphone shots of LED-flash whitewashed bowls of shoyu ramen?
The secret sauce missing in the above examples is the perfect lighting.
That’s where the softbox comes in. A softbox is a light-diffusing box you install on a studio light to cast a soft yet dense light on a photographic subject. In this blog, we’ll explain how softboxes work, what they’re helpful for, and some go-to lighting techniques to get you started using a softbox.
Also, if you do not currently have access to a softbox, consider renting a fully-equipped Peerspace studio. We have spaces across the country managed and used by professional photographers. It’s a great way to apply what you learn from this article in a real-life setting.
Now, let’s learn how to use a softbox.
How does a softbox work?

First, let’s discuss the anatomy of a softbox. A softbox’s interior is lined with reflective foil to amplify and project the light in a more powerful beam. The softbox has a series of diffusers in front of the light that diffuses it, making it a softer light casting softer shadows. Softboxes can create dynamic light and dark areas, just as vibrant as with hard lighting, but with a much smoother grading from light to dark.
There are two common types of softboxes — the square box, which projects more of a square, framing light, and the octodome, which casts a more circular light. The octodome casts a more “natural light,” which serves many professional uses. The square light is excellent for face and figure photography, especially photography destined for online publication, where precise square framing of the actual photo fits nicely with the square light.

How do you use a softbox?

Softboxes are simple to use and versatile. You can use a softbox in many ways: indoors, outdoors, portraiture, video, pretty much any way you like. It’s a standard piece of equipment for photographers to use a softbox when taking portraiture at sunset because it can emphasize the natural lighting effects of the sunset and make it somehow seem even more real.
For beginners, the best way to get results is to keep it simple.
Let’s say you’re taking photos of someone’s face in the portraiture style. First, use a nice, soft backdrop that will help disperse light and shadow evenly behind your subject. When you set up the lighting, try to find the natural lines and contours of your subject’s face, and then bring out the shadows and highlights in a way that emphasizes the features without exaggerating them.
There are several very common lighting patterns, as well as videos galore on YouTube to teach beginners. But the main point is this: shadow and highlight should emphasize and not distort your subject. This is how you capture reality with a touch of drama.
What can you do with a softbox?

Softboxes are used all the time in studio shoots. For school portraiture, fashion shoots, product photos of expensive wedding rings, even to get the perfect glamour shot of a fast-food burger.
There are a variety of ways to change the look and feel of your photos using a softbox. And when you combine it with additional lights, fill cards, and post-production software, there’s almost nothing you can’t do.
For example, you can light directly above your subject and cast them entirely into shadow. Or you can light above and six or seven feet in front of your subject. That will give the effect of a setting sun. From there, you can offset the light slightly to one side of the face and then bring it in slowly until one side is fully lit and the other side is almost completely in shadow. It will create a bright triangular glow on the high point of the cheekbone and an eye just visible in shadow — and presto, you’ve replicated one of the most common lighting motifs in classical portrait paintings.
You can further customize your lighting using other pieces of equipment. For example, you can add additional soft lights pointing up from below the subject to decrease the depth of shadow beneath the jaw and eyes.
Or you can use a fill card with a reflective surface to shape and fill in the light however you want. Bring the card in close to the subject to cast them in an even glow. Pull the card out farther and slowly add intensity back to the shadow.
Tips for getting good photos, and a note on lighting group photos

For photographers just getting started shooting photos with professional lights, getting attractive, evenly distributed lighting can be tricky when you’re taking a picture of a group of people.
Ideally, you should tailor your lighting to your location and the subject’s frame and features. This, if you’re wondering, is probably why almost all school photos look less than flattering. The lighting fits a one-size-fits-all manner, with no time to change between students.
There are some ways to try to distribute light evenly across everyone in a group photograph. But the most straightforward way by far for new photographers is to take several photos with each subject lit individually and then use your trusted photography software to stitch the images together into a single shot digitally. If you’re using a plain-colored background, this is a simple process, and the results will be striking.
If you want a catchall tip for lighting a photo, it’s this: get the biggest lights you can afford and then keep a variety of diffusers and filters around. It’s easier to soften and dampen powerful light, but you can’t increase the power of weak light. Trial and error are essential in every photographer’s process, and a more powerful light gives you more room to experiment.
In conclusion
Now that you know the basics of how to use a softbox, it’s time to get out there and experiment. Neither education nor practice is enough on its own to make you an expert photographer. However, when you employ them both together, you can be on your way to photography mastery.
And when you’re a master, you can finally take the perfect photo of your cat — a photo genuinely worthy of that majestic little creature — and then you will win the Internet for all time.
Are you a photographer looking for new spaces to shoot? Then why not check out what Peerspace has near you! We are home to thousands of photogenic and rentable venues in cities across North America and the globe. Our venues include stylish lofts, fully-equipped studios, outdoor oases, and so much more. Booking a Peerspace is an easy and exciting way to hone your skills while enjoying time at a private retreat. What can be better than that?
Find unique production spaces on Peerspace
In this article
Get together somewhere better
Book thousands of unique spaces directly from local hosts.
Explore SpacesShare your space and start earning
Join thousands of hosts renting their space for meetings, events, and photo shoots.
List Your Space