Source: Pixabay
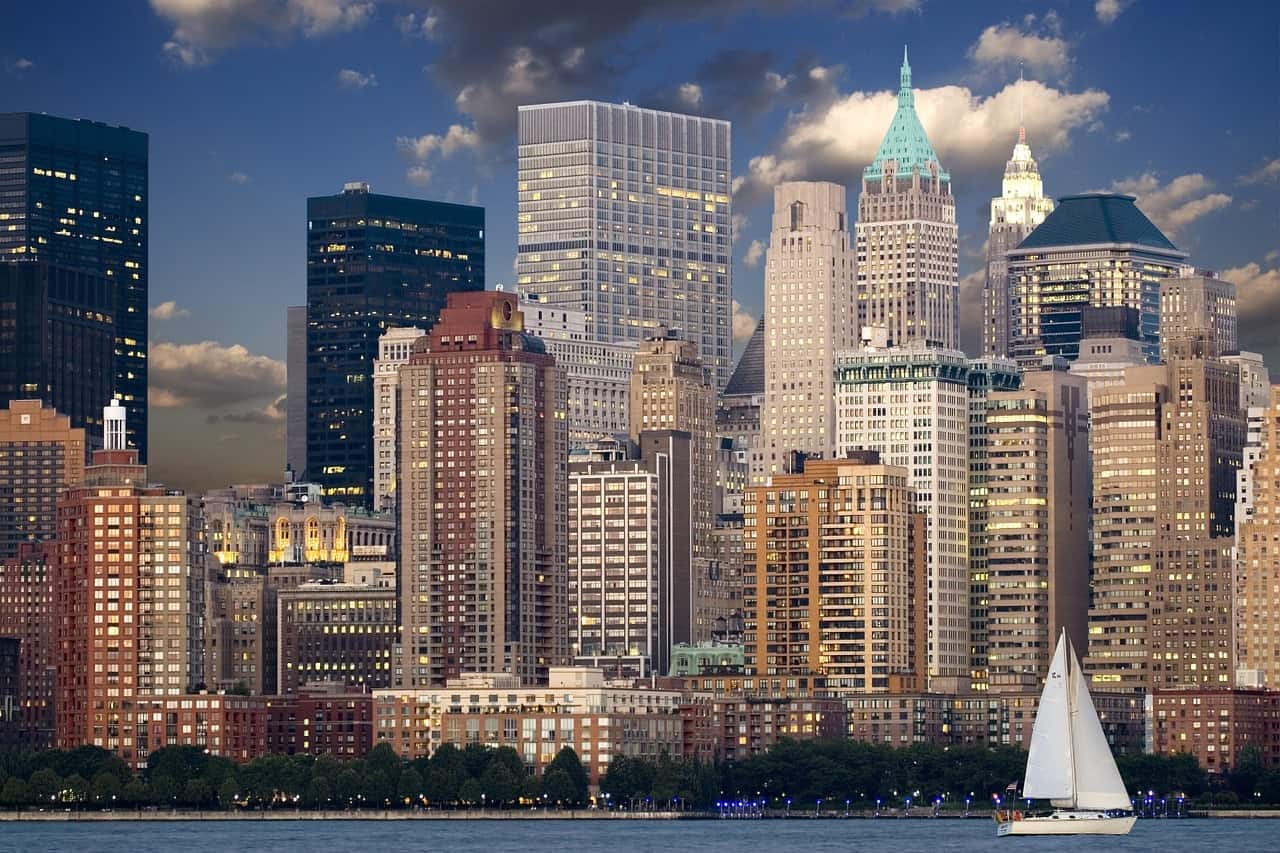
Skyline shots are one of the most distinctive outdoor imagery you can capture on camera. Many major cities are instantly recognizable by their skylines, but a skilled photographer can shine a new light on even the most familiar cityscape. Let’s review key tips for mastering skyline photography, from the kinds of lenses you should choose to when and where you should shoot. Whether you find yourself in LA or Tokyo, here’s what you need to know to be ready for those perfect skyline shots.
1. Use a wide-angle lens
Skyline shots are typically narrower than they are tall. Unless you’re focusing on a specific bit of skyline, it makes sense to use a wide-angle lens. This allows you to get more buildings into the shot without sacrificing perspective.
A standard lens is around 35-50mm, which makes for the most “realistic” skyline photography, but you can use a lens as low as 24mm for an ultra-wide shot. Experiment with different focal lengths and see which ones lend your picture a more futuristic or sci-fi feel.
You can even go all out and take a panoramic shot if you want to capture a skyline that curves around a river or another natural feature.
2. Use manual focus
Depending on how far away you are from the city, the auto-focus settings on your camera may be too imprecise. You don’t want to take your shot only to find out that the camera switched focus to a bird flying by in the foreground at the last minute.
If there are buildings at various distances from you or other objects in the foreground, then your best bet is to adjust the focus yourself. Start by focusing to infinity and see how it looks. Then, use your viewfinder to zoom in on a building and make sure it’s still in focus.
If it’s dark and there are lights shining from some of the buildings, adjusting the focus can be even trickier, so take your time and get it right. No one wants a blurry Eiffel Tower in their skyline of Paris.
3. Shoot at blue hour
You may be used to taking photographs at golden hour, the period just before sunset when the sun gives your subjects a golden hue. But for skyline shots, it’s better to shoot during blue hour — either immediately after sunset or before sunrise. That way, the buildings of the city will be lit up, but you’ll still have a vibrant blue backdrop in the background.
Of course, you can shoot skylines during the day or night as well, but you won’t get as many colors. Wake up early and set up your equipment so you don’t miss the light show.
4. Use bracket exposure or HDR
With the sunlight changing so quickly and if lights are on in all of the buildings, it can be hard to get the exposure right. Fortunately, DSLR cameras allow you to bracket your exposures, or take shots with different exposures in quick succession.
This means you’ll end up with three or more versions of the same shot, increasing the likelihood that one of them will be properly exposed. If not, you can use the HDR (high dynamic range) tools in your editing program to combine them into one perfectly exposed shot.
5. Try long exposures
If you have time, you can play around with even longer exposures. Try 10 or even 30-second exposures to maximize the amount of light that enters your camera. Long exposures can highlight unusual light sources, such as reflections in bodies of water. Alternatively, you can even capture light trails from the headlights of cars zooming down the highway.
There’s no limit to how creative you can get. Learn how to adjust the shutter speed and aperture to let in the right amount of light for your photo. Remember, each photo doesn’t have to be perfect, but the more you take, the more chances you have of getting it right.
6. Use a tilt-shift lens
The tilt-shift effect is ideal for skyline photography. You can achieve this effect by buying a tilt-shift lens for your DSLR, or using a tilt-shift app on your smartphone. The tilt-shift purposely blurs part of the image to trick the eye into perceiving it differently. From the right perspective, the buildings will look like miniature models, while the cars and people moving around on the street will look like toys.
Tilt-shift photos are best taken from high vantage points that are looking down on a city. Search for a view of a busy intersection, train station, or port, with the skyline rising high in the background.
7. Go outside the city for the best view
More than most kinds of photography, skyline shots are all about the vantage point. You simply can’t get the whole skyline into your shot if you’re right in the middle of the city. Find a park, bridge, or some other landmark to shoot from.
If you shoot from the other side of a river or lake, you might be able to get a reflection of the cityscape. Walk down to the end of a pier or climb an observation platform. In some cities, you can take a cable car up a nearby hill or mountain.
Depending on where you shoot from, make sure to include iconic buildings (such as the Space Needle in Seattle) or purposely leave them out.
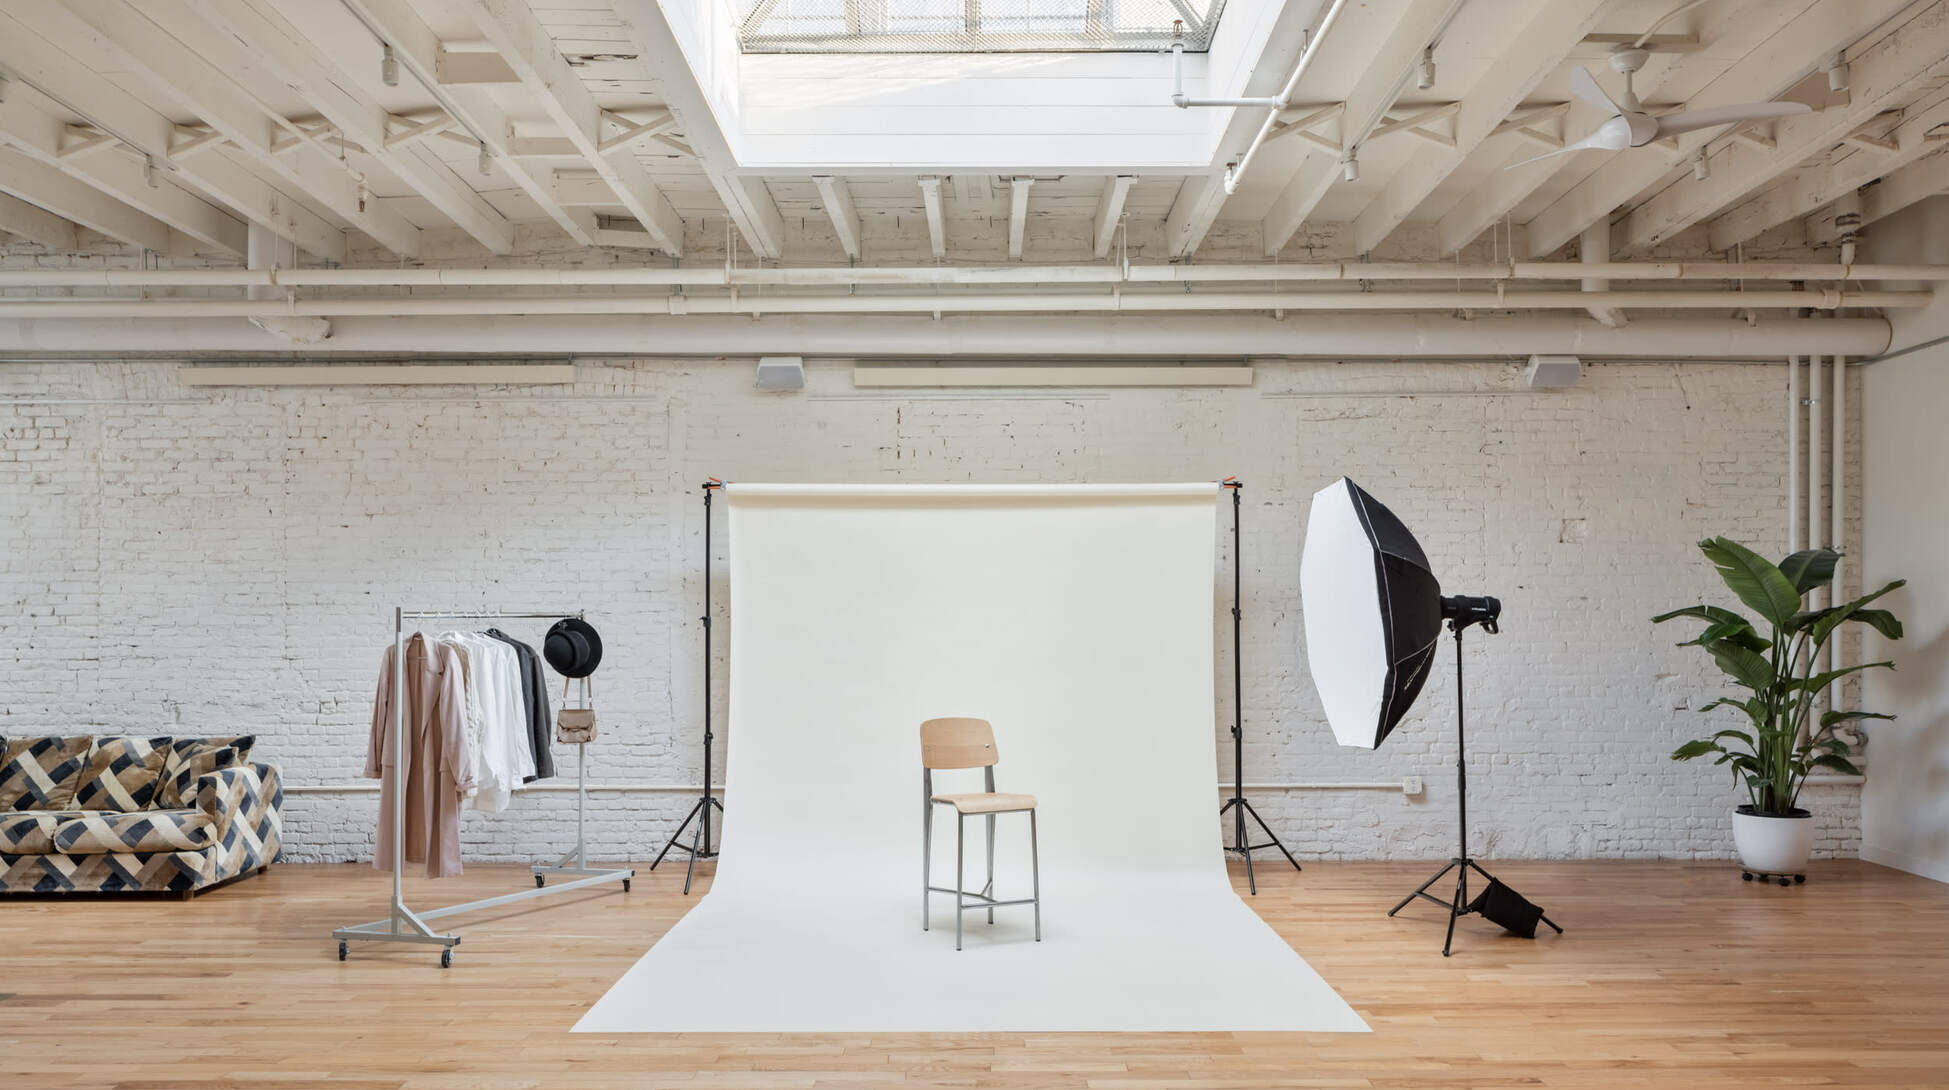
8. Rent a studio or a loft on Peerspace
If you can’t find the right spot near the cityscape, you can always rent a space to shoot from. Booking a room overnight means you can be ready to shoot at sunrise, and you won’t have to worry about the weather or pedestrians getting in your way.
Find a room on an upper floor with a clear view of the city or go up to the roof. Ideally, you’ll want a spot where you can open the window, but if that’s not an option, you can use a polarizing filter and manual focus to shoot through glass without ruining your picture.
These are just eight of our top tips for mastering skyline photography. With so many cities around the world to choose from, you could spend decades learning new tricks and improving your skills. Why not head out today and get started? It’s bound to be blue hour somewhere.
Find unique photoshoot locations on Peerspace
Get together somewhere better
Book thousands of unique spaces directly from local hosts.
Explore SpacesShare your space and start earning
Join thousands of hosts renting their space for meetings, events, and photo shoots.
List Your Space


