Source: Pixabay
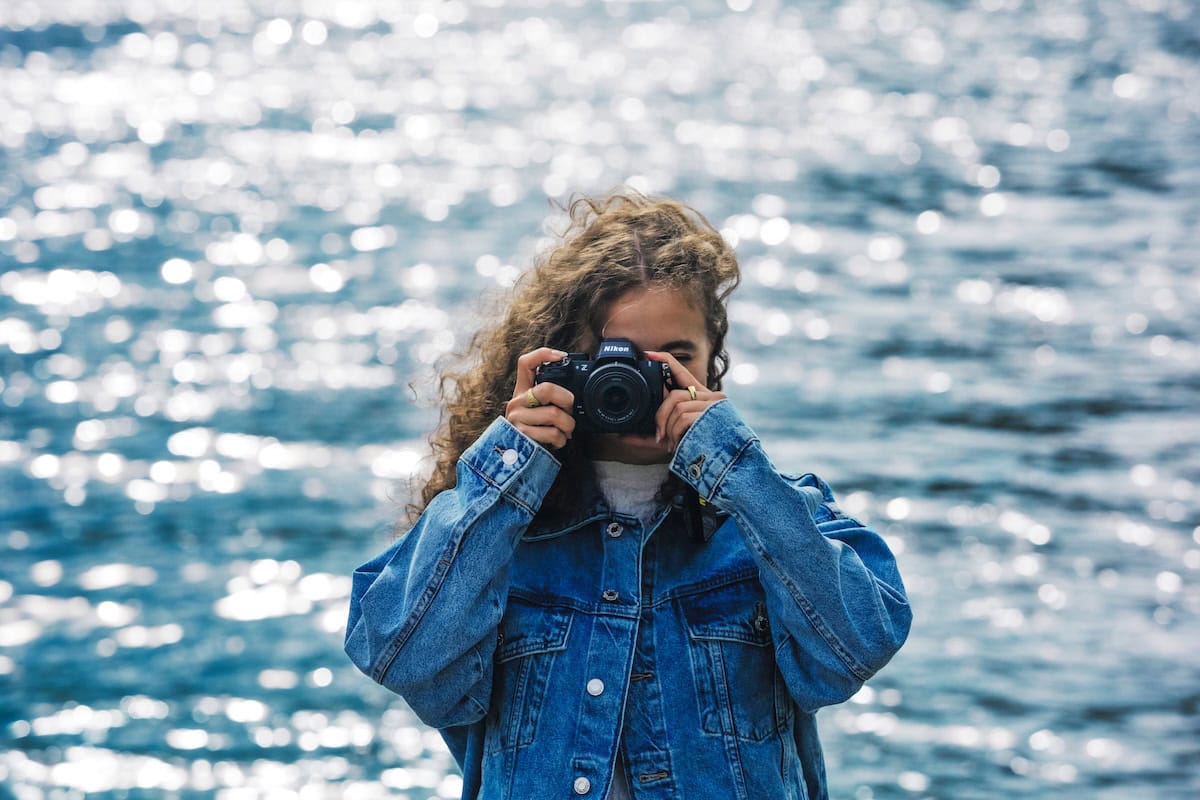
For many of us, we simply can’t resist the ocean. The power and majesty of the waves, the peaceful serenity of long, sandy beaches, and the subtle play of light off the surface of the water is enough to make any photographer forget their obligations and opt instead to spend hours walking up and down the coastline, camera in hand. Everyone and their brother has snapped a photo of the ocean while on vacation, but if you want to really step up your game, then there are a few tips and tricks which will elevate your ocean photography to the next level.
First and foremost, protect your gear
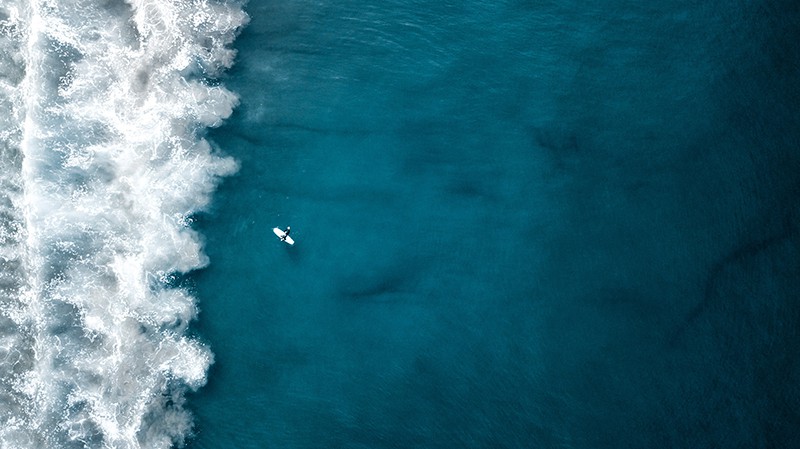
There are a lot of elements working against your camera on the seashore—sand, salt water, wind, mist and rain can all ruin your day in pretty short order. Make sure your camera bag is waterproof—and tightly closed when you’re not actively using it—and bring a rain cover for your camera if it’s not already weather-sealed.
The weather can change quickly and unexpectedly along the coast, and you might have little warning before a sudden onslaught of rain, wind, or even hail. Not only that, but depending on where you are standing, the change of tide, or merely change of wind can send a wave out of nowhere to suddenly drench you, where just before it was entirely dry.
The old adage goes that if you drop your camera in salt water, you might as well toss it back in for all the good an attempt at cleaning it will do. Salt water is not friendly electronics.
Not only do we have weather to worry about along the oceanshore, but sand is just as destructive a force on the unfortunate camera. Only a grain or two of sand is necessary to damage your camera sensor or shutter mechanism, so any lens changes should be done with the utmost care and attention.
Using a zoom lens is preferable for this reason, and an internal zoom will be your best bet. If you must change lenses, then do so in a sheltered spot, and be sure to thoroughly clean your camera of any and all sand before taking off the lens. If you haven’t been thoroughly scared off by now, then let’s get on to the fun stuff.
Lighting and time of day
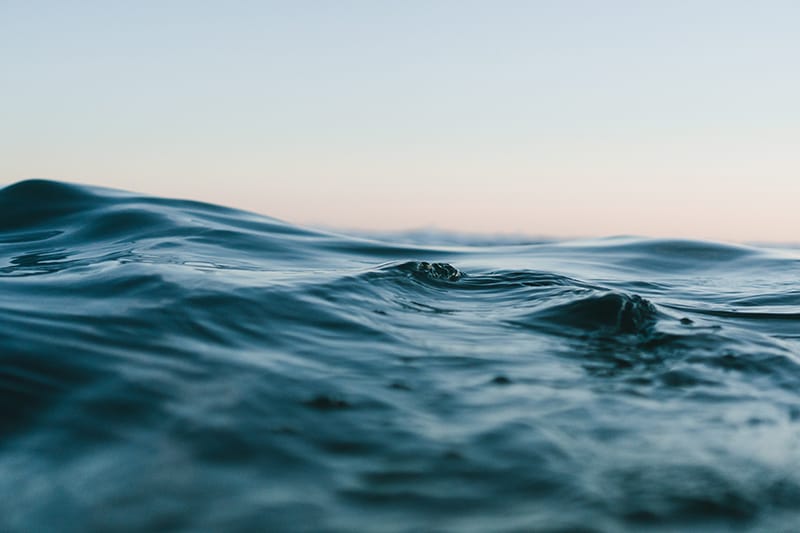
The ocean tends to be at its least photogenic in the harsh sunlight hours around midday, when hard shadows and glaring highlights leave a lot to be desired in a photograph. We recommend heading out in the early morning hours to capture the hours around dawn, or the late evening hours when Magic Hour and sunset can provide truly breath-taking colors and ambiance. Unless the sun is setting directly over the ocean, try to shoot with it at your back, so that you get all the full effect of the glow against the scenery, without harsh glares obstructing your lens.
Bad weather is a photographer’s best friend
Beach-goers tend to avoid the ocean in stormy or threatening weather, but we urge the photographer to do just the opposite. As the clouds roll in, the lighting tends to soften, and we often capture extraordinary images of sun rays streaming through a break in gloom, or even the glimmer of a rainbow or two as the storm dissipates.
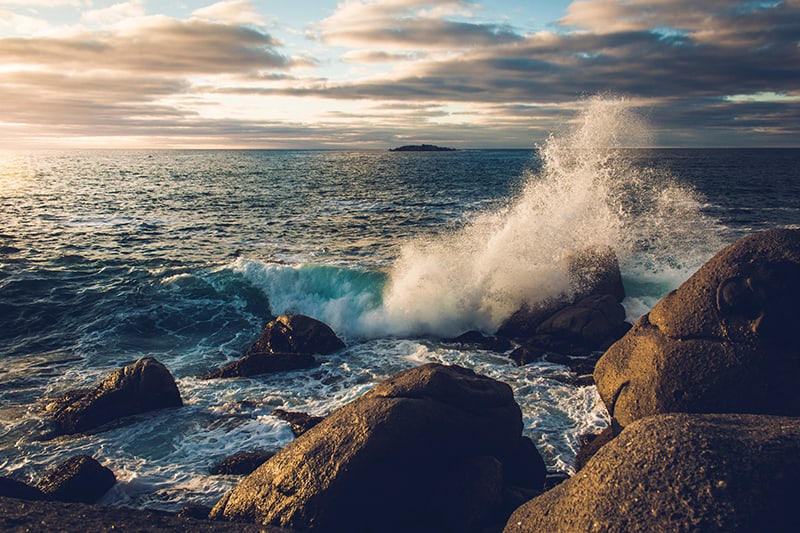
Switch to a telephoto lens to capture the might and awful power of rising waves as they crash onto the sandy beaches, or rocky cliffs along the shore. Of course, your own personal safety is more important than any photo, so use common sense to decide when it’s time to pack up and head inside.
When to use fast and slow shutter speeds
The ocean is a great place to use both, depending on the effect you’re after. Setting a longer exposure can be a great way to turn the bobbing surface of the ocean into a smooth, glassy, or misty landscape, creating an ethereal image which feels like an alien world. Those who dabble in astrophotography can capture the streaks of overhead stars above the ocean’s surface, and daylight hours are no less extraordinary with the passing of clouds.
If you’re going for the foggy water effect, rather than the smooth, glassy appearance, then the same rules apply, but you’re going to need to be somewhere with waves, and a much longer exposure of 10-20 seconds. When producing this effect, try to include a solid object somewhere in the image, to provide context and contrast to the ephemeral nature of the “foggy” water.
A fast shutter speed will freeze the moving waves into a single frame, water droplets suspended in the air creating fantastic patterns and textures. If your camera is adequately waterproofed, you can wade into the ocean and capture the underside of waves just before they break, or position yourself just at the point where the waves peter out on the sand, and capture extraordinary macro shots of the last of the sea foam sputtering onto the land.
Framing your shot
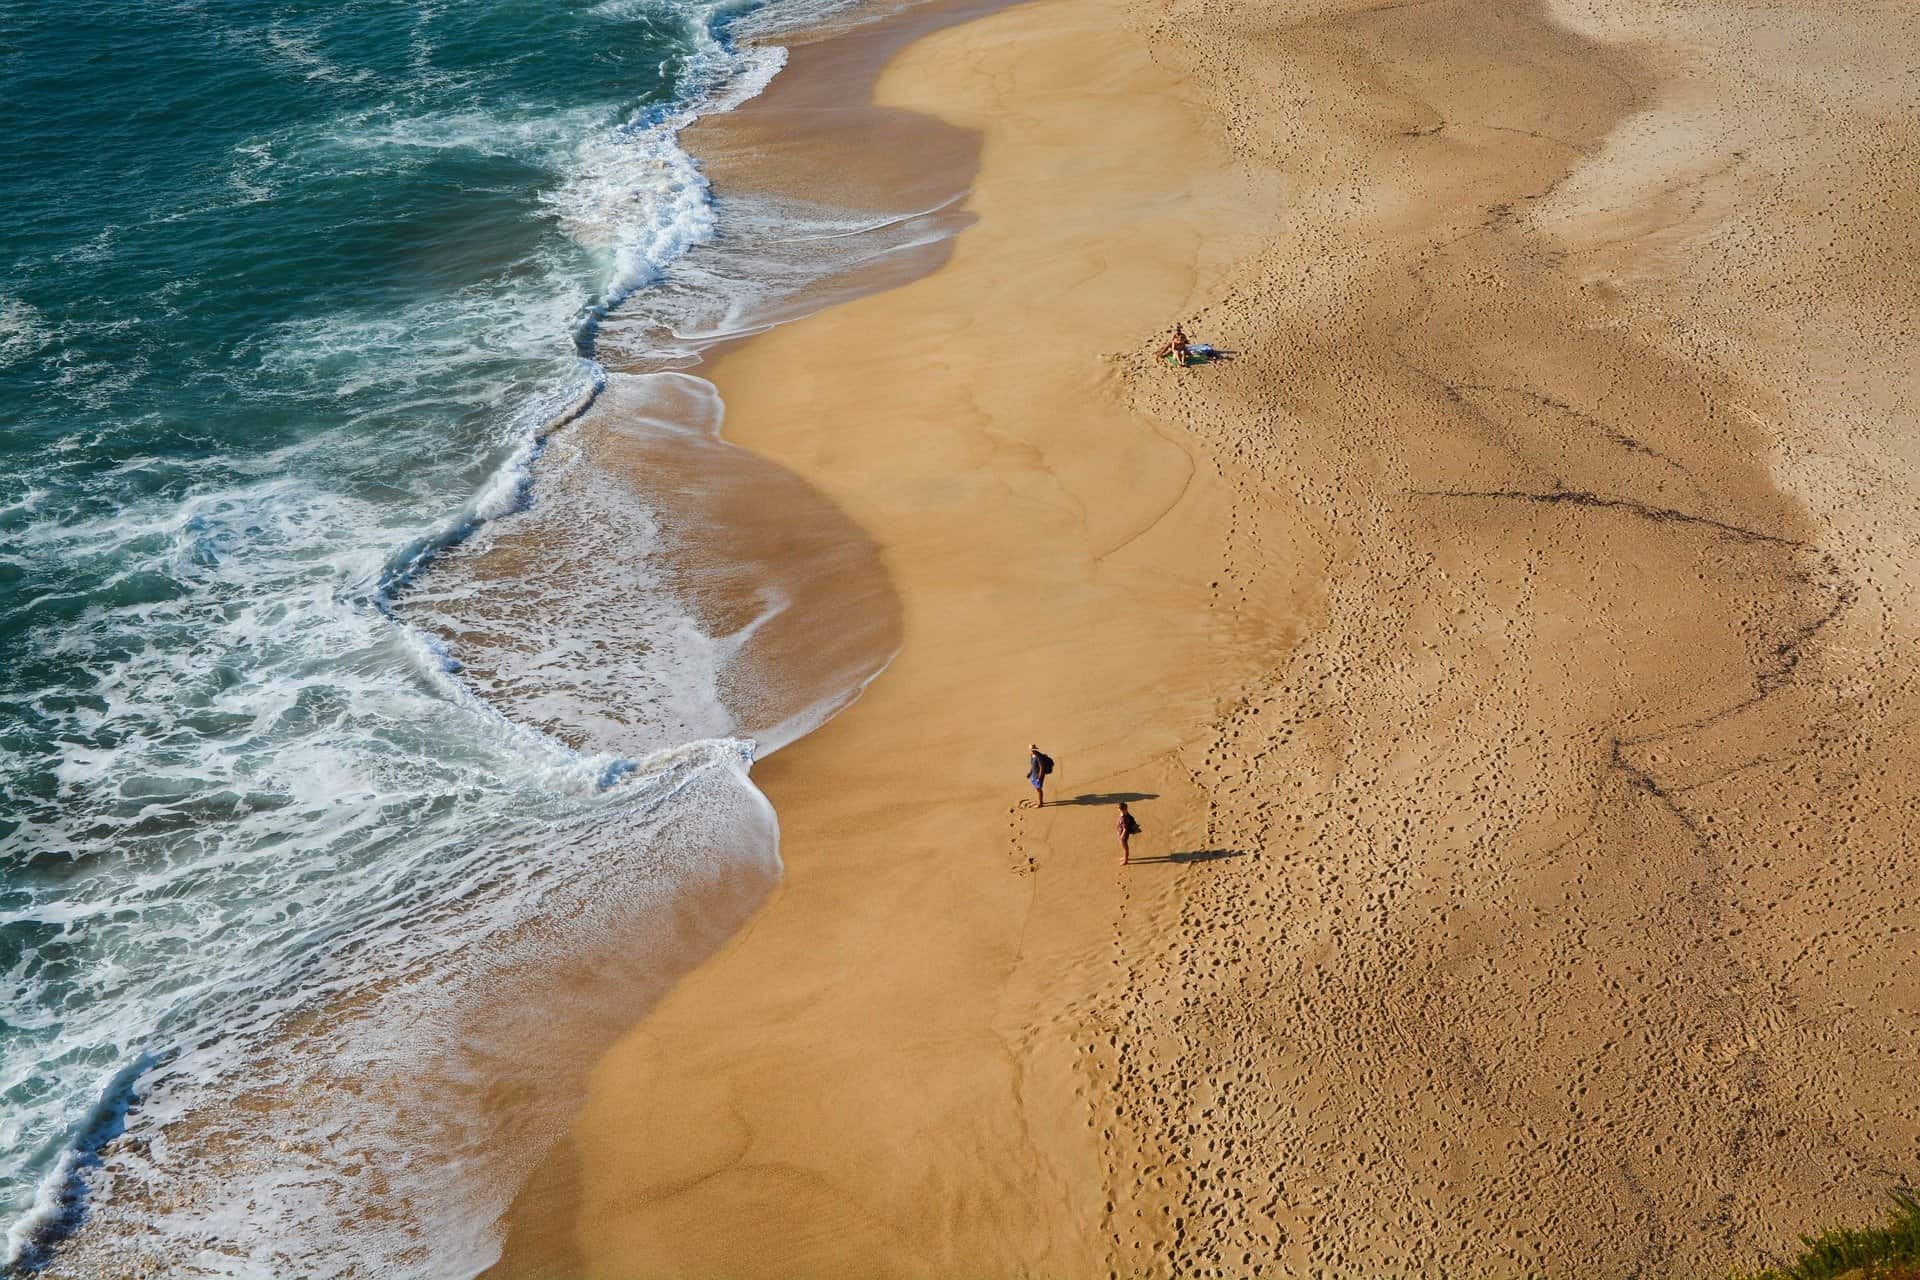
The ocean is a big thing, and it’s easy for one ocean photography to start to feel like all the rest. One of the best ways to avoid this is by finding something interesting or unusual to ground the viewer in your frame. Find a weathered piece of driftwood, or a little bug or crab scuttling its way over the fine particles of sand, or the footprints of a passing pair of lovers to serve as your foreground.
Look for children making sand-castles, or an interesting rock formation jutting up out of the water, or the remnants of an old dock making its last feeble attempts to stay above the water. All of these can provide excellent subject matter for the middle-ground region of a photo.
Finally, look for elements in the background which can add purpose to your photos, including lighthouses, a lone and wind-beaten tree, a quaint oceanside cottage, or the rising buffs of sand dunes.
Remember the horizon line
One of the greatest sins in photography is an uneven horizon line, and the straight line of the ocean is utterly unforgiving. Wherever your lens is pointing, be aware of the horizon line in the background, and make sure you’re not accidentally putting the Earth on a new and unnatural tilt.
Proper exposure
Cameras are pretty smart these days, but it’s easy for them to get it wrong, especially when photographing the ocean. Just like when photographing snow, cameras tend to get confused by the bright, reflective nature of the ocean, and tend to underexpose the image, leaving you with dark, grim, murky shots. It’s best practice to shoot to your Histogram, and generally speaking, shoot about a stop brighter than your camera meter reckons.
Use filters
Circular polarizers and ND filters are both great ideas when shooting the ocean. ND filters will stop down the bright sunlight and let you shoot with longer shutter speeds, which is especially convenient if you plan on shooting long-exposures. A circular polarizer allows you to see through the surface of the water, and also enhances the vibrancy of the clouds. Both filters are handy and will give you lots of options for improving your ocean photography.
Mastering the tides and timing the waves
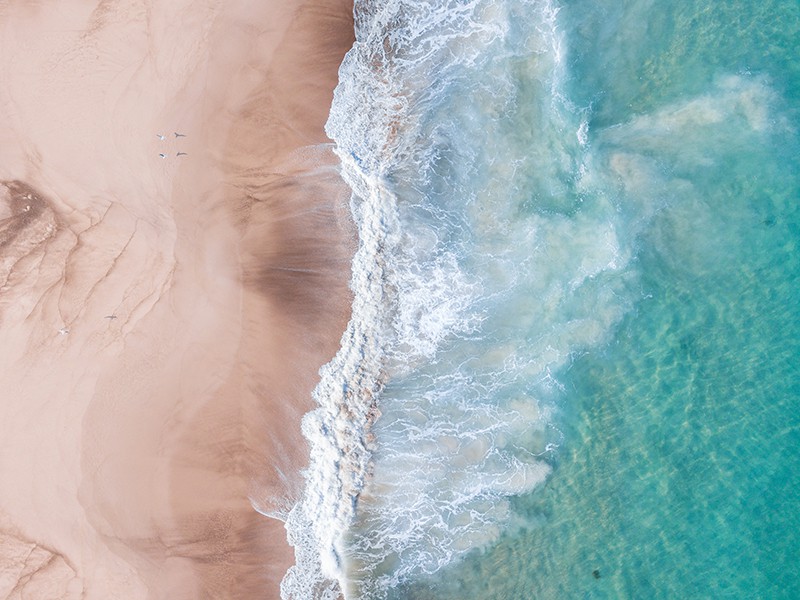
Knowing the schedule of the tides will keep you from accidentally getting separated from land, but it can also provide some great moments for photography if you know what to expect and when. One of the most iconic images of oceans are taken as the tide just begins to pull back out. Little pools of water remain in the tidal pools, catching the light spectacularly (especially at sunset or daybreak), while the water has receded enough for the larger rocks to jut out of the water, creating a sensational overall image.
Capturing the receding waves is just as popular, with those distinctive white foam lines pulling back into the ocean. For this technique, use a shutter speed of ½-2 seconds, and be ready to get a little wet, as you’ll need to be standing in the water. Use a tripod to stabilize your camera in the water, and take a series of shots to see which part of the movement you like best. Rocks on the beach can add an extra visual element to these photos, as well.
Abstract ocean imageography
The ocean is always changing, and that makes it one of the best opportunities to experiment with abstract photography. Try using a longer shutter speed, and then zooming in and out on the waves, to capture interesting and unusual images of the sea.
Turn the camera vertically
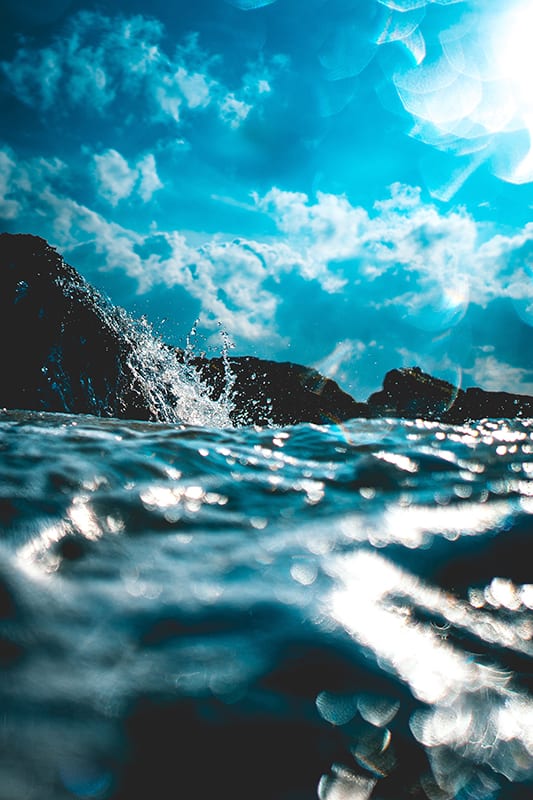
It’s easy to get stuck in the habit of always shooting the ocean in landscape mode, but don’t forget to turn your camera from time to time to get a fresh perspective. Shooting vertically also allows us to focus on more of the coastline, with the water being only a complimentary element in the frame, and tells a very different story.
Slippery surfaces and sea plants
Going back to the subject of safety, there are a few tricks to look out for on rocky coastlines to keep yourself and your gear happy and dry. Look around at the rocks before you set up—if they’re wet, then that means that the water can and most likely will get to you. Seaweed and other marine plants can be extremely slippery, so we recommend gingerly testing each surface before you step, especially if it looks wet or slimy.
We’ve harped enough on the wet, sandy, slippery conditions of the ocean, and if you’ve made it this far in the article, then probably nothing we say will deter you from heading to the coast with your camera. Stay safe and dry, don’t be afraid to experiment, and keep these tips and tricks in mind to bring another level of artistry and craft to your ocean photography.
Find unique production venues on Peerspace
Get together somewhere better
Book thousands of unique spaces directly from local hosts.
Explore SpacesShare your space and start earning
Join thousands of hosts renting their space for meetings, events, and photo shoots.
List Your Space


