5 Easy Portrait Lighting Setups
-
 Written by Peerspace Staff
Editorial Team
- September 8, 2022
- 8 min read
- Photography

Source: Pixabay
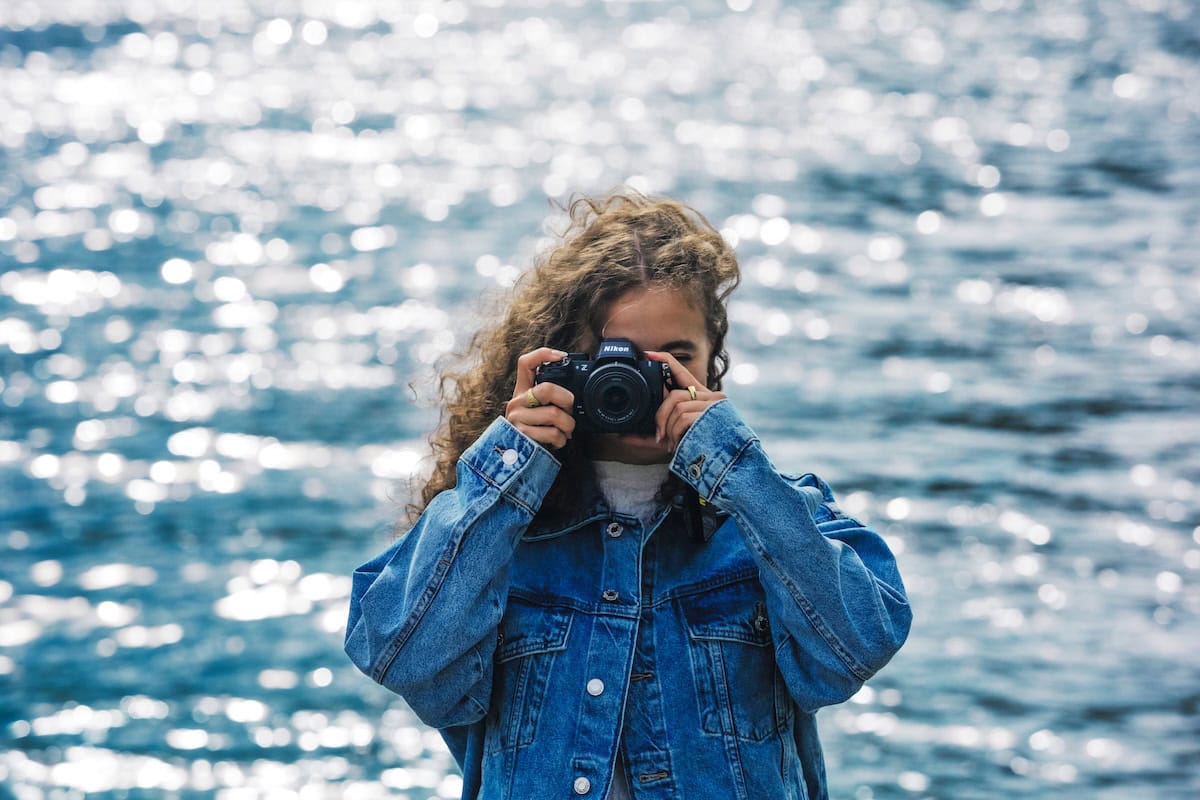
Want to learn a few easy yet powerful portrait lighting setups? One of the essential skills in creating professional portraits is mastering the use of light. Lighting setups don’t have to be difficult, but they aren’t random — the position and brightness of the lights influence the outcome in dramatic ways, as does the viewer’s angle of your subject.
Sometimes you’ll be working in a studio — perhaps a venue you’ve rented on Peerspace — and, other times, you’ll need your lights to work in conjunction with natural light.
These descriptions of easy portrait lighting setups are intended for beginners as an introduction, but it’s always useful for seasoned professionals to brush up on the basics as well. Three of these setups require only one light, while one uses a reflector in addition to a light source, and the last requires two lights. In all cases, these are considered minimalist lighting setups, making them easy to achieve for people who’ve only just started building their lighting kits or are renting gear and trying to keep costs down.
1. Rembrandt lighting

Rembrandt lighting, named after the painter, is a common and flattering lighting setup. You can achieve this with a strobe or by positioning your subject near a window. It creates a small triangle of light on the cheek, formed by shadows cast by the nose and cheek. These two shadows connect, leaving the light triangle.
Ideally, the eye on the shadowed side of the face has a small catch light or reflection from the light source. This is a dramatic lighting style, but it’s one of those portrait lighting setups that is flattering for most faces.
To achieve this lighting, have your subject turn slightly away from the light source. The light source must also be above the head of the subject so that the appropriate shadow is cast on the cheek by the nose. This lighting setup works best with people who have higher cheekbones and larger noses, as a flatter nose won’t cast the appropriate shadow to achieve true Rembrandt lighting. Even so, you may find the effect flattering without the perfect shadow — experiment with it.
2. Butterfly lighting
Butterfly lighting, also known as Paramount lighting, gets its name from the butterfly-shaped shadow created under the subject’s nose. You achieve this by placing a light source behind the camera and above the subject’s head. You, the photographer, then work under the light source. Sometimes it may be necessary to position a reflector under the subject’s chin, depending on their facial structure.
Additionally, keep in mind that the height of the light source will affect the length of the shadows — a taller light source makes a longer shadow on the subject’s face. If your subject turns their head slightly in one direction, you’ll get a more dramatic shadow under the cheekbones.
This is one of the best portrait lighting setups for someone with high cheekbones or a thin face. Someone with a rounder face might be less flattered in this light, though. This is also a good lighting setup for older subjects, as it emphasizes wrinkles less when compared to side lighting.
3. Split lighting

Just as the name implies, the split portrait lighting setup cuts a person’s face into equal halves. With this setup, one side is lit while the other is in shadow. This is a more dramatic portrait lighting setup, and it’s less common than other styles. However, if you need a lighting setup that creates drama and stands out, this is a good one to try.
The split lighting setup is, fortunately, very easy. To achieve it, place your light source 90 degrees to the right or left of your subject’s face. The exact placement and height of the light will vary based on your subject’s face, so feel free to experiment. Observe how the light falls across the face in test shots and adjust your light source accordingly.
Split lighting highlights the texture of a subject’s face, so it may not be as flattering as other setups. This is especially true for subjects who are elderly, as split lighting will call a lot of attention to skin wrinkles. This may not be an effect you’re after, so keep this in mind when choosing this setup.
4. Loop lighting

The loop lighting technique creates a small shadow with the subject’s nose and cheek. In true loop lighting, the nose and cheek shadows don’t touch. This setup tends to have a lengthening effect on the subject’s face and is also great for acting headshots. It’s similar to butterfly lighting, except the light is set up further to the side.
In order to achieve this lighting style, you need to raise your light source slightly higher than your subject. In fact, you typically position it behind them. Immediately in front of the light, and at a 30- to 45-degree angle from the subject, place a reflector.
The reflector must also be slightly above the eye level of the subject. This is one of the few portrait lighting setups that also works using sunlight, with your subject facing away from the sun. The light gets caught by the reflector and then bounces off the subject’s face.
5. Rim lighting

Rim lighting is a great portrait lighting setup to separate your subject from the background — in fact, it will be most striking when using a black background, though you can use this technique under any studio conditions.
This lighting setup requires placing one light to the side of your subject — it can be at a 90-degree angle, directly in front of your subject, or anywhere in between. Changing the position of the side light will determine how dramatic the portrait appears.
The key to this setup is the placement of a light behind the subject, called a kicker light. This light must be close to the subject and below them, aimed at the back of their head. It also must be more powerful than the side light.
The result is a slight outline of light around the subject’s head, isolating it from the backdrop. You’ll see this setup used frequently in sports and fashion portraits since it is both dramatic and flattering for most subjects.
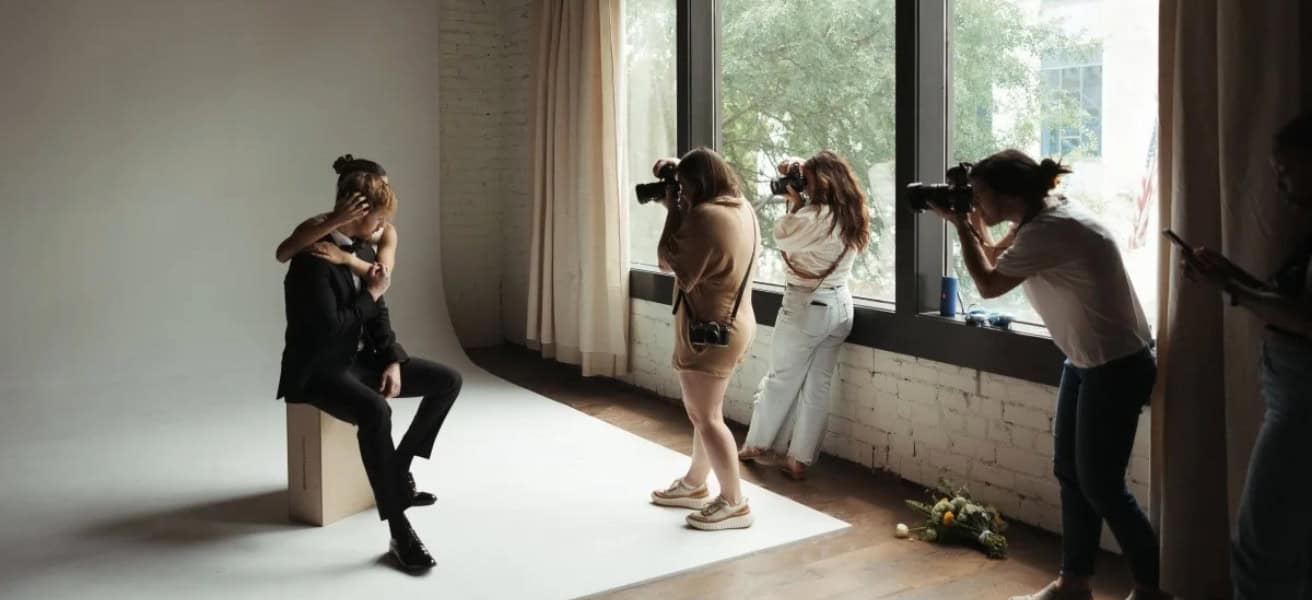
Practice your portrait lighting setups at a Peerspace

Now that you know these distinct portrait lighting setups, you probably want to get out there and start shooting. That’s a fabulous idea! However, you need the right space to do so, one that offers you a professional setting replete with amazing lighting.
Well, that’s where we at Peerspace can again help you out! As the largest online marketplace for hourly venue rentals, we make it easy for creatives to find their next exciting creative spaces.
To help you get started, here’s a peek at a few of our favorite portrait studios in cities across the globe:
- This professional photo studio in Los Angeles with natural light and lighting gear included
- This affordable natural light studio in West London that includes plenty of lighting equipment and modifiers
- This full-service photo studio in Brooklyn, NYC with Profoto lighting included
- This spacious fully-equipped daylight production studio in Seattle with lots of lighting and other gear included
- This industrial photo studio in Claymont, DE that includes lighting, equipment, and props
- This photography studio near Sydney’s northern beaches in NSW, Aus. that includes an array of professional lighting gear
You get the picture! Peerspace has thousands of venues just like these and cities and towns near you. All you have to do is check out our site and book your favorite spaces. Expanding your photography horizons has never been easier (or more fun!)
Portrait lighting setups: conclusion

Great photographers spend a lot of time thinking about light. It is, after all, integral to the very physical act of how we visually process images, making it one of the photographer’s strongest tools. You can easily implement all of these lighting setups, and they don’t require a substantial amount of lighting equipment.
They’re ideal for beginners to experiment with. Good fundamentals create amazing photographs! As you know by now, getting better at photography is all about experimentation, so get out there and make some portraits.
Find unique photoshoot locations on Peerspace
Get together somewhere better
Book thousands of unique spaces directly from local hosts.
Explore SpacesShare your space and start earning
Join thousands of hosts renting their space for meetings, events, and photo shoots.
List Your Space