Source: Unsplash
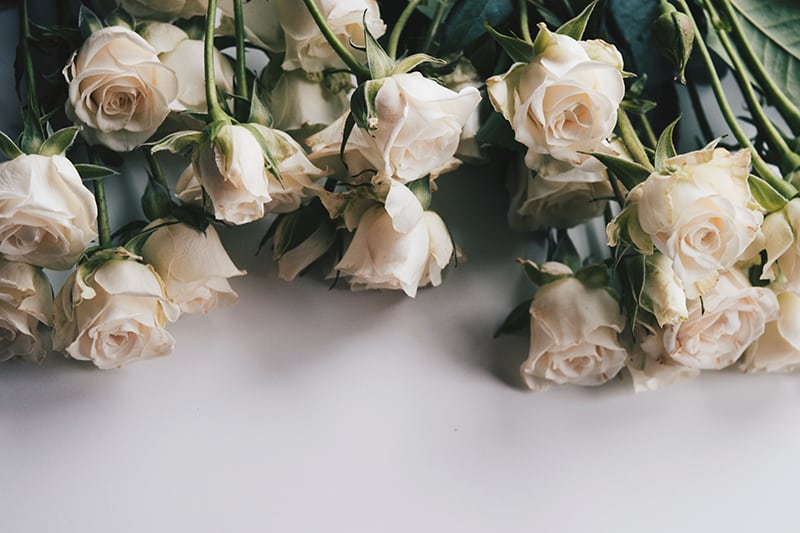
Among flowers, roses are one of the most photographed, and for a straightforward reason: they’re gorgeous. And stunningly so. The ubiquitous red rose has come to symbolize love and romance, and it has become one of the most loved and popular flowers around. Roses also come in other colors — like white, orange, pink, and yellow — each with its own pop culture symbolism, much to the delight of rose and flower lovers everywhere. Rose photography can be tricky, which isn’t unusual with photographing flowers. You can capture them beautifully in so many different ways. You are literally rich with creative options. Do you want a close-up image of one or just a few roses in a vase? A whole bouquet? Exquisitely arranged by a florist? Or in a more natural setting out in the garden? What techniques you use will depend entirely on your objectives.
As such, it’s impossible to give a concise set of how-to steps to follow. However, what you’ll find here is a robust collection of tips and guidelines that you can pick and choose from to help you achieve the results you desire.
Useful equipment for rose photography
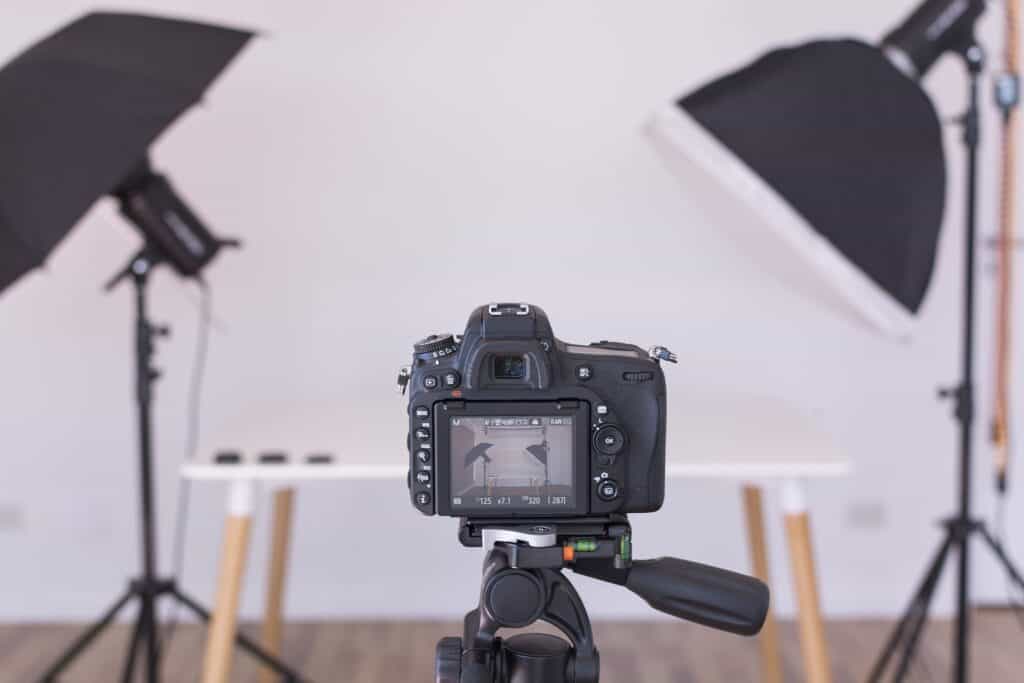
Having a tripod can prove very helpful, if not invaluable, for consistently capturing the sharpest and most detailed images you can. There’s a reason professionals use them, and they’re some of the steadiest handheld camera shooters around! They’re essential for close-ups with telephoto lenses, which are longer, heavier, and physically more difficult to keep steady without a tripod.
Longer focal lengths also tend to require longer exposures, increasing the likelihood of camera shakes and wobbles. Plus, magnification tends to amplify the slightest movements of any kind, so keeping them as steady as you can is a priority. You can, of course, opt for a monopod instead, but you’ll lose some of the serious benefits of a tripod, like making it easier to replicate shots and experiment.
Some cameras even have some preset “flower photography” mode you can try.
Speaking of lenses, for really close-up rose photography, you’ll want a macro lens or something with that capability to let you get as close as you can to the flower to capture exquisite detail. If you don’t have access to one, you can try a telephoto lens from a short distance; it’ll also help keep you from getting too close, avoiding potential light and shadow issues, particularly with roses you can’t really move around, like out in the garden.
Setting up a rose photography shoot
Proper lighting is critical, of course. The best results often come from taking pictures in natural light. You’ll want to avoid direct sunlight or lighting and the distinct, harsh shadows they cause. Natural lighting, such as overcast days or when the sun goes behind a cloud, creates a softer look and feel, helping attractively bring out a rose’s features. Yes, you most certainly can try to shade roses out in the garden and block out bright sunlight; when doing that, keep an eye out for backgrounds that are too harshly lit. Indoors, window light can provide excellent natural lighting; artificial light, like from a lamp, tends to produce warm color casts and isn’t recommended.
Use solid, simple backgrounds, if possible, minimizing any distractions. A lot of photographers bring along background boards in different basic colors. Plain white is a must, but you’ll likely want to have a small variety of lighter and darker ones handy; see which best complements the color of the rose you’re photographing.
The time of day plays an important role in rose photography. Mornings are usually the best time. The earlier, the better. That’s when the roses are fresher, particularly out in the garden, and look their best. If you catch them early enough, you’ll be rewarded with natural moisture and dew drops that make for stunning and interesting images. However, you can simulate that effect with the water and a spray bottle and give the roses a very light misting; do not overdo it!
How to get the perfect rose shot
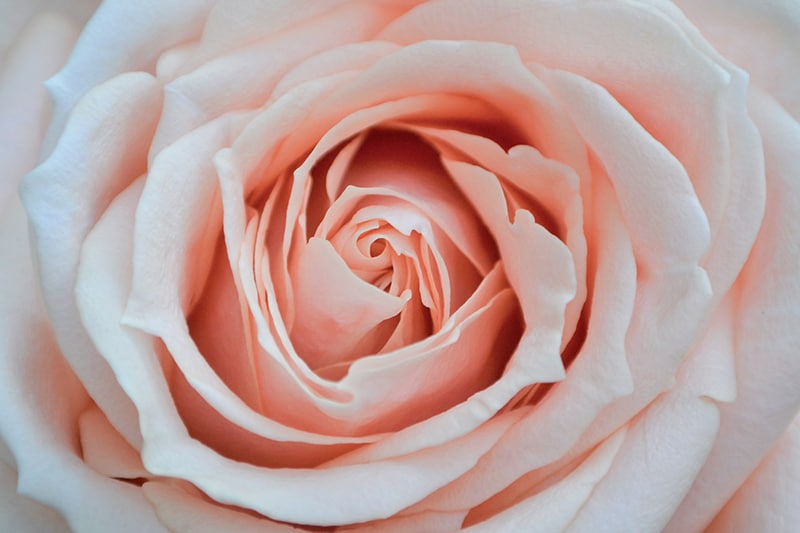
Keep the flowers as naturally bright as possible in your pictures. This can be a problem with indoor or shaded shots, especially with shadows on the sides opposite the light source. Try using a reflector. It can be a cheap hack; you don’t need fancy equipment or even mirrors, just something white and large enough to bounce some light onto the spots that could use some extra brightness. A white background board, for example, often does excellent double duty as a reflector.
Try different angles and points of view
We normally look at flowers from above, and novices tend to photograph them the same way, usually with uninteresting images. Try lowering the view to the rose’s level, or even below it! It’s not unusual at all to see dedicated flower photographers flat on their bellies on the ground shooting up.
Try a shallow depth of field
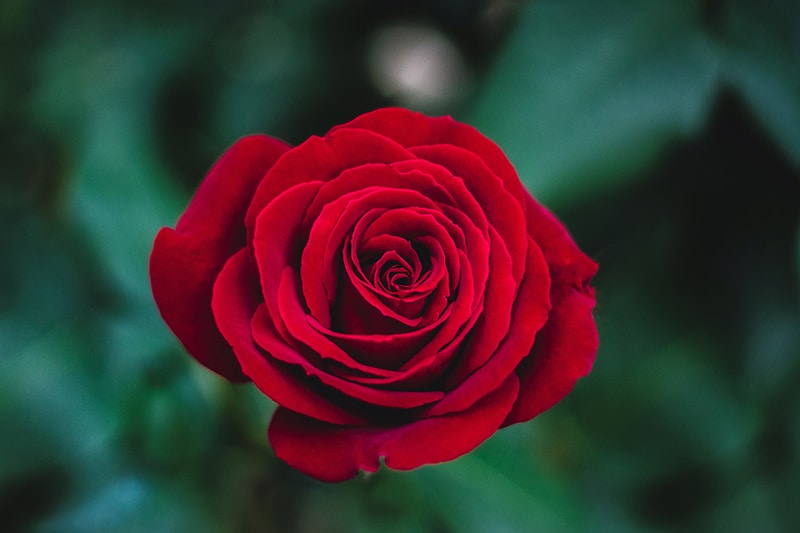
Instead of everything in focus—from the rose to the background—a shallow depth of field narrows the focus range down to a sliver, blurring everything else not in that range. This is achieved by using a wider lens aperture, which “opens up the lens” and lets in more light. Setting the lens to a low f-stop, like f/4 or f/2.8 or smaller, in other words. The lower the number, the wider the aperture, and the narrower the sliver stays in focus.
Experimenting with the depth of field can help you achieve amazing effects and images, like blurring out cluttered backgrounds or even blurring out other roses and leaves just ahead or behind the rose you want. You can even attempt to keep parts of the flower itself sharply in focus while making its other parts or petals blurry. Try it!
Since there are so many different ways to photograph roses beautifully, don’t hesitate to experiment. A lot! With digital photography making costs per shot negligible and giving practically instant feedback, there’s no excuse not to experiment and test settings and techniques. Learn about bracketing exposures, where you take the same picture multiple times, but each time, change an exposure setting (shutter speed or aperture) to see which settings will work best for you. Some cameras even have an auto-bracketing feature to make this experimentation even easier!
One final important tip
Take notes! Digital photography can make us lazy, letting us take many pictures to just pick through for the good ones later, chucking out the rejects. If you want to replicate a gorgeous shot later, it’ll be way easier if you can refer to notes that tell you what you did and other information (like environmental conditions, time, etc.). You may as well turn your experience into knowledge and knowledge into photographic mastery by taking notes. Enjoy yourself and have fun!
Find unique places to practice rose photography on Peerspace
Get together somewhere better
Book thousands of unique spaces directly from local hosts.
Explore SpacesShare your space and start earning
Join thousands of hosts renting their space for meetings, events, and photo shoots.
List Your Space

