How to Shoot Green Screen
-

Editorial Team
- March 25, 2019
- 6 min read
- Filmmaking

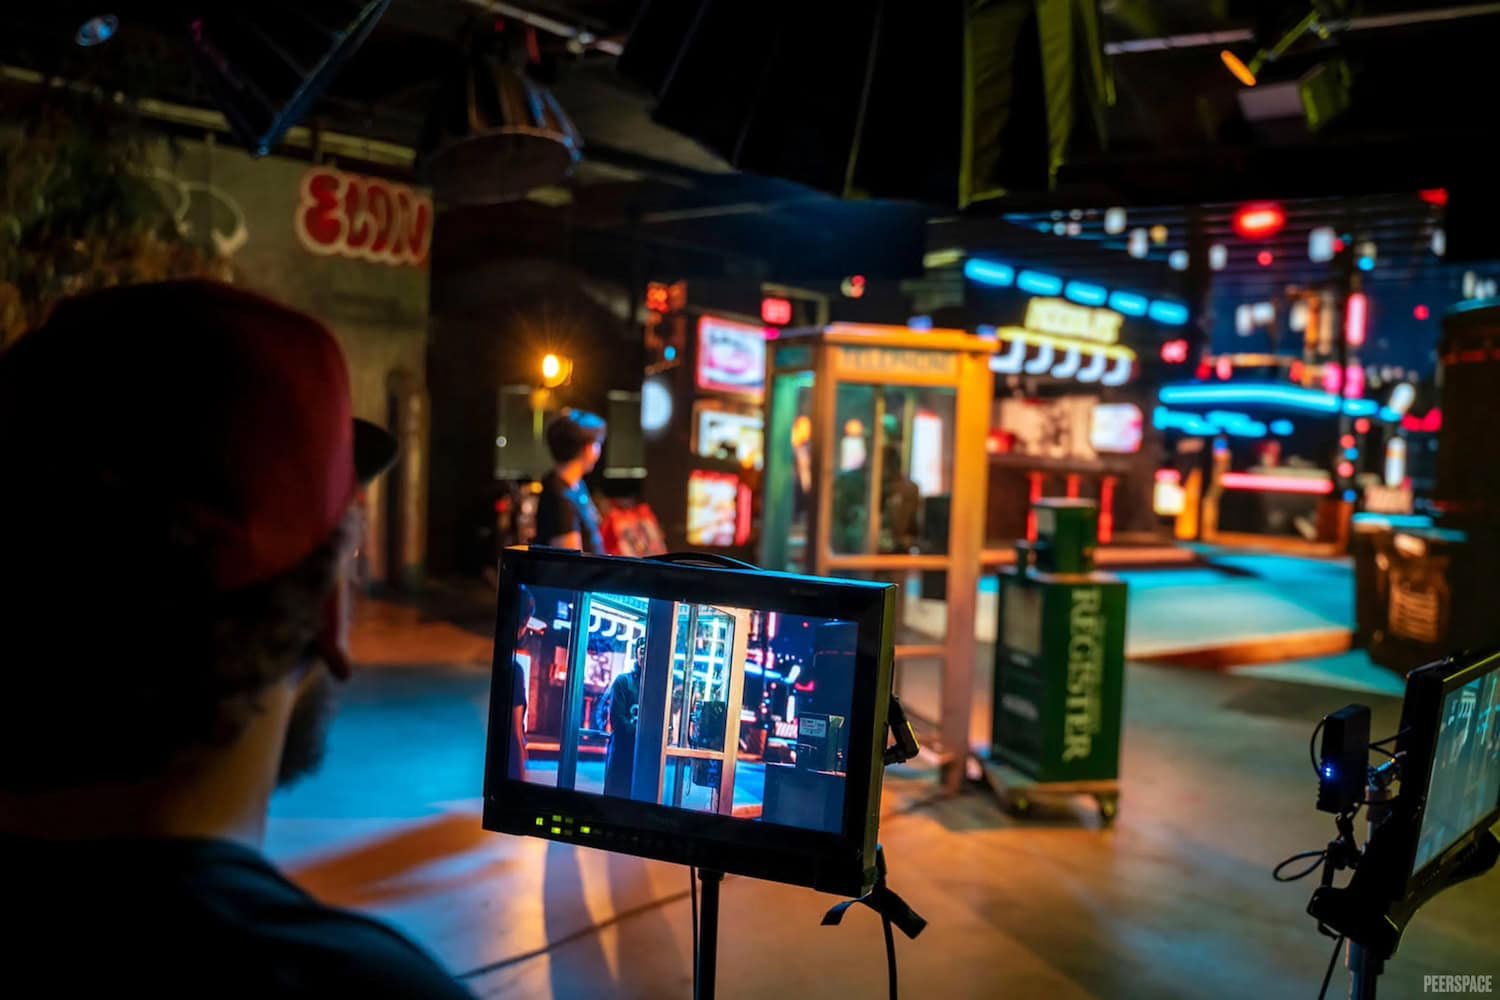
Source: Peerspace
Shooting on green screen used to be something that you only saw in the movies — or on the local weather report. It seemed like something that required too much technical equipment and know-how to be able to do at home. But now, with a simple chroma-key backdrop and standard photo-editing software, anyone can shoot green screen photography from the comfort of their own studio. How can you shoot photos that make it look as if your subject is in Paris or at the beach? What software do you need to make them look convincing? Let’s review everything you need to know about how to shoot realistic images on green screen.
How does green screen work?
Technically, it isn’t green screen — it’s called chroma-key photography, and it works the same way with a blue screen. The reason that green became the industry standard is because it’s a color that isn’t often found in human clothing or skin tone. Thus, it’s especially well-suited to be picked up by the camera’s sensor, due to its high luminance.
That makes it easy for photo-editing software to “key out” the color and replace it with something else. The difficult part is making sure that the screen is properly lit and doesn’t cast a green tinge on your subject. Otherwise, you may end up with a green halo around your subject’s outline, which is nearly impossible to remove. That’s when green screen photos start to look fake.
Should you use blue or green?
Blue and green screens are both commonly available as photography backdrops — in fact, you can get a collapsible backdrop with blue on one side and green on the other, so you can easily switch between the two, depending on which color is more appropriate.
For shots that have green props in them — such as plants or a tennis ball — it will likely be better to go with blue. A blue screen is also ideal for models with light-colored hair, since the hair can pick up a green tint, making the screen harder to key out later.
Either way, green screen photography is much easier to shoot than green screen video. Since you’re only working with a single image, you don’t have to worry about removing the green from every single frame of video, which can be difficult if there’s a lot of motion.
How to light for green screen
The most important part of green screen photography is making sure your scene is lit correctly. Unlike with other kinds of photography, there isn’t any leeway to get creative with shadows and other lighting tricks. You need to make sure that the screen is evenly lit and that your subject is more brightly lit than the green screen. You should also remove any visible wrinkles in the screen.
The further you can position your subject away from the screen, the better. Try to aim for around 10 feet. This way, you can light the subject and screen separately, and get the right amount of light for each part of the shot. That’s why it’s a good idea to get a large green screen, even if you’re only doing medium shots or close-ups.
Some professional studios may already have green screen setups. If you’re looking for a place to shoot, there are plenty of options on Peerspace. Some venues offer you the option to rent equipment, or you can bring your own collapsible green screen and camera gear.
What camera settings to use
When shooting a green screen, you want to keep your subject in focus so you don’t lose any detail. Blurry outlines are harder to work with than crisp ones, so make sure to pay attention to your subject’s hair and clothing. Set your camera to an ISO of 100. Use as narrow an aperture as you can without affecting the focus, which is likely around f/16 if you’re shooting on a DSLR. Use a grey card to adjust your white balance settings.
It’s also a good idea to have a mockup image of the location you plan to use for the background. If you plan to transpose your subject into a scene with direct sunlight, for example, you’ll want to use a harsher lighting setup than an indoor scene. The more closely you can get the angle and lighting of your shot to match the location, the more convincing the finished product will be.
Editing your photos
Once you’ve shot your photos, it’s time to do the green screen magic and replace the backdrop. For this, you can use Photoshop or a photo-editing program designed for green screen.
There are several different tools you can use to remove the green from your photograph. Start by selecting the background layer and deleting it. Then use the color range tool to remove any remaining green patches. If there’s still some green left around the edges of your subject, use the lasso or magic wand tool to catch any stray pixels.
Next, you can add in your background as a new layer. This is where you’ll have to do the most work to get it right. You can adjust the color tone and contrast to match the image, or use the brush tool to touch up any areas that don’t look right.
How much work you do here depends on how realistic you want your photo to appear. For a very stylized image, you may be able to get away with an exaggerated, more cartoon-y feel. For family portraits, you may want to go with something a little more realistic.
When to use a green screen
A green screen shouldn’t serve as a replacement for a color backdrop or an excuse to do everything in post-production. You still need to light your scene well — and, in fact, lighting for green screen is harder than lighting for a black or white background.
For most shoots, you’ll most likely be better off using a standard backdrop with a natural color tone. But it’s still a good idea to have some green screen photography skills, because you never know when you’ll want to try something a little more creative.
Find unique photoshoot locations on Peerspace

Get together somewhere better
Book thousands of unique spaces directly from local hosts.
Explore SpacesShare your space and start earning
Join thousands of hosts renting their space for meetings, events, and photo shoots.
List Your Space