Source: Unsplash
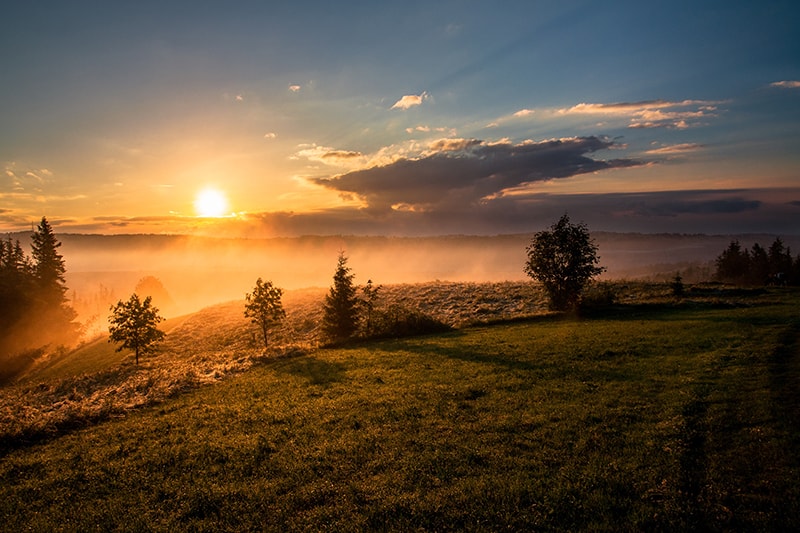
People romanticize the golden hour of sunset everywhere — be it in art, poetry, film, stories, and of course, in photography. And it isn’t just the romance of the last few hours of daylight that grabs a photographer’s attention. It is also the changing light, the transformation of the landscape with the setting sun, and the way light at dusk affects the subjects. It’s easy to consider sunset photography straightforward — just find a clear horizon, wait for the sunset and click, right?
It’s not so simple, especially if you want your results to be worth your while. So we’ve put together a set of nifty tips and tricks to help you ace the sunset photography game and click some stellar shots.
The gear and the settings
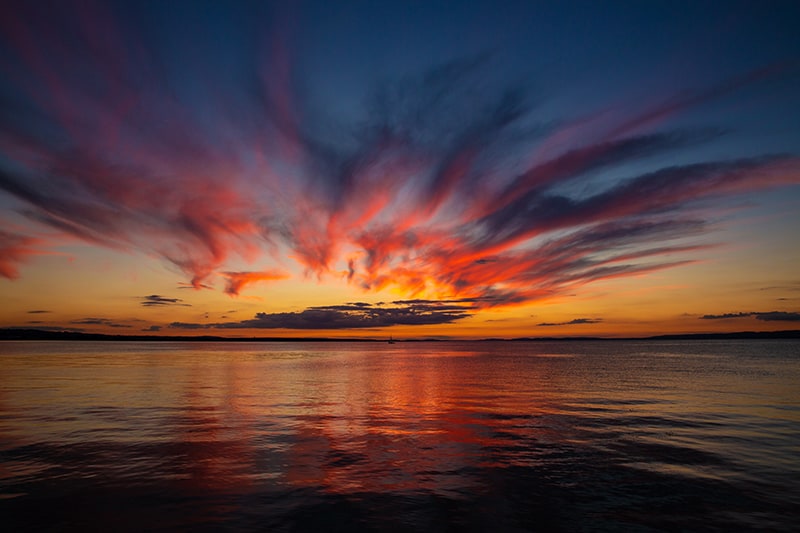
For a good shoot, a clean lens is a must. When clicking landscape pictures, be extra careful about this aspect, as dust specs on the lens can quickly ruin a good perspective shot. To avoid shaking, use a tripod. Set your camera to aperture priority to let the best light in, and use large apertures such as f/16 or f/11. Let the camera adjust the shutter speed accordingly. An ISO of 100 is a great starting point.
Ensure that you shoot your pictures RAW. Use a large focal length if possible, somewhere between 14 and 24mm. Also, begin your shoots with wide angles that help you capture different effects before zooming in where you need. Low ISOs mean more effortless captures of vast vistas, so you get clean images. And as ISO changes, ensure that you watch how shutter speed changes as well to compensate. Sometimes, you may need to make adjustments to the shutter speed and manage the exposures. You can use bracketed exposure to make adjustments and work upon your HDR shots in software such as Lightroom towards the end.
But remember, ultimately, these settings are a guideline and a starting point. As you begin shooting, make adjustments that help you take the pictures you desire.
Going to shoot
Consider the following details as you head out to try your hand at sunset photography.
The setting
The best shots get composed before the shoot. So begin by scoping out the area you’re shooting and get an idea of the landscapes you intend to capture. Is it a forested, mountainous space? Is it a city vista? A rural landscape? What features does the space offer?
The environment
The second thing to keep an eye out for is, of course, the weather. Is it a cloudy day? A rainy day? Or are the skies clear? Sometimes, even urban phenomena like smog and smoke produce stunning results when combined with the light of a setting sun.
Adjusting your settings
When working with sunsets, bracketing your shots is always a good idea. How do you do it?
When you have a framed shot ready, click one picture at a higher exposure, one at a medium exposure, and one at a lower exposure. This is bracketing and particularly useful in the changing light of sunset. Many modern cameras have an auto-bracketing feature.
Once you finally assess shots with a histogram, you have an idea of what exposure works best.
Composition
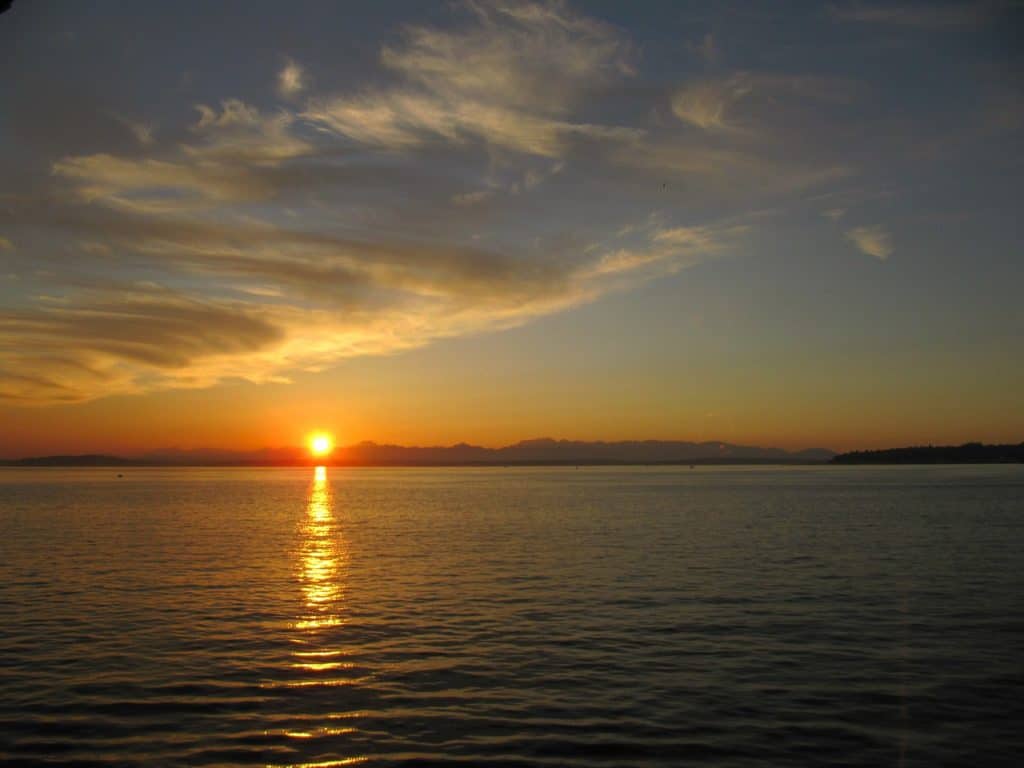
Framing your shots well can make all the difference. When you follow the rule of thirds and set your horizon in the lower half — it gives you a greater coverage of the sky, letting you catch light in the clouds, a flock of birds, or work with an excellent sunburst effect.
However, low horizon shots can also be mistaken for sunrise, so if the shot is vital to portray, you can reconsider the framing or include elements in the frame typical to the time of day. Another standard frame for portraying dusk is having a higher horizon line and occupying the space above half the image. That automatically prompts the assumption of a sunset in people’s eyes.
Capturing colors
One of the most terrific things about shooting during the sunset is the rich variety of colors seen at this time of day. In a span of hours, colors can change dramatically, and hence it becomes essential to arrive early and stay late to catch the last light. Turn off your auto-white balance, and let that be something you expose and adjust as you shoot. You can capture rich colors well past the last light, and a dynamic landscape will add to the drama of great silhouette shots.
Once you have your basic clicks in place, it is now time to experiment.
Play with effects
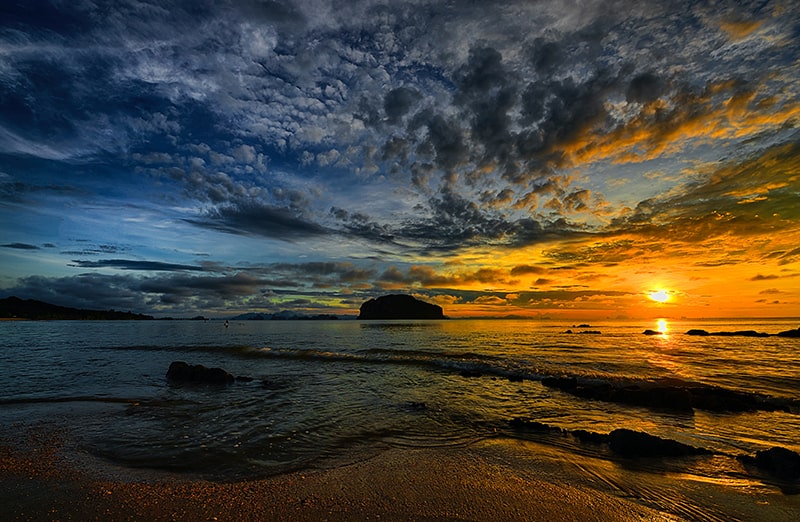
After trying out the different basic settings, try things such as adjusting each parameter manually. Play with your camera’s manual focus, letting it rest on a close subject for a blurred-out wide silhouette shot or at a far-off subject that you frame in the sky. Composition, of course, is key to making such photos happen.
Another great thing you can play with is your exposure. When shooting the seaside or a stream of clouds, changing the exposure can help you capture an ethereal sense of movement in these natural elements. Of course, your ISO gets lowered as well to avoid excessive graininess.
If you’re shooting an urban vista, playing with exposure and shutter speed can help you grab some compelling pictures. One idea is to go for a shot where the lights of moving traffic blur out to contrast with the reds of the setting sun. Once again, adjusting the exposure and shutter speed is best done manually to make the best of the light you have in the scenario.
Some effects, such as a silhouette, or a sunburst, are classics of the sunset photography segment. Silhouettes often depend on the focus and framing and how well you expose your shots to focus on the colors. Something such as a sunburst comes from letting the sunlight shine into the lens — a flare you usually avoid in other types of outdoor photography. But in a well-composed sunset shot, it can become a terrific special effect.
Shooting until last light often brings with it scope for terrific pictures. If you pick the right moment, the wash of light in multiple hues of orange, red, and purple can add tremendously to the landscapes’ beauty.
Making the most of golden hour possibilities
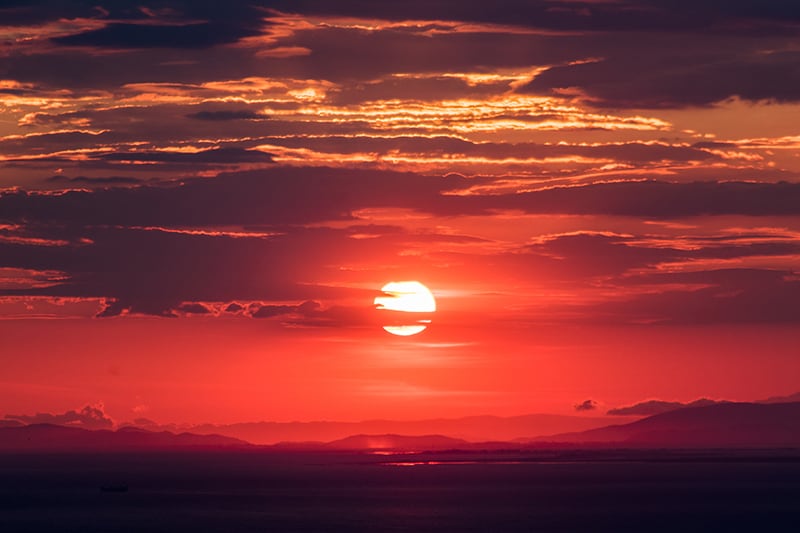
Arrive early and stay late. Keep shooting even after the sun has set. You may find yourself fiddling with your settings as the evening progresses. This is because sunset encompasses the varying light and the changing activities, such as a surge in traffic, the movement of birds and animals, and different night activities popping up.
Getting details like these can also help communicate the time of day without actually having to picture the sun in your frame. Cities and nightlife begin to come alive at this time and provide incredible subjects for a keen sunset photographer.
Ultimately, Sunset photography is an exercise in understanding the primary principles — light, color, composition, as well as the settings of your camera. Try the various permutations and combinations until you achieve what you are looking for. Do it once. And then, on a different day under different conditions, the shots you get in the same spot are likely to be very different. So, enjoy this dynamic art. A million possibilities exist at golden hour for a photographer interested in exploring them.
Find unique sunset photoshoot locations on Peerspace
Get together somewhere better
Book thousands of unique spaces directly from local hosts.
Explore SpacesShare your space and start earning
Join thousands of hosts renting their space for meetings, events, and photo shoots.
List Your Space


