Everything You Need to Know About Location Scouting
-

Editorial Team
- February 11, 2019
- 6 min read
- Events

Source: Pixabay
Location scouting can be one of the most exciting parts of making a film or video production. You get to visit new places, tour a wide range of buildings and landscapes, and play a vital role in developing the look and feel of your project. It’s also one of the most logistics-heavy parts of the production process, so you don’t want to leave it to the last minute.
Finding the right location can make all the difference between an epic shoot and a mediocre one, so visit as many locations as you can so you have plenty of options. Here’s a step-by-step guide on how to location scout, regardless of the size and budget of your production.
1. Start with your networks
While many cities have a local film bureau that can connect you with locations that have been used in the past, you may want to start with your own networks. Would any of your friends and family be willing to let you use their house or apartment? If you need a church or a school, how about one that you’ve attended yourself?
FIlm and video shoots are high-impact events, so don’t impose on anyone. You’ll still want to treat your friend’s home as professionally as you would a studio you were renting. Consider paying them a small fee for their trouble. Still, using a location you’re already familiar with can save you some of the hassles of having to visit dozens of new locations.
2. Research the geographical whereabouts of the location
There’s more to a location than just your immediate surroundings. Take a look at where your prospective location is situated relative to other parts of your shoot. Is it close enough to your other locations that your cast and crew will have time to get there on the day of the shoot? Is there public transit nearby, or will you have to arrange for private transportation?
There’s no point in renting a beautiful hilltop mansion if the only road is so narrow that your equipment truck won’t fit. Do your research ahead of time, so there won’t be any surprises. It’s also a good idea to take note of the closest hospital (in case of emergency) as well as nearby restaurants and stores, for picking up lunch or any last-minute supplies.
3. Take pictures
Ideally, you’ll want to visit the location with your core crew, including the director of photography and production designer. No matter how many people visit the location with you, take as many pictures as you can for reference. Once you’ve begun looking at a few dozen locations, they’ll start to blend together, so you’ll want to have notes and photos you can look at later.
Besides, everything looks different on camera. Take pictures from a few different angles so you can see what it will actually look like when your cast and crew is in place. Have someone stand in for your lead actor if you can. Don’t forget to take pictures of the exterior too.
4. Consider the logistics
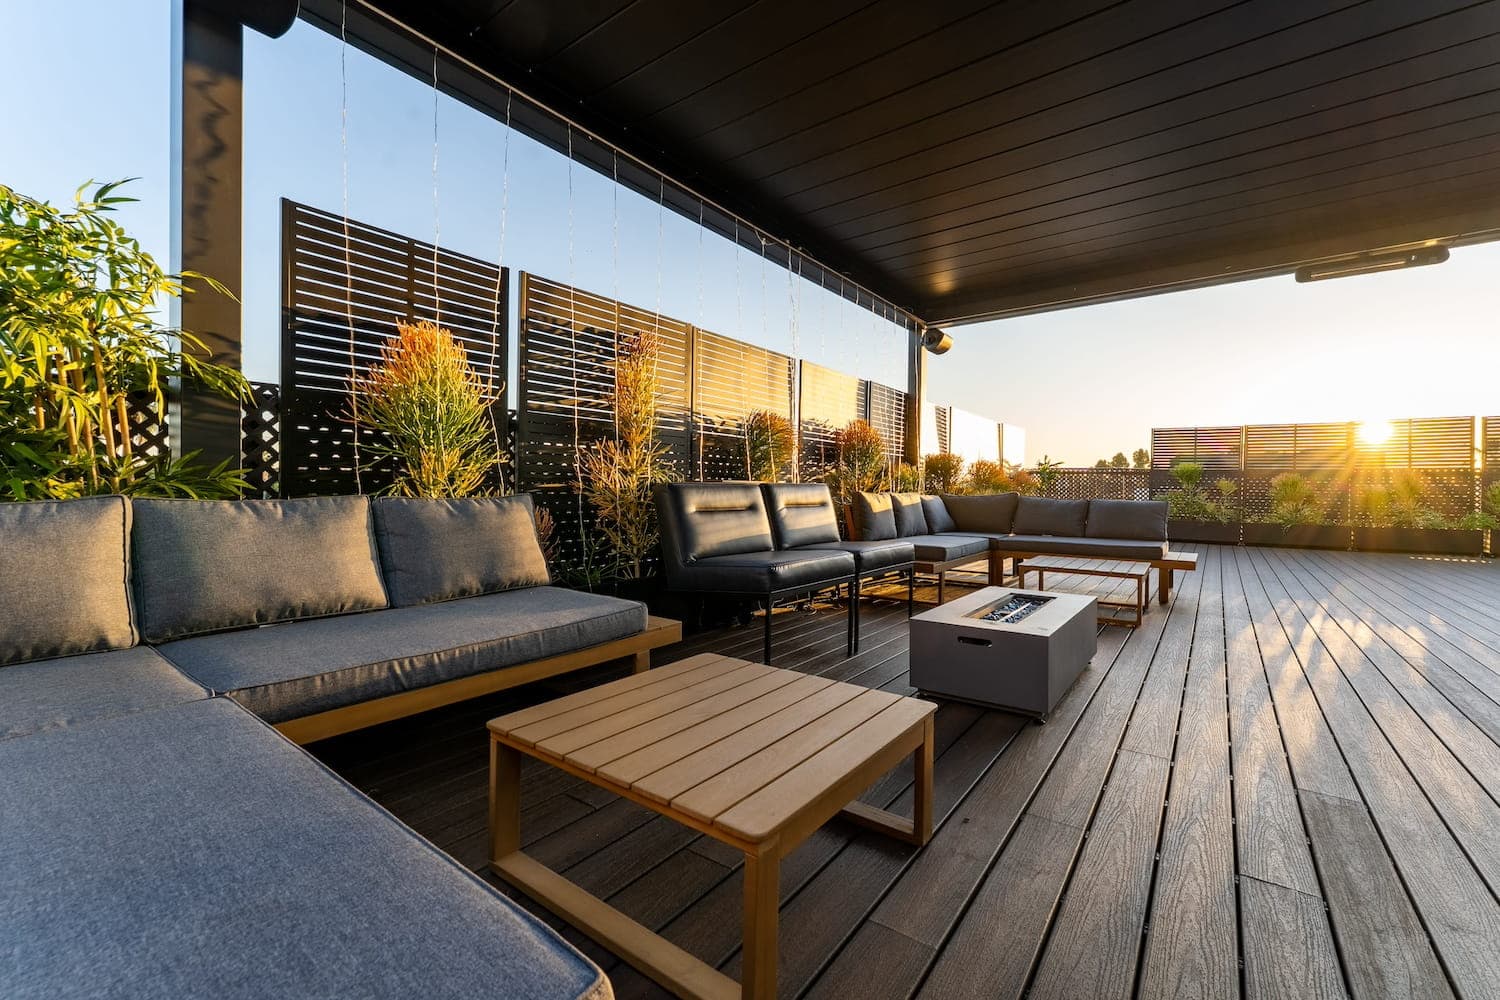
The best time to visit a location is the time of day that you’ll actually be shooting. If you plan to shoot at sunrise or sunset, come back for a second visit around that time. Decide whether you’ll have enough light to work with or if you’ll need to rent more gear.
Don’t forget to ask the landlord or property owner if the electrical system can handle the amount of lighting you need. Is electricity included in the rental fee, or will you be expected to provide your own generator? How about toilets? Is there one for your cast and crew to use, or will you have to rent a porta-pottie? It’s always best to ask these things ahead of time.
5. Observe your surrounding environment
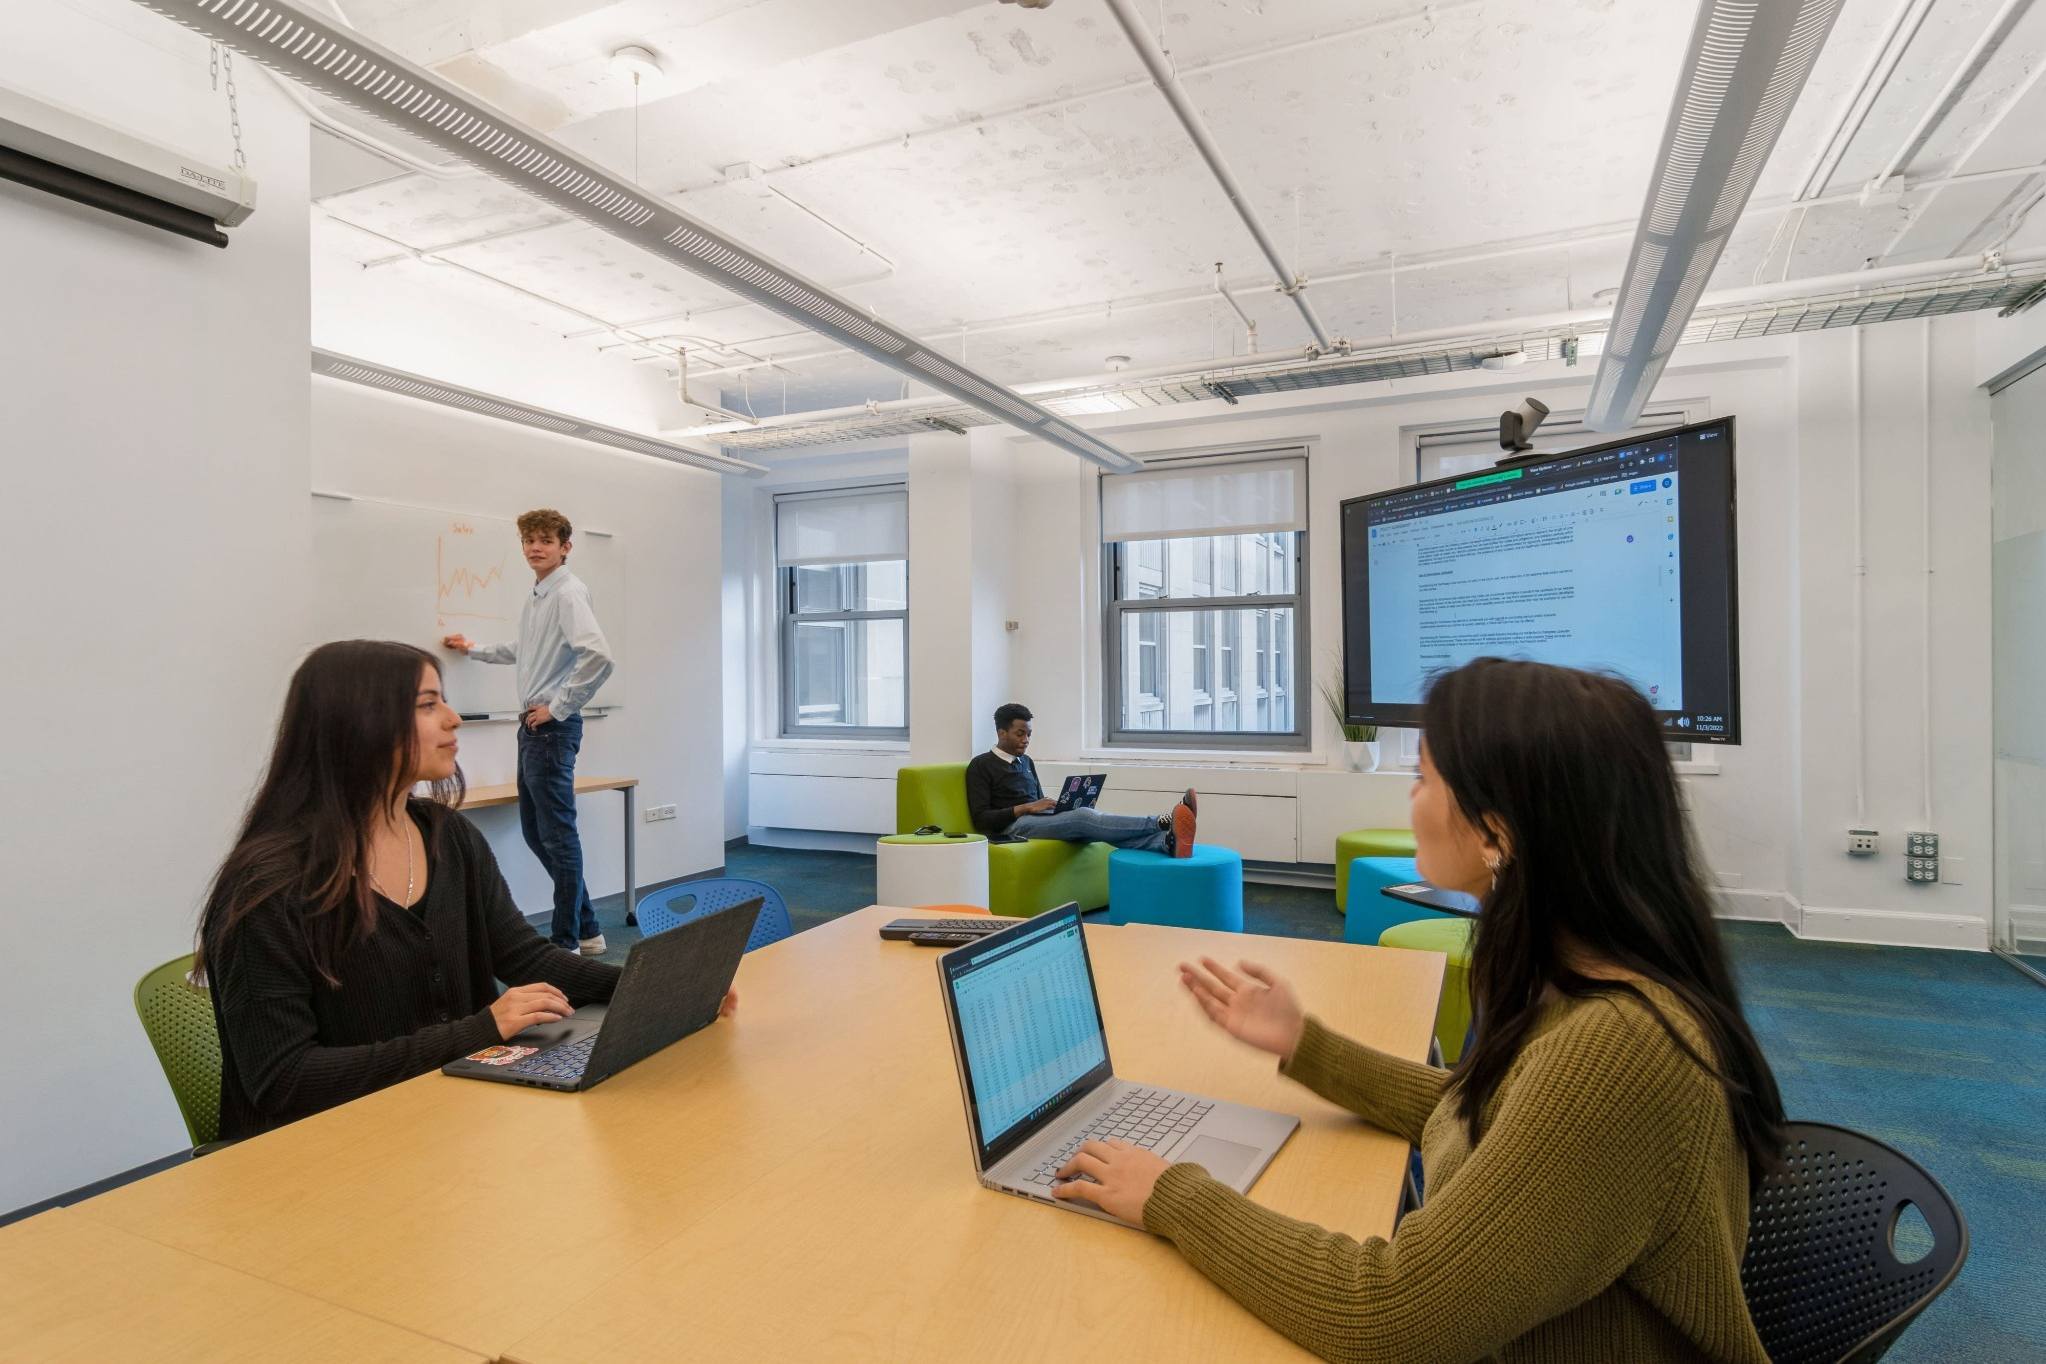
In addition to lighting, pay attention to any noise or other environmental factors that may get in the way of your shoot. Will you pick up the sound of the refrigerator or air conditioning during your shoot? Can you turn off electrical appliances that you don’t need?
Consider paying a visit to the neighbors as well. The location may be quiet when you visit on a Saturday, but if the next building over is a church or a school, the whole neighborhood may be too loud to shoot in on a Sunday or Monday.
6. Get it in writing
Depending on the size and complexity of your shoot, you may need to get location permits and insurance. Outdoor productions may require traffic control or a security officer. Of course, you can try and shoot guerilla-style, but that’s always risky.
If you’re shooting at a home or business, you’ll want to create a formal agreement with the property owner. Agree on the number of hours you’ll be at the location and the size of the cast and crew. Don’t just take a staff member’s word for it that it’s ok for you to shoot there. If your production requires you to shut down a place of business for the day, then you may need to negotiate a higher fee to compensate them for lost income.
Even if the location is a friend’s apartment or a rental house, it’s always best to get permission from the landlord before a shoot. You don’t want the neighbors to call the cops on you!
Some Airbnb hosts may offer their spaces as shooting locations, but may have different fees or insurance requirements than they do for overnight guests. Don’t make the mistake of shooting somewhere that you shouldn’t and end up in a legal dispute later.
Final tips
Learning how to location scout can seem like a lot of work, but it’s really just a matter of being methodical. Make checklists and work through them, just like you would if you were going to rent a new apartment or buy a house. Visit a few different options and compare.
If you’re renting by the hour, always budget a little more time than you think you need in case you start late or go over schedule. And, always thank your hosts, so you maintain a positive relationship if you need to come back for re-shoots.
Don’t forget that Peerspace has many locations available that are suitable for photo and video shoots, with hosts who are happy to accommodate your production.