How to Build a Cyc Wall
-

Editorial Team
- September 29, 2024
- 13 min read
- Filmmaking

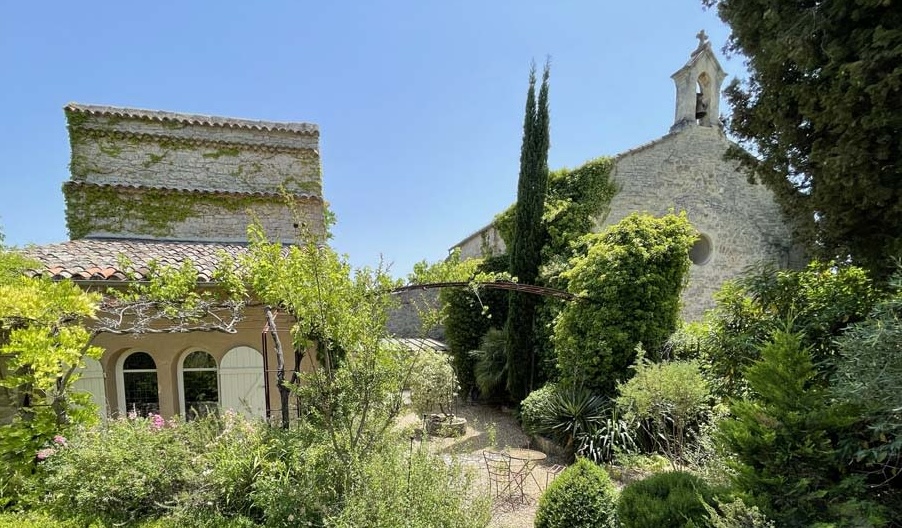
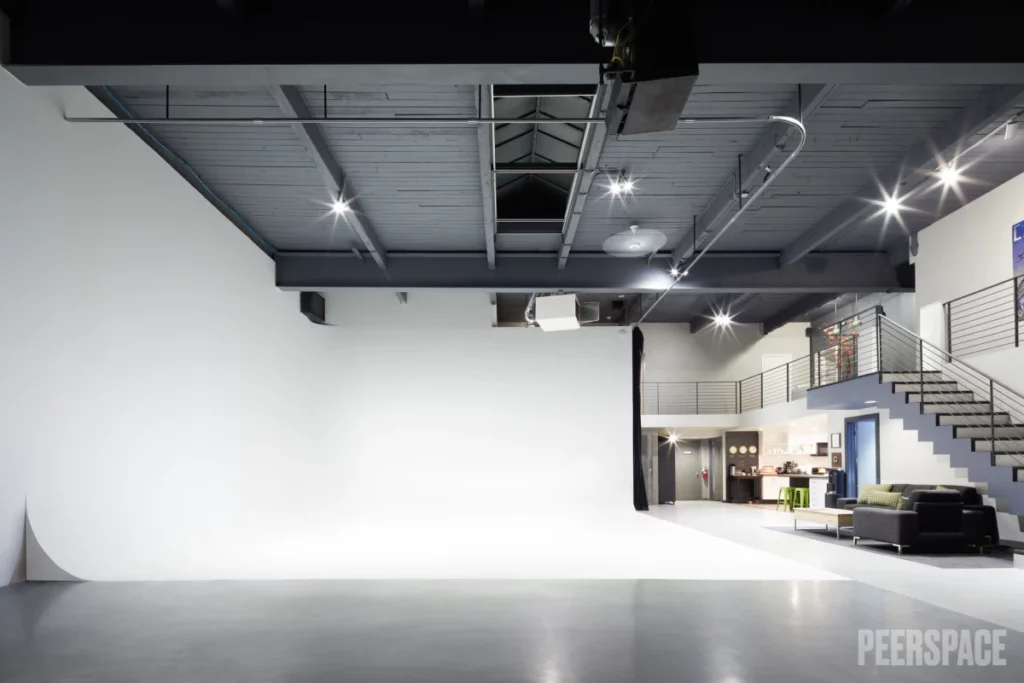
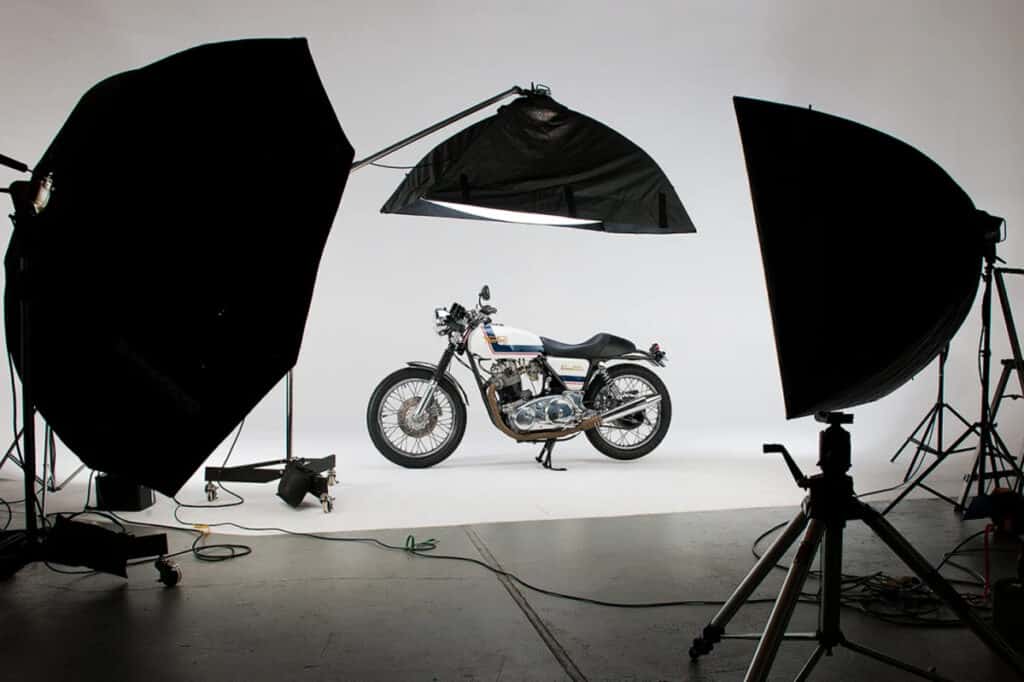
Source: Peerspace
Production locations on Peerspace typically cost $40 — $180 per hour.
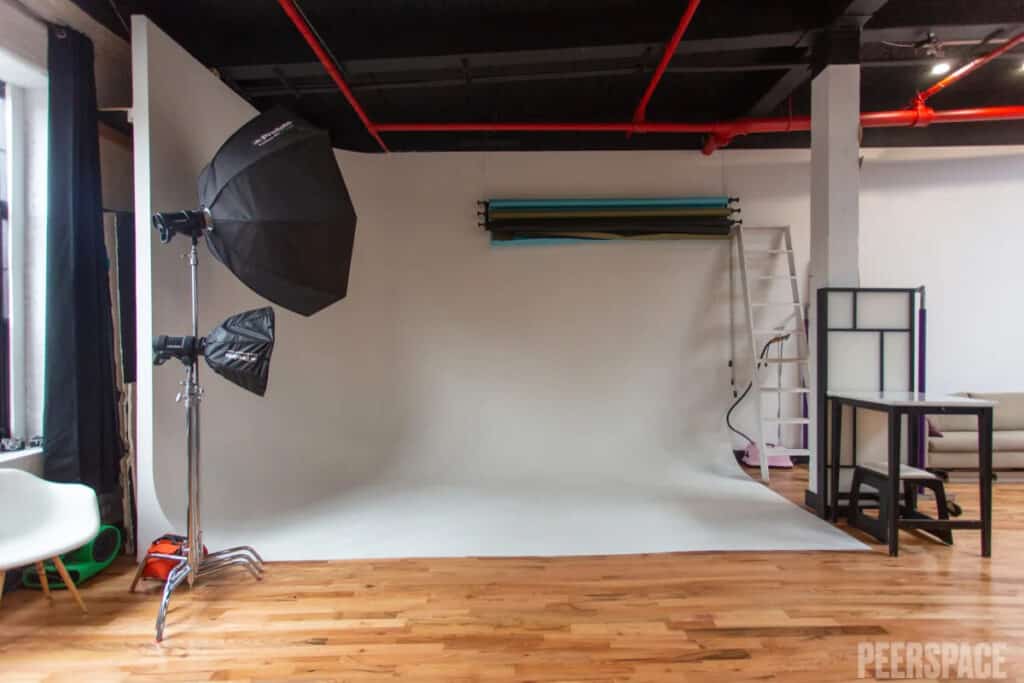
See unique production locationsWondering how to build a cyc wall? Trust us, with some expert guidance, it isn’t impossible! The word cyclorama is a variation of “panorama,” meaning “complete view,” but on a 360-degree circle. However, in modern photography, it’s been adapted to suggest a background that goes on forever. This is why it’s also known as an Infinity Wall.
Most likely, if you need to know how to build a cyc wall, you’re already a professional photographer, videographer, architect, contractor, or studio owner. And we’ve put this list together to help you figure out how much time and work to plan for.
After you have your cyc wall up and operating, be sure to list your studio on Peerspace. Doing so lets you help members of the creative community, giving them a professional production space to create their content while you build new connections. And of course, you also have the chance to earn some sweet passive income!
Follow these 14 steps to build a cyc wall that may just end up paying for itself shortly.
1. Assess your walls and prep their surfaces
When building a cyc wall, start by checking the walls you’ll be using. Any bumps or bits sticking out, like outlets or light fixtures, will need to go. Once removed, fill in those gaps to make sure the wall is as smooth as a blank canvas.
For bigger obstacles, like support columns, doorways, or window frames, you’ll need a bit more prep work. The solution here is to install drywall, anchored with studs, right in front of them. This creates a continuous, unbroken surface essential for that seamless cyc wall effect.
2. Determine the size of your cove based on the space and your preferences

How big you make the cove of the cyc will affect how evenly and smoothly the light will fall on it. Essentially, the bigger the curve, the easier it is to light. We’ll be detailing how to build a cyc wall for full-body photography or video work, with three-foot curves, a 12-foot-high wall, and 18 feet of bare floor.
If you’re going to do smaller-scale work, you might consider just buying a tabletop cyclorama (or hanging white seamless paper or a fabric green screen from c-stands). This compact solution is ideal for product photography, close-up shots, or any work that doesn’t require a full-scale set.
A tabletop cyclorama provides a seamless background right on your worktable, making it easy to achieve that infinite backdrop look without the need for a larger space. Alternatively, if you’re looking for even more flexibility, you could opt for hanging white seamless paper or a fabric green screen.
Using c-stands, you can easily set up these backgrounds in your shooting area. This method not only offers the versatility of switching between different backdrop colors or effects but also caters to various types of projects, from photography to video work.
3. Head to a home improvement store and shop for the materials
There are premade cyc forms you can buy and glue down, but if you are handy with a jigsaw, you can build it yourself for less money.
Here’s what you’ll need:
- Jigsaw
- Trammel or yardstick
- Four or five 4 x 8 sheets of ¾” plywood*
- Approx. 100 feet of 1-inch dowels*
- Hammer or nail gun
- Box of nails
- Box of wood screws
- Liquid nails
- Seven 4×8 sheets of ¼” Masonite*
- Craft paper
- All-purpose drywall mud
- Topping drywall mud
- Electric sander
- White floor primer
- Flat white paint and/or chroma-key green paint
*These quantities depend on how big and sturdy you build the cyc wall.
4. Cut your wood forms to support your cyc wall

First, you’ll need to create curved, wooden beams for support that you can then duplicate. For a three-foot curve, you ought to be able to get four forms out of a 4×8 foot sheet of ¾” thick plywood. Decide how many forms you’ll need based on how long, high, and how strong you want the cyclorama to be.
For the most part, you should not put any weight on the cyclorama curve. Accidents and awkward situations happen, though, so you should build it to support a person’s weight easily. If a light or c-stand falls on it, you may need to patch a hole. Spacing the forms every two feet will make the structure very strong. Yet for economy’s sake, spacing the wood forms every three feet will work too.
You can make the arc of a curve by pegging a trammel with a three-foot radius into your plywood, then attaching the jigsaw and cutting it. You might also get away with drawing the arc using a yardstick with a hole drilled through one end and a nail through it.
Then, sand down your hand jigsaw cut so that it’s a smooth curve. The arc doesn’t need to be precisely three feet. What’s important here is making all the forms exactly the same size. After making a master form you are happy with, trace it to make all the others you need.
Need more studio DIY? Then also check out how to set up a photography studio from scratch
5. Attach your wood forms to the wall
Are you happy with the wood forms you created? Great; now it’s time to affix them to the walls. Attach the wood forms to the wall by screwing one-inch dowels along their back edges and then screwing them into the wall behind them.

6. Place your curves on the wood forms
Now you need to attach your curves to the wood forms you hung on the walls. For the vertical corner, install a horizontal curve just above the two closest floor-to-wall curves so you create a triangle between the touching tips.
Then, split this triangle with another wood form in the center, attaching dowels at the base and screwing them into the floor. After you’ve got all your wood forms spaced around the room, reinforce the curve with horizontal dowels about every eight inches.
7. Lay down the surface of your cyclorama

The surface of a cyc wall is made from various materials, from fiberglass to plywood to slitted drywall. Here, we’re using two layers of 1/8” masonite, with the seams staggered.
To lay down your surface, follow these steps:
- First, nail a sheet of masonite up into the vertical corner, starting about six inches above the line of the floor-to-wall curves.
- Then, add liquid nails to all the wood forms and horizontal square dowels on the floor-to-wall curves, covering them with masonite so that the top edges touch the masonite already on the wall.
- Drive nails or screws through the temporary wooden dowels into the floor at the base of the masonite until the glue is dry so it doesn’t slide.
- For added strength, we recommend gluing the second layer of masonite down as well, cut so that the seams do not overlap with the first layer.
You will still expose the triangular corner. Cut the craft paper into pizza-slice patterns that fill the gaps between the wood forms, then trace them onto sheets of masonite to cut and glue down in two layers. The intersections between the slices will have edges you will fill with drywall mud after priming it.
8. Apply the mud to create a smooth, blemish-free surface

If you decide to buy pre-fabricated cyclorama curves, you can skip all the steps before this one. Drywall mud will stick better to your walls and curves if they are coated with primer first. Then, at the rough edges, apply all-purpose drywall mud to attach drywall tape.
As the mud dries, it will crack, and you will sand it to smooth it out and then apply additional coats. Topping compound drywall mud requires fewer coats because it’s stronger and less likely to crack, but all-purpose drywall mud is better for the first coat to attach the tape.
Remember, the goal is to create a seamless, smooth surface that looks infinite on camera. Patience and attention to detail during these steps will result in a professional-quality cyclorama wall, ready to serve as the backdrop for various creative projects.
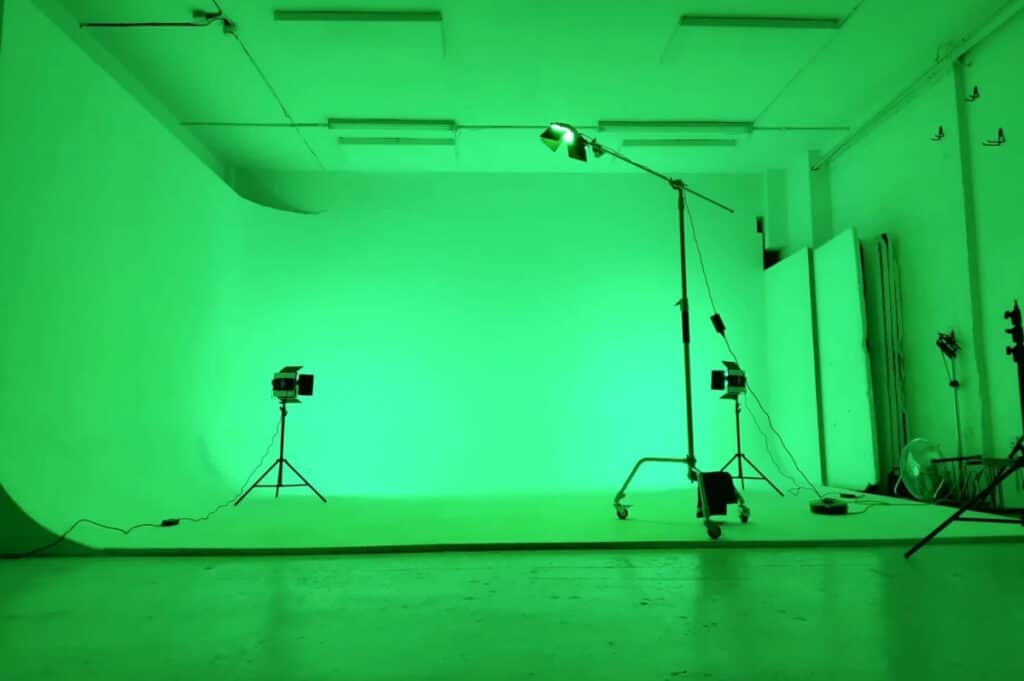
9. Paint the cyc wall white or chroma key green

One of the last steps is painting your new cyc. Tape off the edges above it on the wall and the floor at least fifteen feet from your curve, so you’ve got clean lines when you’re done. Make sure your floor is immaculate. Then, apply white floor primer with paint rollers, starting with the top of the wall and working your way down.
After the primer dries, you’ll be using flat paint, so there’s no shine. Keep in mind that you’ll be re-painting the cyclorama regularly, so you want to find a flat white paint you can easily get your hands on.
For painting a green screen, the industry standard is Roscoe 5711 Chroma Key Green. If you’re not near an industry supplier, you might see if your local hardware store will stock it. They may be able to get their hands on it at a reduced rate.
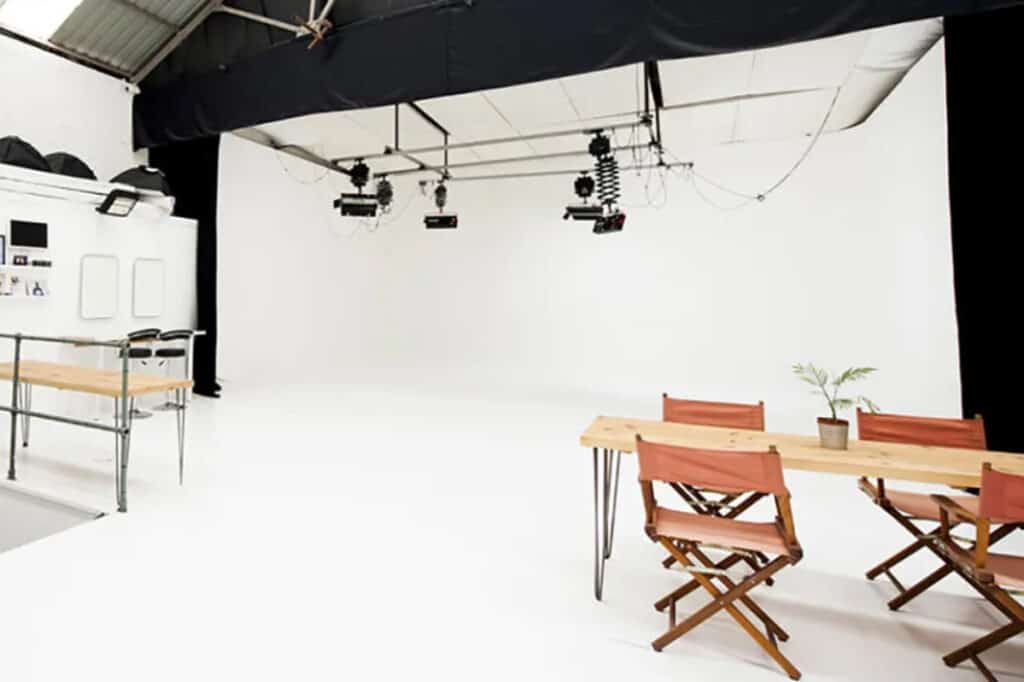
10. Account for lighting considerations
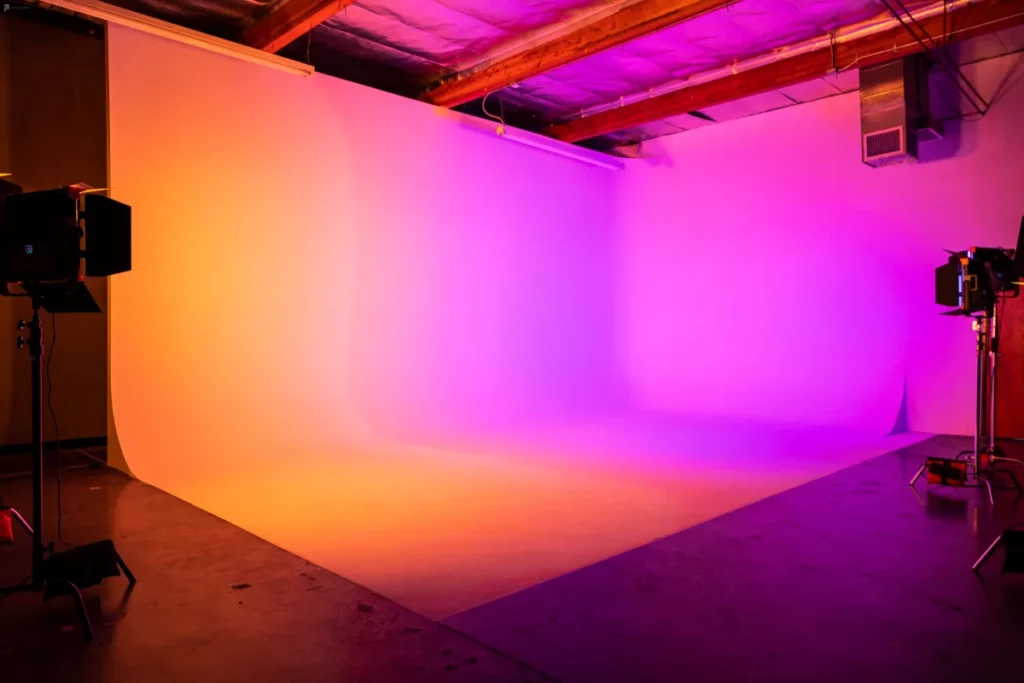
You can blast the cyc with light stands positioned outside of the frame, but the easiest position to light from is the ceiling, so you’ll probably want to look into how to build an overhead lighting grid.
Here are 8 creative ways to earn money from your studio. (We bet you haven’t thought of them all!)
11. Enhance your handiwork to better suit your needs
Consider the type of work you’ll be creating in your studio and enhance your cyc wall accordingly. In case you’re planning to record video, you’ll also want to pad all the walls outside the border of your cyc with black soundproofing to record sound without echoes or outside noise.
And if you’re planning to work with traditional, tungsten-based lights, you will most likely want to install an industrial-sized AC in the ceiling with an easily accessible switch or remote control, so you can turn it off for silence when you need it.
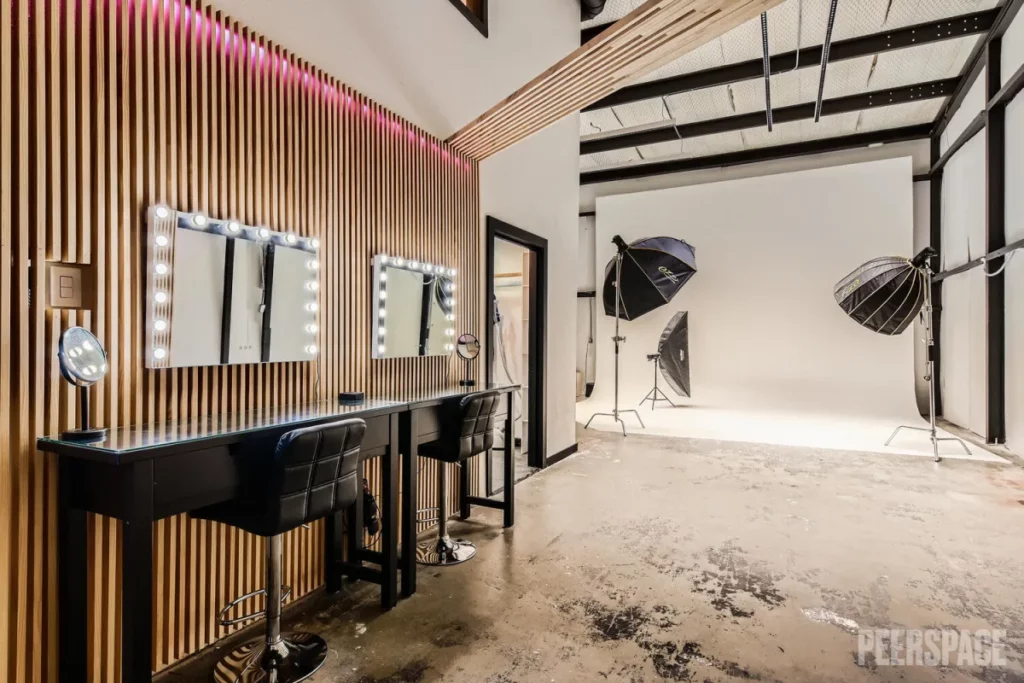
12. Build up the rest of your studio

You’ve built your very own cyc wall — congrats! Your studio is now technically equipped to handle a variety of production projects, from photos to film shoots and more. But why stop there? You can continue to enhance your studio to make it even more attractive and helpful to the creative community.
If you haven’t already, consider adding multiple rolls of colorful paper backdrops, textural elements, like grass and cloud walls, and LED tube lighting walls. You can also set up a lounge area so your future studio renters have a place to relax and plan.
And the more props you have on-site, the better. Stocking up on props for your space is like adding sprinkles to a sundae — the more, the merrier! Every extra touch you add makes your space even more appealing. It’s not just about making it look good; it’s about giving your bookers more reasons to love your place and come back for more.
Sure, gathering all these bits and bobs takes effort, but it’s the kind of work that pays off in good vibes and extra cash. Plus, it’s a great way to connect with more creative folks and see all the amazing things they do with your space.
13. Let Peerspace help you show off your hard work

Built the perfect cyc wall in your studio? Then why not have it make money for you? List your production studio on Peerspace to let fellow creatives in your area rent time and create their own masterpieces there.
Be sure to list your studio’s exciting features (such as your handmade cyc wall!) and all the equipment you have on hand available to rent or included with your hourly rate. A feature like a cyc wall will attract professional photographers in every genre and can help you set a premium price for your space.
14. Check out a few cyc wall studios on Peerspace for inspiration
Want to check out a studio or two with their own cyc walls before you craft your own? Have you created your dream studio and want to list it on Peerspace, but aren’t sure how to create a winning listing?
No matter what ideas you need to enhance your studio, browse our website. You can even book time at a Peerspace production studio to try out the technology and see for yourself what difference it can make to your work. By the time you feel like you have a well-equipped space that’s perfect for any creative to use, you can list it on Peerspace to make some side money in between your own projects.
Check out some outstanding cyc wall studios that Peerspace users love:
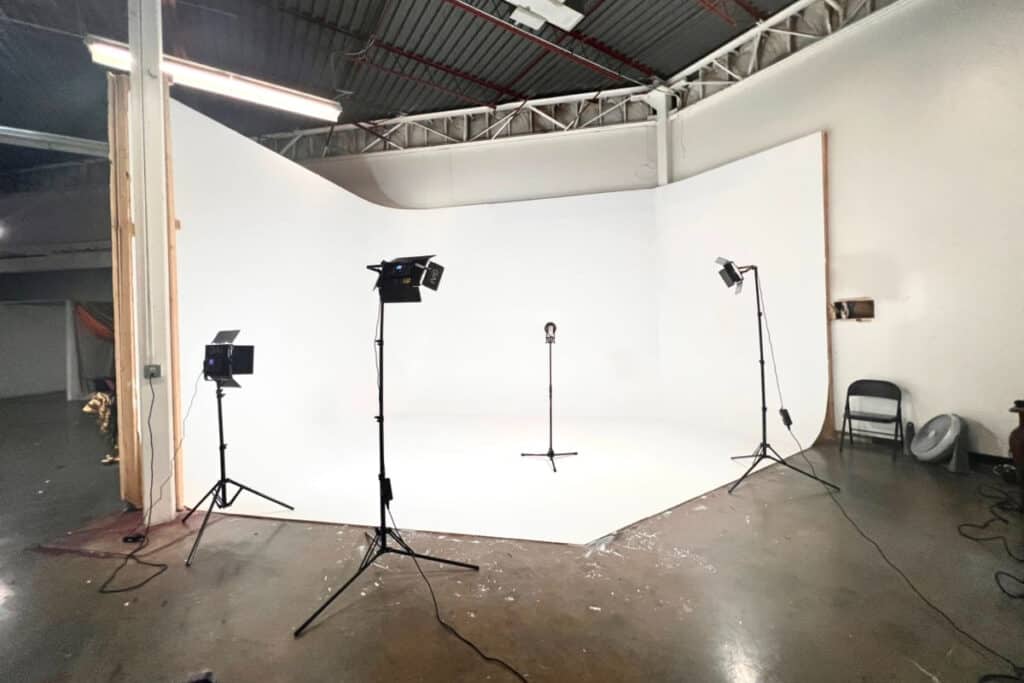
- The largest independent film/photo studio in Merseyside, Liverpool, UK (pictured above) that is home to a massive infinity wall.
- This urban studio in Pittsburgh, PA, with a 28′ x 16′ cyc wall, as well as props and equipment rentals.
- This corner cyc wall studio in Portland, OR, with a 28′ x 24′ corner cyclorama and a house grip package.
- This white infinity wall studio in Upland, CA, with soundproofing and staged production sets.
- This spacious photo studio with infinity wall in Vancouver, BC, with an open layout and office space
- This green screen and cyc wall studio in Los Angeles, CA, with seamless backdrops and optional lighting equipment add-on packages.
- This all-white cyc wall studio in Manhattan, NYC with a 9′ x 11′ white cyclorama, free equipment, freight elevators, and a balcony for fresh air.
You get the idea! With Peerspace, you can easily book cyc wall and green screen studios as you start to build your own cyc wall or just to get some work done while yours is being built. Either way, you can use our simple platform to discover the perfect studio near you with all the space and gear you need.
The bottom line on how to build a cyc wall
At this point, you’ve gained practical knowledge about how to build a cyc wall. This opens up new possibilities for photography and videography projects. Additionally, you’ve discovered an opportunity to leverage your newly created cyc wall studio as a source of supplemental income by listing your space on Peerspace.
By sharing your professional-quality cyc wall studio on Peerspace, you’re giving local creatives a fantastic place to bring their projects to life. Really, it’s a win-win.
You’ve embarked on a rewarding journey, picking up some great skills and creating something valuable. And in the end, you’ve got something that not only adds to your life but also supports and enriches the creative vibes in your community. How cool is that?
Find unique production locations on Peerspace
In this article
- 1. Assess your walls and prep their surfaces
- 2. Determine the size of your cove based on the space and your preferences
- 3. Head to a home improvement store and shop for the materials
- 4. Cut your wood forms to support your cyc wall
- Earn money renting your studio on Peerspace
- 5. Attach your wood forms to the wall
- 6. Place your curves on the wood forms
- 7. Lay down the surface of your cyclorama
- 8. Apply the mud to create a smooth, blemish-free surface
- 9. Paint the cyc wall white or chroma key green
- 10. Account for lighting considerations
- Book your studio clients on Peerspace
- 11. Enhance your handiwork to better suit your needs
- 12. Build up the rest of your studio
- 13. Let Peerspace help you show off your hard work
- 14. Check out a few cyc wall studios on Peerspace for inspiration
- The bottom line on how to build a cyc wall
- Find unique production locations on Peerspace
Get together somewhere better
Book thousands of unique spaces directly from local hosts.
Explore SpacesShare your space and start earning
Join thousands of hosts renting their space for meetings, events, and photo shoots.
List Your Space