Source: Unsplash
Answered
Photoshoot locations on Peerspace typically cost $60 — $200 per hour.
- Booking photoshoot locations that let you follow your passion
- Safety comes first, so be sure to plan ahead
- The equipment and settings you need to photograph lightning
- Other accessories to make the job easier
- Setting up the composition for the best shots
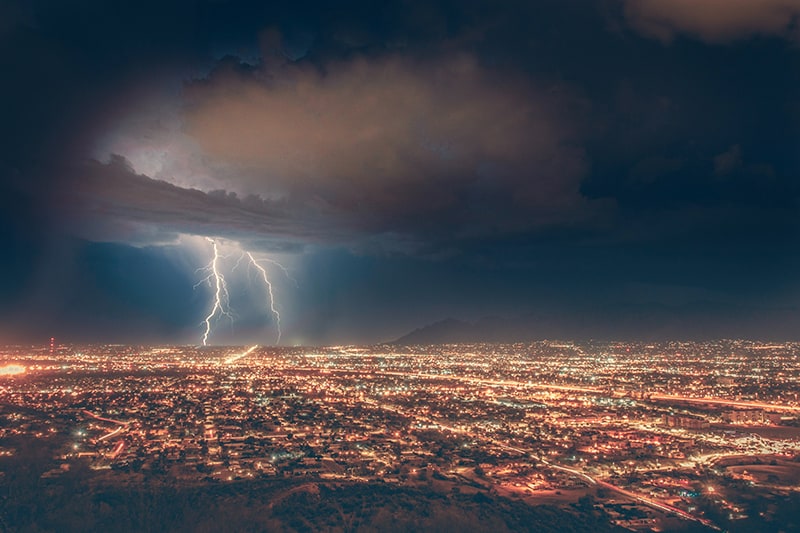
Wondering how to photograph lightning? If so, you’re likely a photographer with an interest in natural phenomena. But as you’ll soon see, photographing lightning is a combination of luck and preparation.
As well as chasing storms, it also involves some very careful set-ups and experimentation with timing, and beginners may find themselves frustrated, wet, and waiting outside in the cold for a long time. However, with these trusty tips and tricks, you’ll be photographing lightning in no time.
A quick word on booking photoshoot locations that let you follow your passion

Whether you want to know how to photograph lightning or shoot family portraits, one thing remains a constant. The location of your shoot is critical!
With the right setting, you have access to the perfect ambiance, amenities, views, and more. And when it comes to photoshoot locations, Peerspace can help you out there, too. We’re the largest online marketplace for hourly venue rentals and can connecr you to amazingly creative spaces hosted by locals in cities across the globe.
Peerspaces can literally provide you new angles on which to view your surroundings. Book private rooftops, photo studios with skylights, sky-high penthouses, and any other type of space that fits your commercial shoot or passion project.
Head to our platform to start a search for all of the amazing venues in your location. And, stick around to learn how to photograph lightning like a pro.
Safety comes first, so be sure to plan ahead

It goes without saying that photographing lightning is inherently dangerous. Nature is a fickle mistress, and the unpredictability of storms means that that a strike could occur at any time. It is imperative that photographers seek a good, safe location from which to begin photographing lightning.
Keep away from open areas, especially if you are nearby tall trees or bodies of water. A good rule of thumb is 50-60 feet. If you feel the hair on the back of your neck, the CDC recommends crouching in a ball-like position, head tucked and hands over your ears, so that you are down low with minimal contact with the ground.
Love golden leaves crinkling under foot? Then you need to scope out these beautiful autumn photoshoot ideas, too!
The equipment and settings you need to photograph lightning
1. Tripod
When photographing lightning, a tripod is a must. You’ll be using long shutter speeds for capturing lightning, so going hand-held is very impractical (unless you have very, very, very steady hands!).
2. Lens
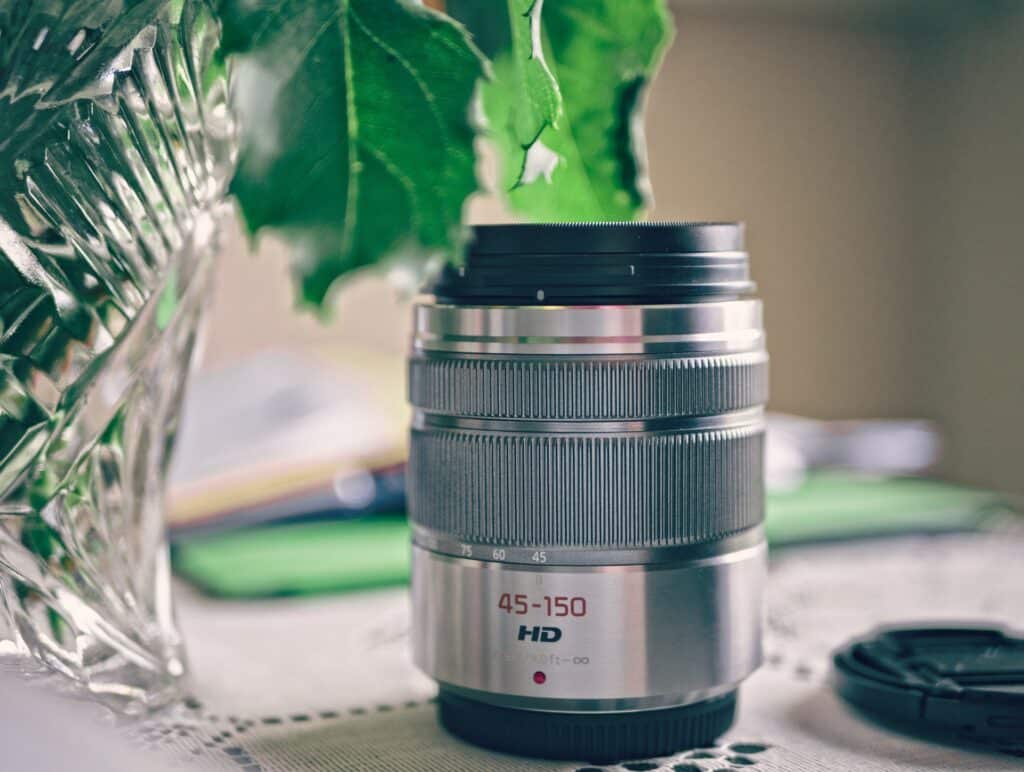
Any lens will work when photographing lightning, and will each lend a unique viewpoint. Choose a wide angle lens if you’re looking for those wide, dramatic, sweeping landscape shots. A wide angle lens is also more forgiving when it comes to focus, so you’ll find it a bit easier to achieve success. Choosing a telephoto lens instead can also lead to great lightning shots—cropping in on the scene to afford more details and perhaps a more compelling shot. Of course, it requires a bit more luck! Using a zoom lens will give you more flexibility in choosing your framing.
3. ISO
You’ll want to start shooting at you’re camera’s base, or lowest, ISO. For most cameras, that will be around 100-200. While it is dark outside during a storm, the lightning is a huge source of light, so we don’t want to create a large glare which obstructs the shape and form of the lightning.
4. Shutter speed
You’ll be shooting at a long shutter speed for capturing lightning, as we’ve mentioned already. This can be as short as 1-3 seconds, if you want the rest of the sky to remain as dark as possible (although you don’t have as much wiggle room to get lucky with the lightning), or as long as 30 seconds. A longer shutter speed will also afford the chance of capturing multiple lightning strikes in one photo!
5. Aperture
Depending on your location, you might opt for a mid-range aperture to include items in the foreground, or a slower (f/8+) aperture if your image is looking over-exposed.
6. Bulb mode
Shooting on bulb mode allows you to really control the length of the shutter, as the camera will take the photo as long as you are depressing the shutter button. This means that you have to stay there with your finger on the shutter for a long time, but leaves out some of the chance when photographing lightning. This can also be done with a cable release, so you don’t have to worry about shaking the camera during an exposure, which brings us to our next point!
Other accessories to make the job easier
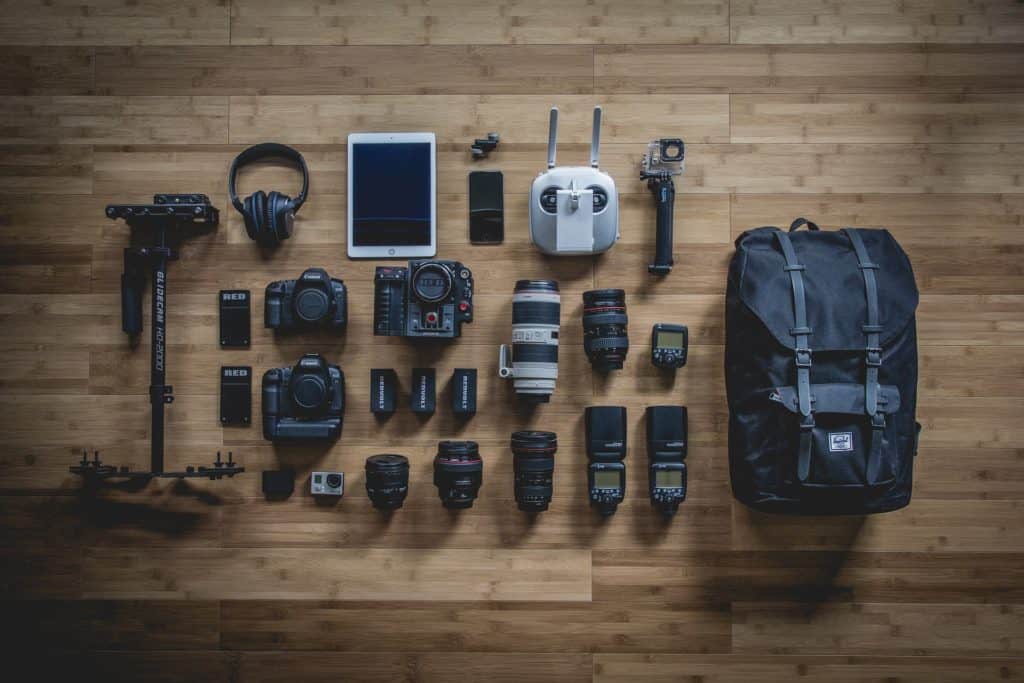
1. Cable release
Touching the camera to take a picture can always induce some camera shake, especially when you’re shooting at longer shutter speeds. Because of this, you might consider bringing a cable release to avoid touching the camera altogether.
2. Lens cloth
When shooting lightning photography, the chances are pretty high that it’s going to be raining. Raindrops on the front of your camera lens can ruin even the best picture, so it’s best to be prepared!
3. Flashlight
It will be dark in the middle of the rain storm, so a flashlight is always helpful when changing camera settings or fumbling for equipment in low visibility. However, you can also use a flashlight to paint the ground, trees, or other foreground objects, to bring a little more depth to your photograph.
4. Smart camera trigger
If you want to take the guess work out of photographing lightning, then a Smart Camera Trigger will automatically take a photo as soon as any lightning strike occurs. This also allows you to seek shelter while letting your camera continue to fire. Of course, you won’t have the same control over composition if you leave the camera to do the work all on its own, but owning a Smart Trigger can be very useful to those who want to photograph lightning regularly.
Next up, learn how to photograph the moon as you continue to develop an amazing portfolio!
Setting up the composition for the best shots
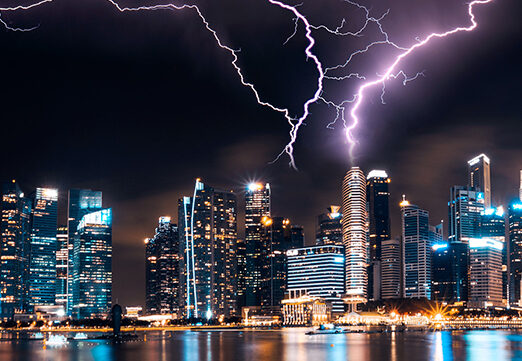
Normally in photography, you tend to feature more land than sky, but when photographing lightning, it’s best to include as much sky as possible. After all, you never know where the lightning is going to strike, and you can always do some cropping in post-production.
Make sure that you set focus before you begin, as the last thing you want is the camera calculating distance in that precious millisecond when the perfect lightning bolt strikes.
Consider what else will be in the shot besides the sky. Is there an interesting feature in the land which would anchor us in the shot? Are there mountains in the distance? Consider all these possibilities and incorporate them into the shot, so they feel like an intentional element and not a mistake. This is a great time to pull out your flashlight!
How to photograph lightning: conclusion
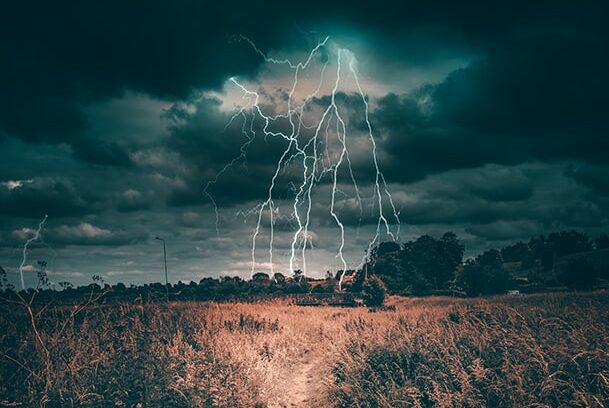
Like all aspects of photography, photographing lightning requires patience, practice, and experimentation. Don’t beat yourself up if your first attempt doesn’t produce exactly what you’re looking for. Try again, learn from each attempt, and before long you’ll be wowing everyone with your breath-taking lightning photography.
And remember, another one of our favorite tips is to book a Peerspace when you want a sensational venue to practice your photography prowess. Head to our platform to discover unique photoshoot spaces near you that help you hone your skills. Many have interesting features, like rooftops, skylights, and walls of windows that let you get all your weather-related photos from a safe distance. Now get out there and get shooting!
Find unique production venues on Peerspace
Get together somewhere better
Book thousands of unique spaces directly from local hosts.
Explore SpacesShare your space and start earning
Join thousands of hosts renting their space for meetings, events, and photo shoots.
List Your Space

