Source: Unsplash
Answered
Photoshoot locations on Peerspace typically cost $60 — $220 per hour.
- Setting the shutter speed to capture beautiful water images
- Include a background or foreground element
- How to create splashy water photography
- Gently combine oil and water for a cool visual effect
- Playing with light and shooting reflections
- Shooting at odd hours and in various weather conditions
- Try different lenses to change the depth of your images
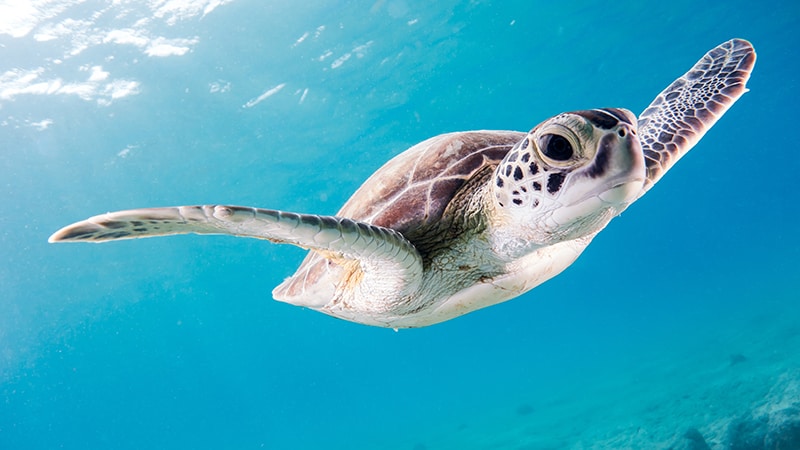
- Explore the underwater realm in your photography
Looking to improve your water photography skills, but aren’t sure where to start? Then you’ve come to the right place. We at Peerspace have curated this handy guide to support and inspire our photography friends of every skill level.
As the largest online marketplace for hourly venue rentals, Peerspace is also where creatives turn to when they need to book creative spaces. Count on our platform to connect your everything from professional photo studios to oceanside beach houses that you can rent for a day and photograph to your heart’s content.
But first, stick around for our guide that shares professional insights into the world of water photography. With these tips and techniques, you’ll be sure to be nailing water photography in no time.
Setting the shutter speed to capture beautiful water images
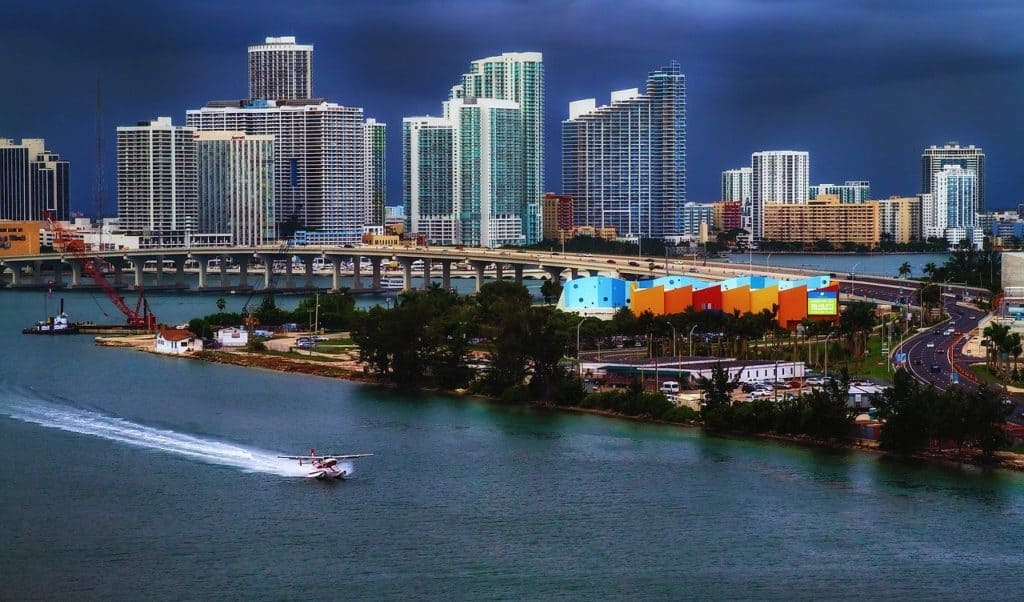
There are two main effects you can achieve when it comes to photographing water. You can choose a fast shutter speed and “freeze” the water in its trajectory. Or, you can choose a slow shutter speed and turn the water into a smooth, glassy, milky surface.
Simply put, if the shutter speed is slow, then the camera is letting in more light and more movement. Conversely, when the shutter speed is fast, the image is captured in a single moment, and the camera will “see” less movement.
Faster shutter speed
To create still water photography images, use a fast shutter speed. This is good for capturing the spray of water as it shoots over a waterfall or the bubbles of a dissipating wave on the seashore as it sputters its last bit of foam before retreating to the ocean from whence it came.
You’ll want to be shooting in brighter lighting conditions, which will, in turn, allow you to operate with a quicker shutter speed or shoot at a higher ISO. Of course, this will inherently introduce more grain to the image, so it’s best to achieve this look during peak daylight hours. You can also use a flash.
Slower shutter speed
On the other end of the spectrum, shooting at a slow shutter speed will produce that iconic milky-smooth texture, turning a tumultuous waterfall into something serene and ethereal. Shooting in tidal pools or around the rocks on the edge of a creekbed will give a ghostly, hazy look to your water photography that you can easily achieve with only a tripod and some patience.
As usual, when shooting at a slower shutter speed, you can bring in ND filters to stop down the light coming into your camera and allow for longer exposures. If you’re shooting in the dusk or at night, then you can probably get away with setting a lower ISO and exposing accordingly. However, there are some constants in water photography that you should keep in regardless of the shutter speed.
And that leads us to our next point.
Include a background or foreground element
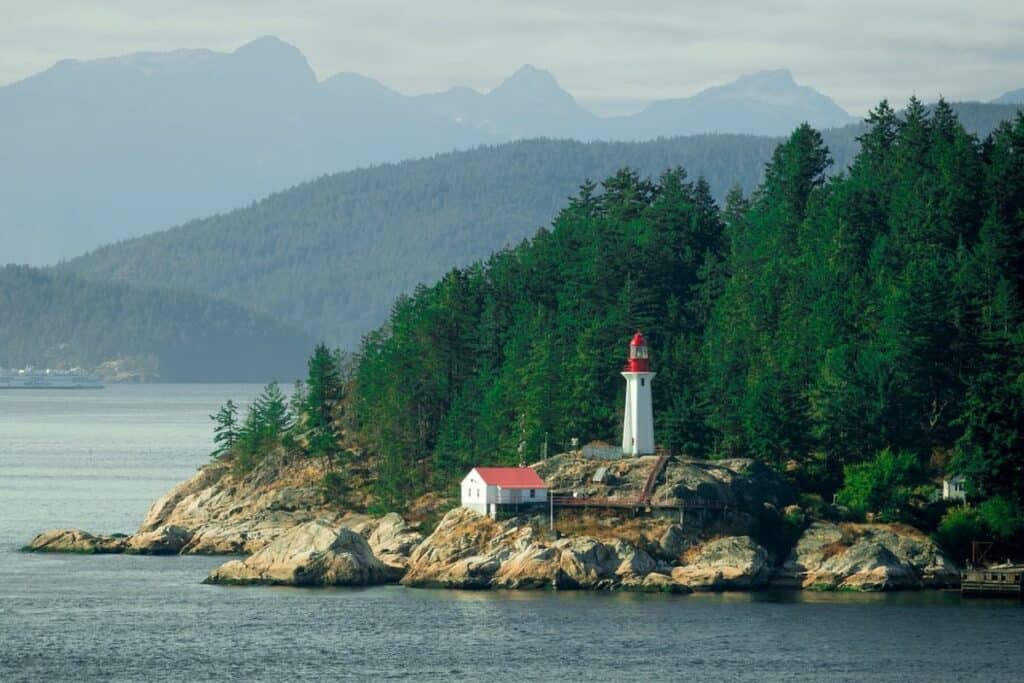
No matter what you’re shooting, the first duty of the photographer is to consider composition. When you focus on water photography, photographing just the water itself often leaves you with a boring picture.
Think about your surroundings: what does the beach look like? How do the rocks interact with the water? Are there dunes? Are there birds diving into the water? Has a family set up a picnic on the water’s edge? Is there a lighthouse in the distance?
Including these details will help ground viewers in the image and give it context. In fact, you do this naturally: the river is best when we see a bit of the riverbank, and the ocean is more spectacular when we see the waves crashing on the beach, etc.
Speaking of beach, check out our beach photography tips to make the most of your next seaside vacay!
How to create splashy water photography

One of the most exciting branches of photography is splash photography. We see this frequently in backlit wine glasses, or pools of water in striking colors, with a sudden splash sending the water into dramatic upwards motion, which we freeze into a single frame.
One of the easiest ways to achieve this is finding a reflective surface — such as a glass or other glossy table. Set a glass on top of it, with a light source illuminating the background, and the glass in the foreground. You’ll want to have a LOT of light here, which allows you to use a breakneck shutter speed. You can also use a flash on the front of your camera here to achieve the effect.
Experiment with different color dyes, maybe even dropping one color into another and snapping the exact moment when they interact. Drop a marble into liquid, and observe the patterns you get as the liquid springs out of the glass. Use different color lights to achieve all sorts of exciting and ephemeral effects.
Gently combine oil and water for a cool visual effect
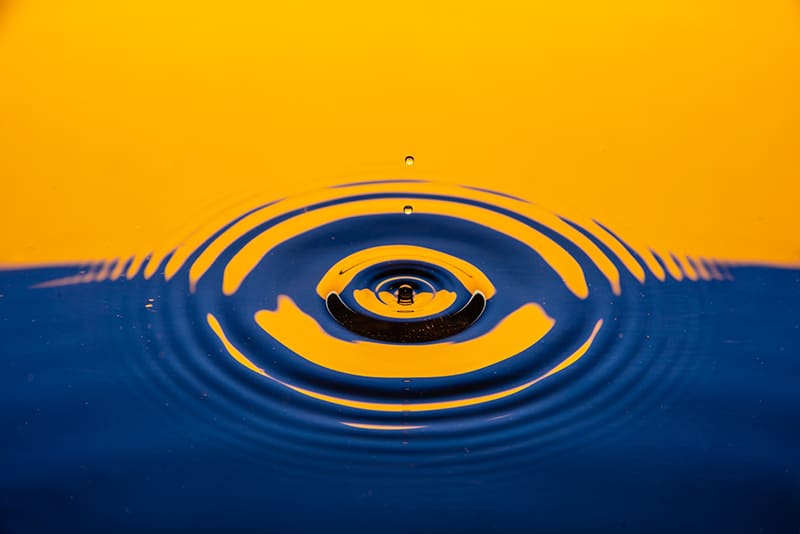
We all know that oil and water don’t mix, which can work to the photographer’s advantage. For some really unique, trippy photographs, consider setting up an oil-and-water experiment in your workspace. First, find a backdrop, which can be anything from a printed-out image to the LCD screen of an iPad. Next, you’ll want some sort of glass container to put water, and ultimately oil. This can be anything from a glass measuring instrument to a waterproof picture frame—if you can get liquid in it, then you’re good to go and experiment.
Using whatever you have at hand, elevate the water source from the background. Think of something as simple as cereal boxes or books. You want to have at least six inches from the base of your glass object to the subject behind. If you aren’t using something naturally luminescent, like a device screen, then consider adding some lighting, so your image has vibrancy.
Set up your camera on a tripod, so it shoots straight down into the glass basin. Carefully add the oil—this can be done through an eyedropper or even by dipping a fork into oil and then into the water if you’re really in a pinch. Immediately, you’ll see that distinctive oil bubble look. To make the image even more distinctive, add some dishwashing soap to the mixture, which really defines the outer edges of the oil bubbles, and lets you add some more texture.
Using a macro lens will really let you punch in on those shapes, rendering some truly spectacular images.
Playing with light and shooting reflections
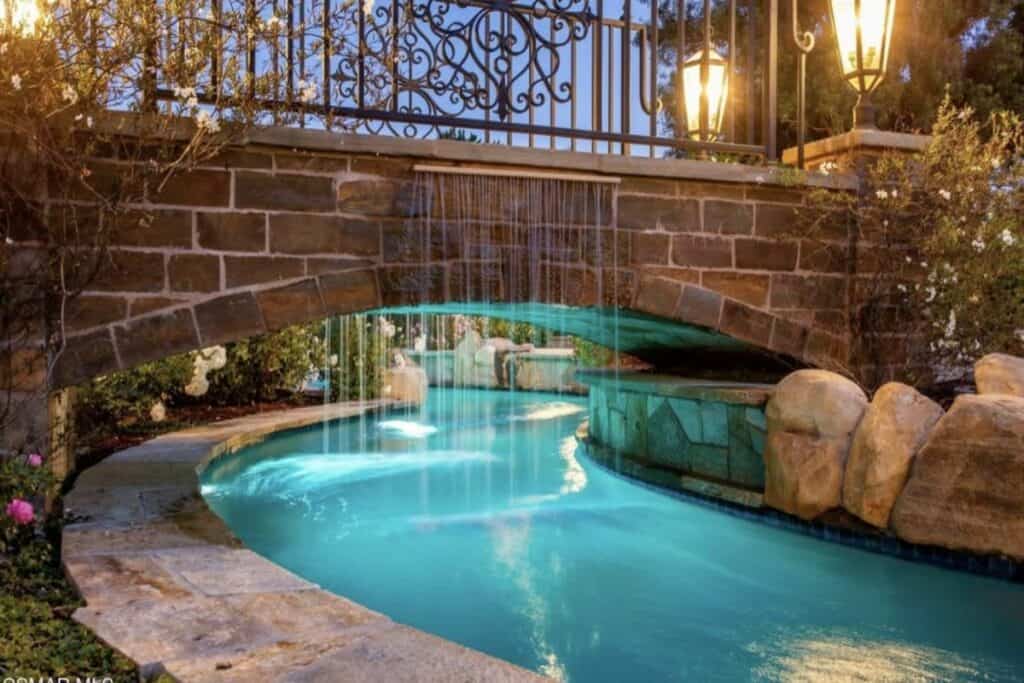
There is a lot to be said for looking down sometimes, and you as the photographer are rewarded for this curiosity by discovering the world of reflections. Especially during times of rainfall, you can capture the most extraordinary images just at the level of your feet. Cities are a great place to capture reflections when the overarching buildings above us create a parallel world in the puddles. You are similarly rewarded at the lake or river by capturing both the foreground and the background in one beautiful shot.
For reflection shots, it is good to shoot at a higher aperture to keep everything in focus. It keeps the objects floating in the water (say leaves or other items) to the reflections beyond in sharp focus. Alternatively, a shallow depth of field (or lower aperture) can create abstract images with unclear focus. Try flipping the image so that the “reflections” are standing upright and experiment with how this changes the narrative for the image.
If you’re shooting a wide landscape—think of a bridge with the reflections underneath—then it’s good to affix the camera to a tripod. Set a shutter speed long enough so that the water can reflect the bridge above, yet quick enough that the reflection is not too blurry. Sometimes the blurriness of a reflection can be equally intriguing, like on a windy day when the bay is lapping with little waves. Set a long shutter speed, and the choppy water becomes smooth, with the landscape beyond emerging in the reflections below.
Shooting at odd hours and in various weather conditions
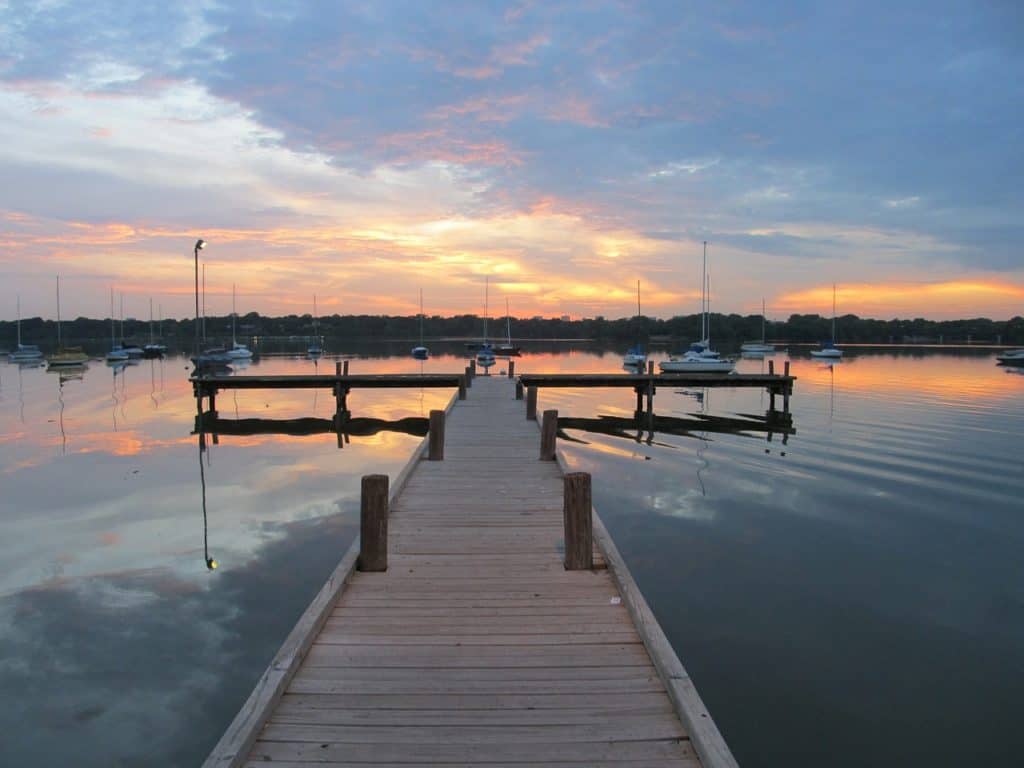
Some of the best hours for water photography come in the early morning hours and the late daylight hours just before sunset. At these times, the rays from the sun come in at an angle, allowing the water to be more harmoniously lit. You will be gifted beautiful colors, especially for reflections.
As you venture away from blue skies and sunny weather, you start to see the haunting beauty of nature in its wildest moments: the dramatic flashes of extreme weather reflected in our watery subjects or the undulating clouds and snappy waves of a forthcoming storm.
Of course, no shot is ever worth your safety. If your surroundings start to feel unsafe, then you should always head for shelter.
Check out these creative water photoshoot ideas for more watery inspiration!
Try different lenses to change the depth of your images
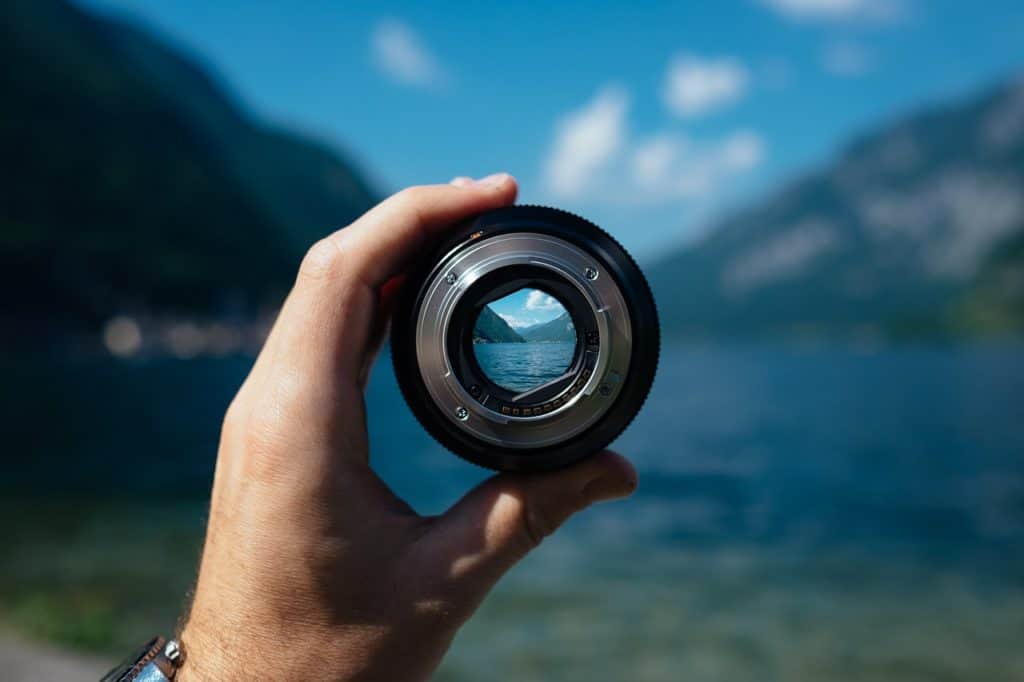
Swapping between wide-angle and telephoto lenses will help you see your subject in different ways and understand how you can best represent the water around you.
Is there enough visual interest around the image to draw in the eye on a wide-angle shot? Or is it better to punch in and show the autumn hues in the reflection or the ripples around the leaf meandering through the lazy creek current? Experimenting with different lenses is the photographer’s best teacher when considering how to depict the world around them.
Explore the underwater realm in your photography
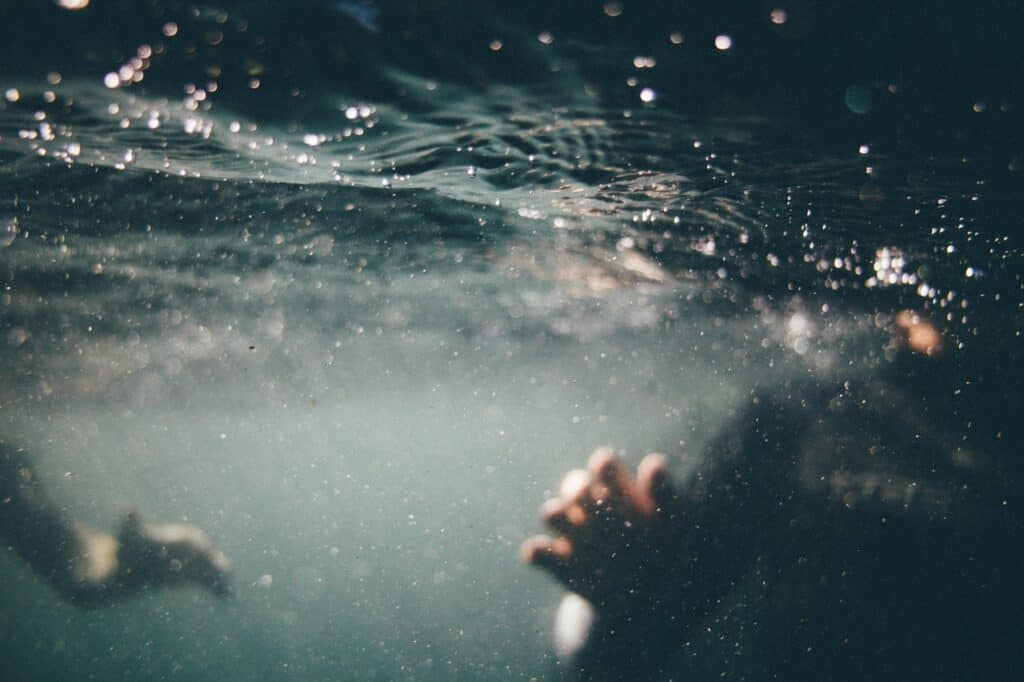
One of the easiest ways to experiment with the underwater world is via a circular polarizer filter. This filter removes reflections and cuts glares, allowing you to see what lies below the surface.
If you choose to purchase underwater housing your camera or an underwater camera entirely, then a whole new world is open for you to explore, Aladdin style.
We could speak for a long time about the intricacies of underwater photography, but to keep it brief, you’ll definitely want to bring along a flash for anything within 3-4 feet. And remember, lots of underwater photos are taken with macro lenses.
Water reduces color, contrast, and sharpness, so it’s important to get really, really close to your subject. Focus on filling the frame with your image, and shoot low, looking up at the subject. A school of fish from above is only so interesting after the tenth photo, so aim to get down and look up.
You can also capture the imagination by shooting images that peak above the waterline, giving us a picture half underwater and half above. In these, it is good to find a subject with interesting features on both sides of the waterline, such as a rocky cliff plunging into crystalline waters or a duckling and its mother, with webbed feet breaking pace just beneath the surface.
Water photography: conclusion

From oceans to rivers, from creeks to bubbling hot springs, water has been fascinating humans for generations. As we turn now to those familiar landscapes with our cameras, there are many tips and tricks that we can utilize to create stunning aquatic photographs.
Whether you want to capture the frothy chaos of a waterfall or the calm, serene ebb and flow of the tidal pool, these tips for water photography will have you mastering the craft in little time at all.
Remember, no matter your subject, you can hone your photography skills with ease using Peerspace. You can book anything from professional studios with clawfoot bathtubs to create a stunning bath photoshoot to a lakefront house that provides you with private access to a natural body of water. Head to our platform to discover some seriously special photoshoot locations near you!
Find unique photoshoot locations on Peerspace
Get together somewhere better
Book thousands of unique spaces directly from local hosts.
Explore SpacesShare your space and start earning
Join thousands of hosts renting their space for meetings, events, and photo shoots.
List Your Space


