Headshot Photography: What To Do and How To Nail It (2025)
-
 Written by Peerspace Staff
Editorial Team
- June 5, 2024
- 10 min read
- Photography

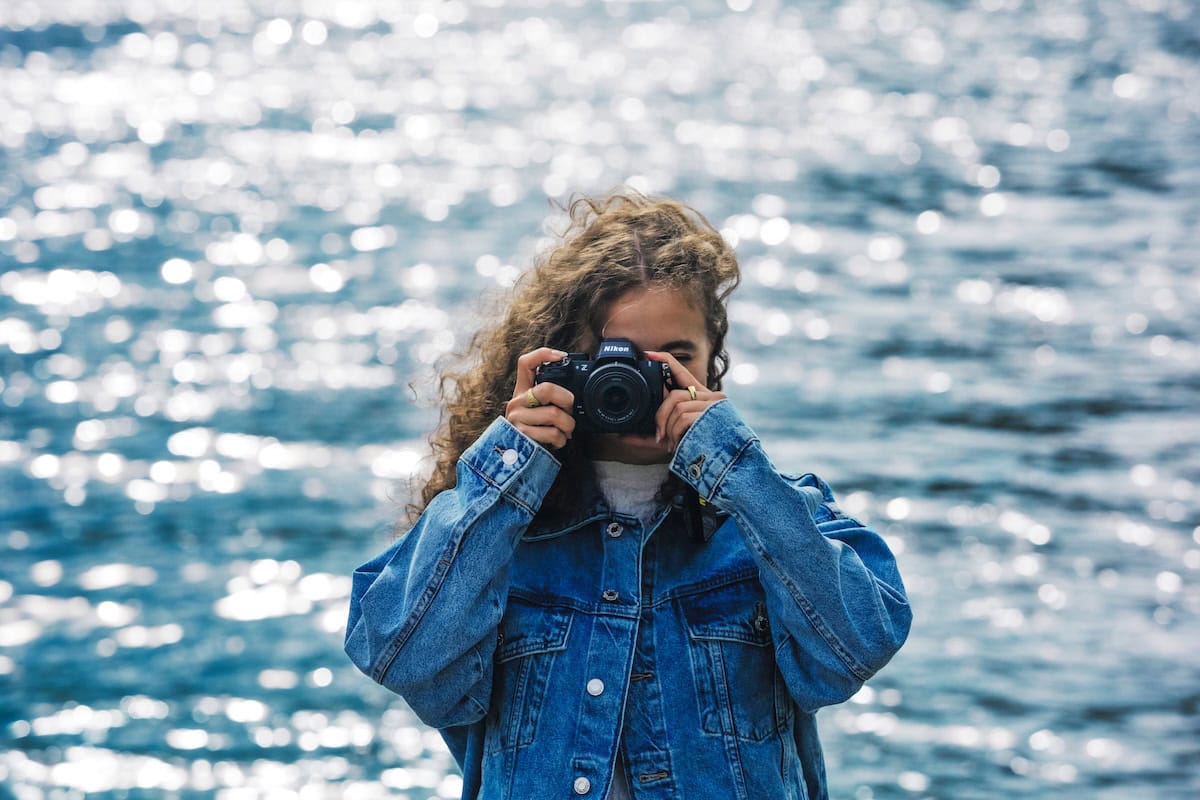
Source: Unsplash
Answered
Photoshoot locations on Peerspace typically cost $60 — $220 per hour.
- First, determine the purpose of the shoot
- Setup the perfect headshot photography lighting
- Focus on your client’s face
- Play with different poses to see what works best
- Determine the perfect settings for your camera
- Don’t forget about the composition
- Editing is a crucial step in headshot photography
Interested in mastering headshot photography? Then you’ve come to the right place! The art of the headshot might seem simple. But only intense practice and mastering a few pro techniques will lead to a stunning photograph.
One of our consistent messages when it comes to pro photography is the importance of the shoot’s setting. As the largest online marketplace for hourly venue rentals, we at Peerspace strive to connect creatives with the special spaces that make their projects come to life. You can use our platform to find and book everything from traditional photo studios to more unique spaces that better suit your client’s personality, like hip warehouses, eclectic cafes, multi-million-dollar mansions, and so much more. If you can picture it, it’s likely to exist on our platform, so be sure to check us out!
But back to the topic at hand! A truly great headshot is in the details, so here are a few tricks that we hope help you brush up your headshot photography expertise.
First, determine the purpose of the shoot

Nothing can beat the clarity of purpose behind the shoot between a photographer and their client. Having a firm grasp of what the client is looking for will bring in more confidence on both ends. What message does the client want to communicate? What locations are comfortable for them but still give you enough space to be creative? Which wardrobe choices could be appealing? Having a clear idea about these elements can help you land that perfect headshot.
This smooth communication will also empower your client to be more relaxed during the shoot. A great tip is to shoot tethered if you have the equipment for it. Seeing the results on the go really makes the process smooth, as the clients can see how the shots appear on camera.
A key to headshot photography when it comes to establishing a comfort zone with your client is to connect with them before you take the camera out and keep talking to them throughout. Silence can be a little awkward and anxiety-inducing for some people. Make sure to let your client know how good they are doing and give them genuine compliments! Believe it or not, all of this honest engagement shows through in the final photos.
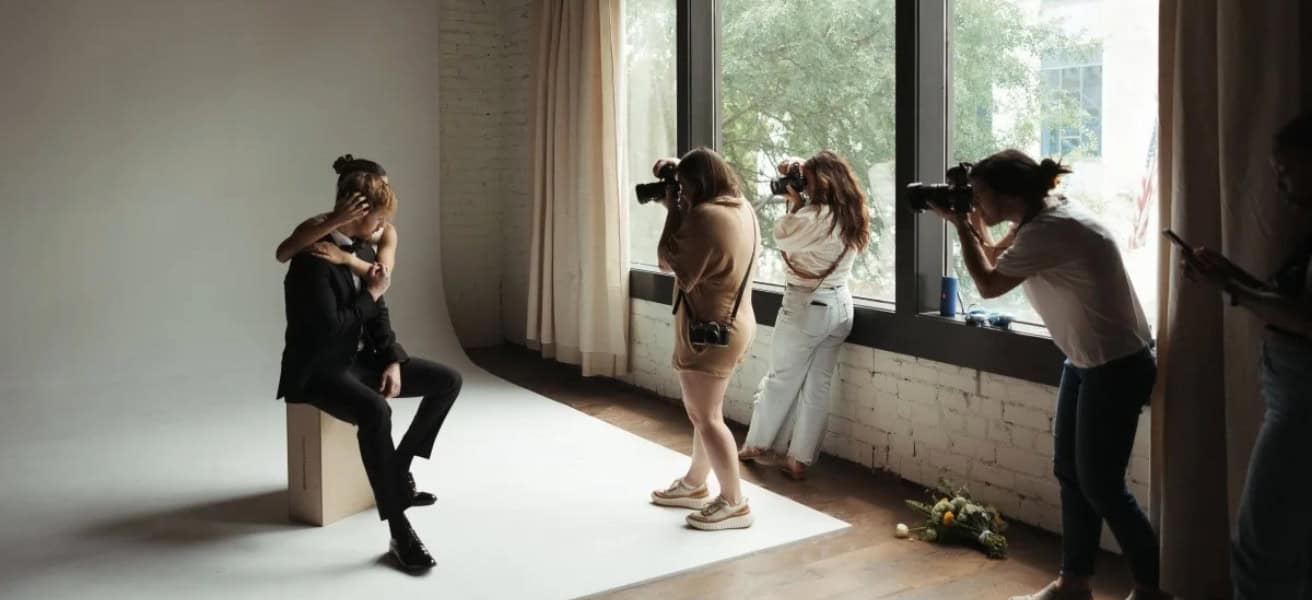
Setup the perfect headshot photography lighting

Getting the lighting right with a headshot can be a challenge. Usually, conventional headshot wisdom recommends white, soft light against a white background. But, with proper planning and consideration, both hard and soft light can work well in headshots.
If you are aiming for a more dramatic look, then harsh light or big light will make your subject achieve that certain kind of look. Matching light to your subject’s look and personality is really essential. The friendliest type of lighting is a cloudy day next to the window. The clouds diffuse the sun, and hence, you will take beautiful pictures with soft, even lighting.
Working outside can also lead to some really great pictures. But one has to take care of all the uncertain variables that come with it. A bright sun overhead can create sharp shadows on faces which can be tough to correct while editing.
So, make sure to move your subjects into shade when you encounter such instances. First, assess where you want to get the shots, and from there, you can choose if you want to use natural light, on-camera or off-camera flash, a strobe set-up, a ring light, or beauty dish. We can’t overstate the importance of learning your standard portrait lighting setups if you’re shooting indoors.
Learn all about shooting portraits on a black background here!
Focus on your client’s face

A good photographer takes into consideration the variation and contours of the human face. By capturing someone’s eyes, nose, and forehead, you really are capturing someone’s essence. It’s important to focus on the subject while de-emphasizing the background. For a nice blurred-out background, 50-80mm focal length works well, and a shallow depth of field can create gorgeous bokeh effect backgrounds.
If you are working with someone nervous about their picture being taken, giving them some extra distance can positively impact the photographs. Using a longer focal length can give you and your subject an ideal space to work with. But for some, having a closer interaction works best. To establish and carry on a rapport, it’s important to stay close to not miss out on any playful or candid moments.
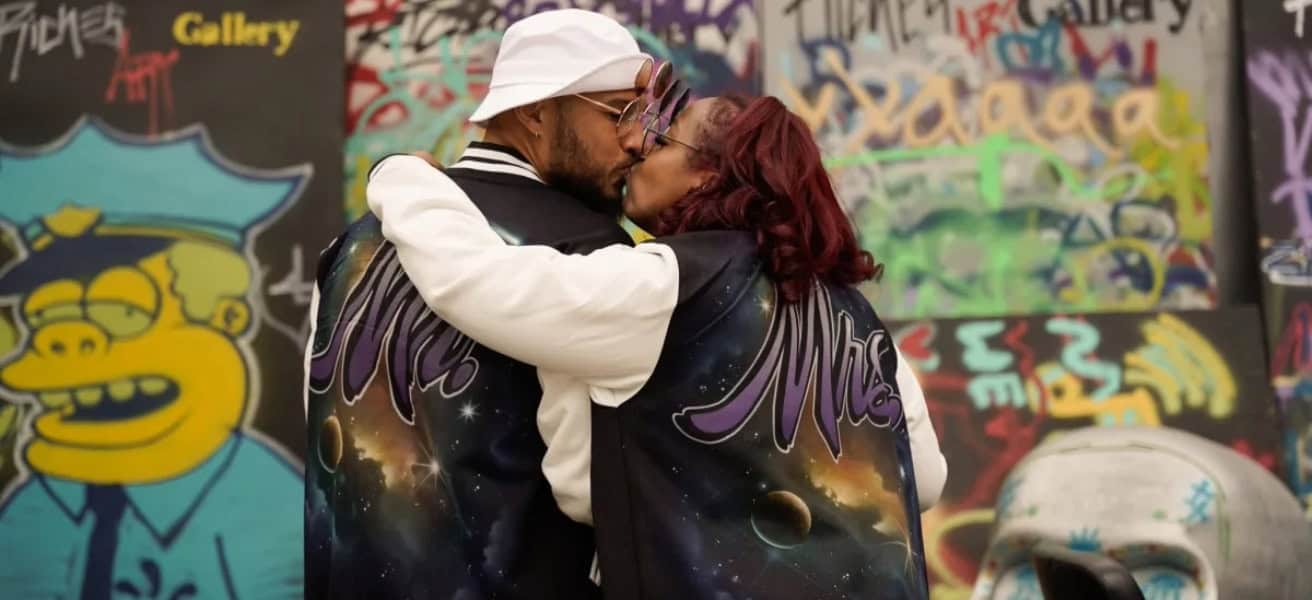
Play with different poses to see what works best

A headshot needs to reflect your client’s brand, personality, and style. Don’t stick to stiff portraits that say nothing about the person in the photo. Start with putting your client at ease and find a natural and appealing way to position your body, head, and hands.
Tuck-in-pocket poses are good for some relaxed standing poses. A lean-on-the-wall pose goes a long way in making a shot feel more genuinely comfortable. Who knew that seated-down positioning could work so well at times? If shooting indoors, go with a smart piece of furniture. Having one knee higher than the other and resting a hand on a knee also helps.
Taking a walk or asking your client to move automatically humanizes the subject to focus on a more common activity instead of a forced one. You can also bring a relevant prop to make the subject more relaxed and give them something to narrate their story through each frame. Vary your poses. This will yield the highest results for your client to choose their favorite images. Also, don’t forget to tell a joke or two and capture that genuine laugh!
Determine the perfect settings for your camera

The lens you choose can have a significant impact on your image quality. Prime lenses are usually a great choice. They offer high apertures, which allow creativity as you have to think more about the composition and positioning here. 50mm fixed, 80mm fixed, and 24-70mm zoom are a few suitable options you can opt for.
To achieve that excellent out-of-focus background, you will have to choose a shallow depth of field. An aperture of f/1.2 – f/2.8 makes up for some solid headshot photos. You can go with one of your camera’s WB presets for white balance like Daylight or Shady. For indoor window light, do a test shot and see which one gives you the most natural or flattering skin tones.
For most headshots, you want your images to be tack-sharp. Shoot at the fastest shutter speed to avoid subject movement or camera shake. In the case of studio lighting, make sure your camera’s sync speed is higher than the shutter speed. Your f-stop should be wide enough to have a shallow depth of field to create some separation between the subject and background.
If the subject’s nose or eyes are out of focus, choose a narrower aperture. It’s ideal for shooting in RAW so that you can adjust colors and other settings in post-processing. Having some extra flexibility within your images is always helpful later.
Don’t forget about the composition

Basics of composition are important to be retained when it comes to headshot photography. Keep in mind that the subject of the composition is your client’s face. So, pay attention to every detail that can draw attention and accentuate your subject.
Firstly, choose locations and backgrounds that will make your subject stand out. The rule of thirds applies here too. By placing the subject off-center, you can effectively create multiple images from one frame just by cropping it. Think creatively about the perspective. Don’t be afraid to play with the leading lines or some framing.
Is shooting portraits your thing, but you’re still unsure how to charge your clients? Then you need to see our handy guide on what to know about photography pricing next.
Editing is a crucial step in headshot photography

Post-processing is an integral part of headshot photography. You might have taken some great shots, but they may still require some retouching. Cropping your images can help improve composition and put the focus on your subject.
While cropping, remember to leave a bit of shoulder in the frame, or the image might look disproportionate. Pay special attention to the eyes. Retouch it subtly, so they pop out naturally. Workaround the iris in particular. Add a softening effect to the skin, ensuring the authentic look and glow are retained. You can increase your creativity level by using the dodge-and-burn effect to add depth to the image.
Sharpening is the simplest technique to get a fine headshot. As you sharpen the facial details, the skin surrounding the details will be left untouched, retaining its softness. Editing may vary according to your client’s specifications. Make sure to edit out any blemishes that might seem unflattering. And, always ask your client how they want their shot to be edited and what they want or do not want to be removed!
Eying one-of-a-kind moments and capturing that essence in your camera is a mark of a successful headshot. Whether a corporate portrait or an artist portfolio, get your clients their most authentic self and help them create a great first impression.
It could be tricky to work with people who are anxious about standing in front of a camera. So don’t overcomplicate such experiences by giving them complex poses. Please keep it simple. Capture the eye contact to show their confidence and freeze in the smile to reflect their approachability. And that is more than enough to bag a powerful headshot!
Headshot photography: conclusion

As you can see, there’s a lot more to headshot photography than meets the eye. But when you follow these tips and tricks, you’ll be able to give your clients the headshot they want anytime.
And remember, consider checking out Peerspace to book the perfect headshot setting. From professional photo studios with the right lighting and backdrops to stylish lofts that offer a one-of-a-kind look, you’ll have your pick of curated creative spaces in every location and price range.
Find unique headshot portrait studios on Peerspace
Get together somewhere better
Book thousands of unique spaces directly from local hosts.
Explore SpacesShare your space and start earning
Join thousands of hosts renting their space for meetings, events, and photo shoots.
List Your Space