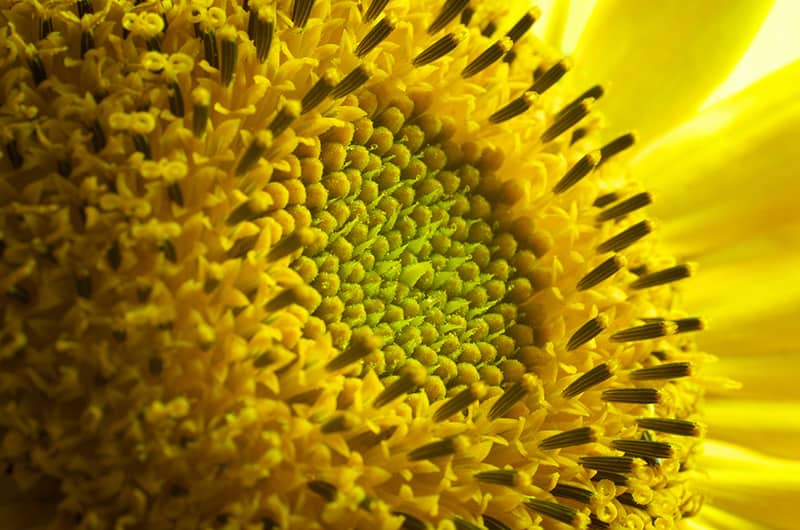
Source: Unsplash
Answered
Photoshoot locations on Peerspace typically cost $60 — $180 per hour.
- So what is micro photography, exactly?
- How do you get into micro photography?
- How do you go about it in practice?
- Micro photography in post-production
- Practice micro photography at a Peerspace venue
Have you ever walked around in nature and noticed the most minute details around you — the ones that suddenly make things seem so much more beautiful? When you delve into micro photography, you come to know just how complex and beautiful the world around us really is.
Ahead, we’ll explore everything there is to know about micro photography. And, there’s something else Peerspace can help you with — spaces to practice your micro photography skills! As the largest online marketplace for peer-to-peer venue rentals, you can rest assured that our platform has thousands of photogenic spaces in cities across the globe.
You can easily book a professional photography studio complete with special lighting and props or a stylish mansion, loft, warehouse, rooftop, or cafe (to name but a few!) to practice your skills and inspire new creativity. All of our venues are hosted by local creatives like yourself and available to rent by the hour. Check out what we have available near you today!
So what is micro photography, exactly?

When people say “micro photography” (or search for it!), it’s not always clear what the term entails. You’ll likely encounter various definitions that detail close-up photography, macro photography, and micro photography. So if you attempt to categorize micro photography strongly as a separate genre, you’ll be in for some confusion. However, in terms of definition and practice, let’s take a closer look.
It is best to distinguish the three categories of close-up, macro, and micro photography by identifying the image magnifications they encompass in the resultant photograph.
Close-up photography is any photography where you have to zoom into your subject, such that their magnification is greater within your frame but less than 1:1. Please note that you’re not likely to achieve a 1:1 or greater magnification without an appropriate macro lens.
Macro photography is when you have magnifications of your subject that are similar to real life or larger, up to a 10:1 magnification. Many camera makers have lenses designed to reach such magnifications.
Micro photography is when the magnification goes much higher between the 10:1 range and the 20:1 range. We’re speaking of the microscopic level, where the final image is magnified 20 times the subject’s size. It isn’t easy to achieve magnifications like these without investing in a specialized rig or coming up with your own hacks, like this photographer here.
But when you want to understand it functionally, remember that there’s a blurry line between macro and micro photography. It is helpful to remember it this way – enabling micro objects to be seen at a macro scale is the kind of photography you are trying to achieve.
Check out our guide on texture photography and how to nail it here!
How do you get into micro photography?
So you’ve decided to dive into the world of micro photography. We have a few ideas on how to best achieve your goals.
Mastering close-ups
Using your regular DSLR, try going around and clicking close-ups of as many subjects as you can. Nature is full of them, and you will never really tire of getting incredible shots all around you! Most photographers first begin exploring this world by shooting plants, food, and bugs.
Fiddle with the “macro” settings on your regular DSLR lens
These are usually not true “macro” settings but will help you play with magnifications that are larger than just zooming in. Practicing achieving a certain amount of detail with such pictures is useful from time to time. When you go into greater magnifications, you will struggle to recognize good subjects, perception, and framing at that scale. You can thus develop an eye for detail with enough practice.
Invest in a good macro lens
Don’t just go by the name. Hilariously, leading lens makers name their lenses differently. Nikon calls its macro lenses by the Nikkor Micro name, while Canon’s lenses with a similar range of specifications are Canon EF Macro. The key is to find lenses that help you achieve a good 1:1 magnification or higher and actually focus at a very close distance.
Practicing with a macro lens
Macro lenses have a shallow distance to focus and give you a sharp image, around a foot away from the lens on average. Regular lenses have a larger focusing distance to capture more of the background as well.
What does this mean?
- It means that you will have to get really close to your object to get sharp focus and shoot. Hopefully your subject is not a creature that you will scare and try to bite you.
- It means taking extra efforts to stabilize the camera, because you camera can register even the smallest of shakes.
- It means mastering manual focus can be really beneficial, since autofocus on such close subjects can be unreliable, depending on your equipment.
A good micro lens will allow the photographer to achieve incredible detail, such as the texture of a flower petal or even the fine eyes of an insect.
How do you go about it in practice?
Here are a few tips to take into account when you practice micro photography.
Identify a good subject, and then prep it if you can
Not all objects and settings make for good photography subjects. This takes loads of practice and a good eye. Some suggest starting with food. And try stepping out into nature to look for small interesting things to photograph.
Visualize your shots beforehand
If it is a live creature, please be very, very careful. When you are magnifying other objects in micro photography, many unpleasant details may come to light. So either be extra careful while cleaning up dust, scratches, and other wear and tear, or find a subject where you don’t notice such issues.
This is a little difficult when you want to photograph small products, such as jewelry. Visualize what you want to achieve, and it gets better with practice.
Manage lighting sensibly
A well-lit macro photograph is a complete delight. But editing lighting for a high–definition picture can become a nightmare if your initial settings aren’t right. The problem with small subjects is that a little light will flood the frame, so having small point sources of light, like a tiny LED flash, or other ways to manage, such as a ring light for your lens, can help.
Use your discretion, and try visualizing the intensity before getting into it. Your subject may not sit still in the micro photography arena, and you may lose an opportunity. A butterfly may fly away, or an ice crystal may melt.
Check the background and your set
In micro photography, anything beyond your subject can blur out by default. But that doesn’t mean viewers will not identify your backdrop items. You can pick up unwanted color, bokeh, or elements, and the results may be unsatisfactory at the end of it.
So clean rigorously, check the background, and ensure its color matches what you are clicking.
What is symmetry photography? Learn what it is and how to master it here!
Micro photography in post-production
It may be obvious, but we will state it nevertheless – post-production in micro photography can come with its own set of challenges. When you are dealing with a high level of detail, it will not be easy to simply “edit” out flaws in your pictures.
If your images are meant to be used in a technical context, accuracy will be paramount. In which case, having the right focus and sharpening the right elements matters.
Adobe Lightroom is a popular tool for editing images after photography. But use it sparingly, and trust your eye. After all, you are the person holding the camera!
Here is everything you need to know about post-production!
Practice micro photography at a Peerspace venue

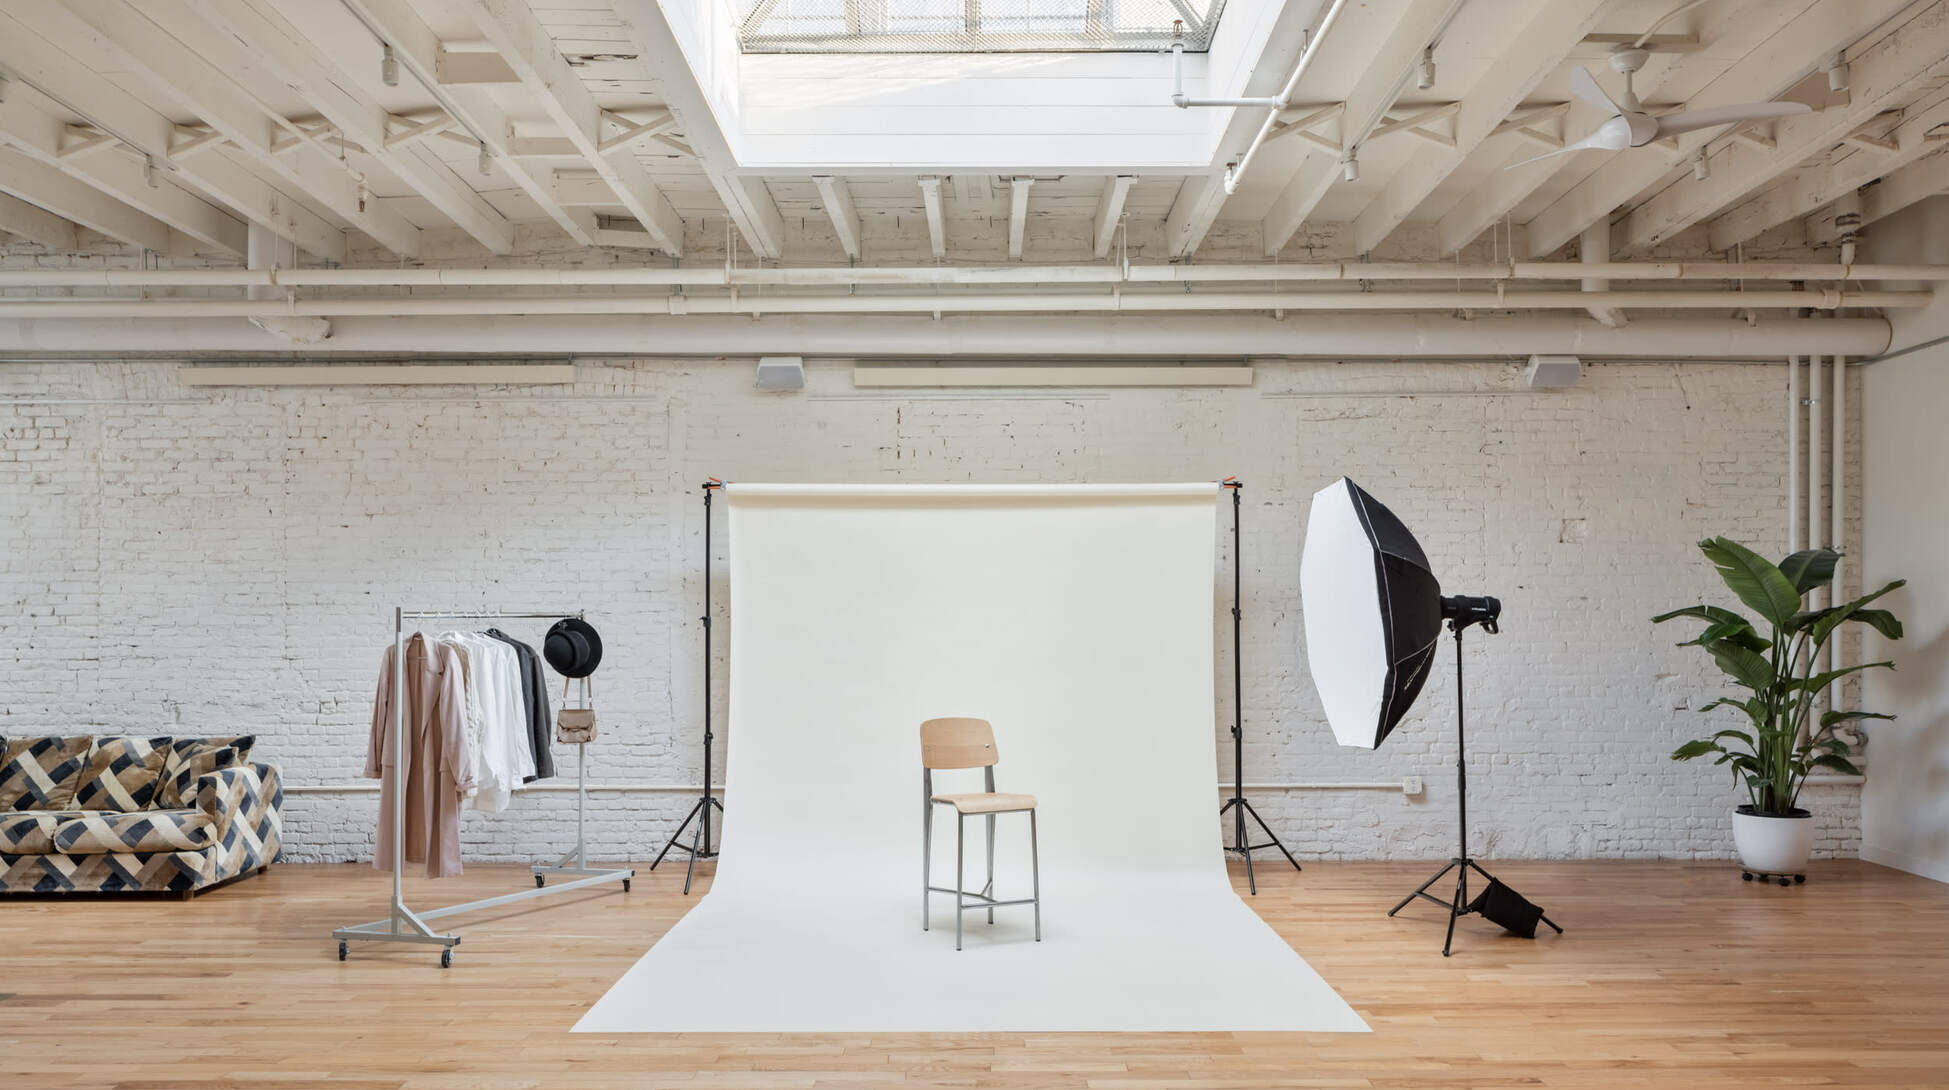
When you’re ready to put your new skills to the test, check out Peerspace for the perfect location. You’ll uncover one-of-a-kind venues that provide you with a pristine and private space to work. And whether you book a pristine natural light minimalist studio or a colorful, prop-filled space, your creative vision will come to life.
And since many photo studios on Peerspace are owned by professional photographers, you can work with people who understand your needs and provide the gear you want. This means you not only get an awesome space to shoot, you also get bespoke service that’s hard to come by anywhere else.
So what types of Peerspace venues can you book for your micro photography shoot? Here are a few of our favorite suggestions:
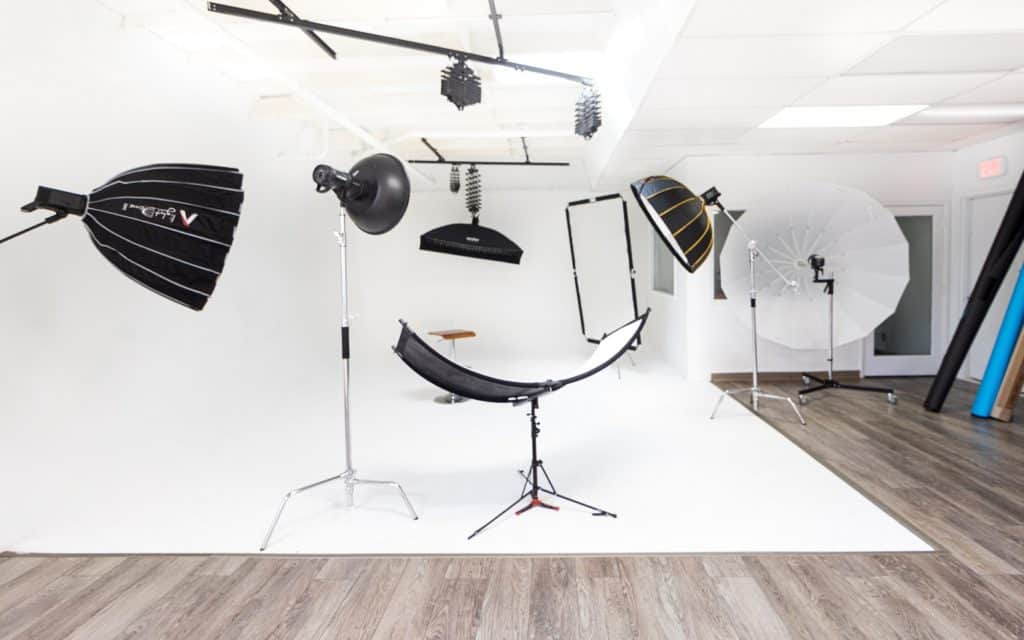
- This photo studio and tabletop prop room in Detroit, MI (pictured above) with lots of gear to use and curated props to shoot.
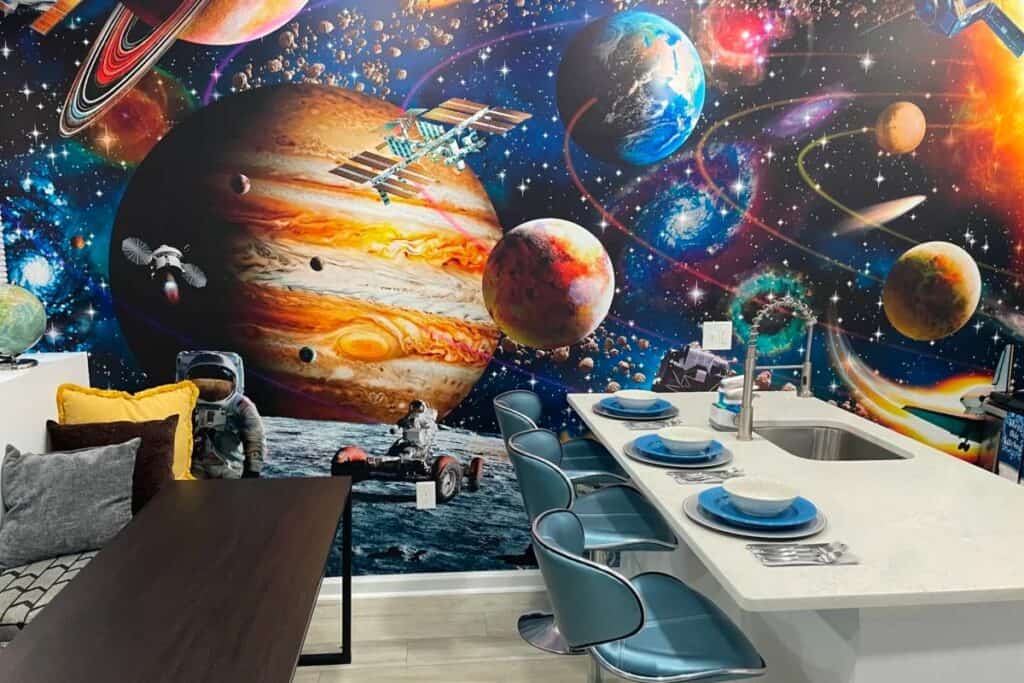
- The Outer Space Place in Philadelphia, PA, a space-themed apartment with plenty of tiny details to photograph and enjoy.
- This modern midtown infinity wall studio in Sacramento, CA with professional lighting and equipment rentals to ensure a top-notch shoot.
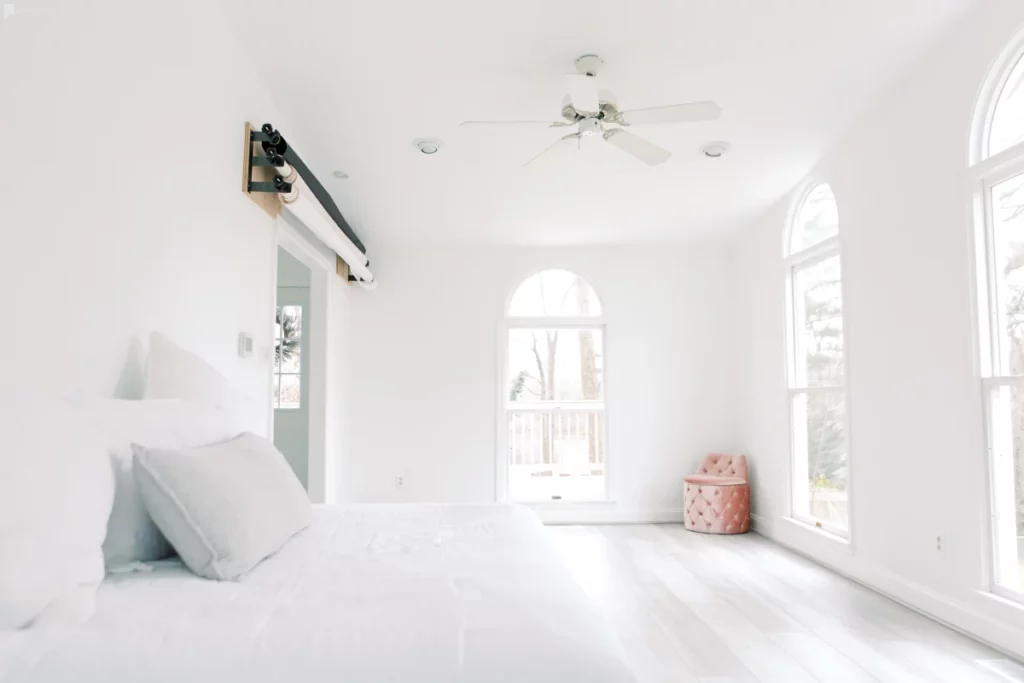
- This all-white natural light studio in Alexandria, VA that provides a neutral backdrop for product shoots as well as patterned and textured surfaces to shoot.
- This Bushwick creative prop studio in Brooklyn, NY with plenty of creative props and professional lighting to utilize in your shoot.
You get the idea! You can find similar rental spaces in cities across the globe through Peerspace. Head to our platform, enter your search parameters, and see what you can find!
Micro photography: conclusion

We hope you have a better understanding of micro photography and are looking forward to booking your own photoshoot location through venue to try it out. With Peerspace, you get an outstanding venue in the location you prefer and the price range you need. It’s the perfect setup for enhancing your micro photography skills!
Micro photography reveals a world you only envisioned in fairytales like Thumbelina or the popular film series Honey, I Shrunk the Kids!. We get to see incredible detail and can truly begin to appreciate the amount of complexity the world around us possesses. Having such a worldview is not something even all of your photography peers can claim to have, and it is something to truly cherish in your journey to capture all things beautiful and small.
Be sure to keep an eye on our photography resources for the latest tips, tricks, and hacks to keep your skills sharp!
Find unique photoshoot locations on Peerspace
Get together somewhere better
Book thousands of unique spaces directly from local hosts.
Explore SpacesShare your space and start earning
Join thousands of hosts renting their space for meetings, events, and photo shoots.
List Your Space


