Texture Photography: What To Know & How To Nail It
-
 Written by Peerspace Staff
Editorial Team
- August 9, 2022
- 9 min read
- Photography

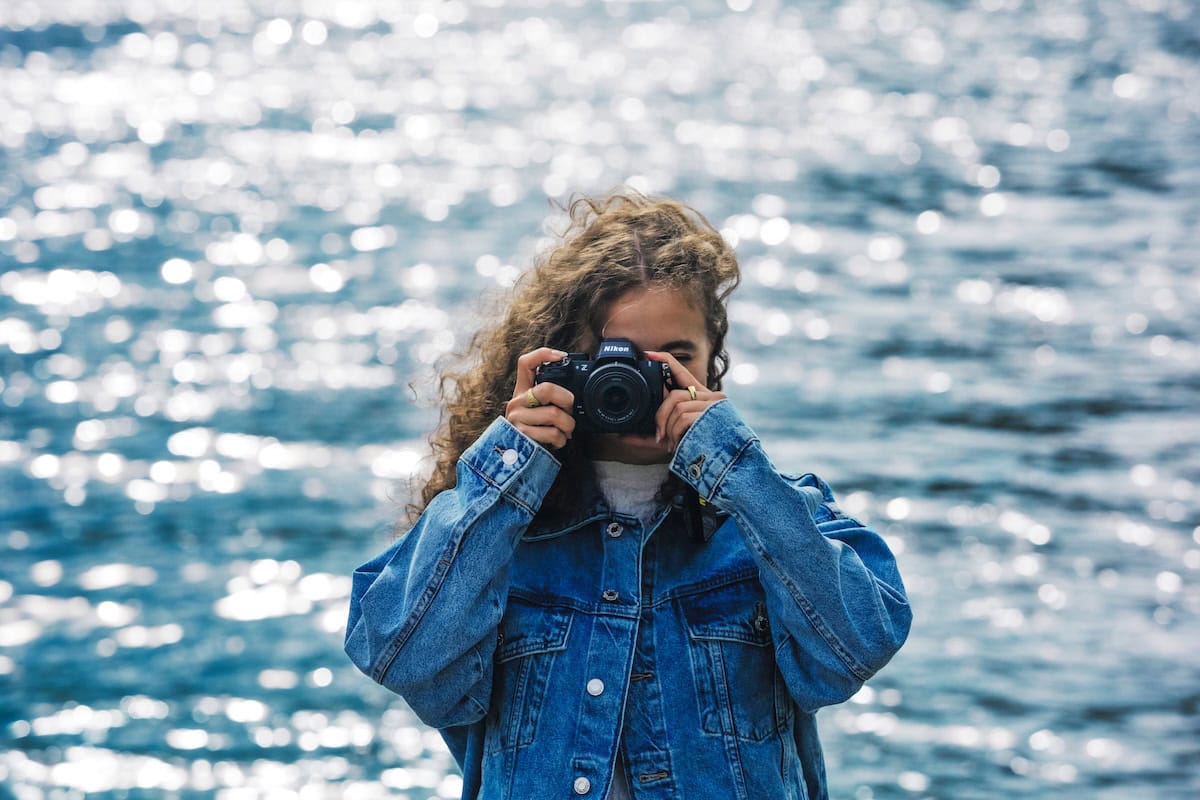
Source: Unsplash
Curious to know all about texture photography? At Peerspace, we get it! Texture is a popular focus in photography, a versatile subject matter which exists in just about every setting imaginable. It’s full of possibilities, from the rough surface of a brick wall to the gossamer veins in a butterfly wing.
It’s good to start with the definition of texture to avoid any confusion. Texture is defined as “the feel, appearance, or consistency of a surface or substance,” be it something smooth, rough, wet, slippery, soft, spikey … we could go on. These details in the world around you are a gift to the photographer, allowing you to observe the scene around you in a unique and tactile way. Now, let’s get into what it takes to shoot professional-worthy texture photography.
Equipment

Texture photography is one of the special mediums where you can use just about every lens to capture the scene. Using a macro lens will allow you to focus on the spider’s legs or minuscule grains of sand, whereas a telephoto lens will allow you to show the entire twisting length of vines clutching the rough stone wall.
Using a tripod and timer will help you get the sharpest details, eliminating any camera shake. You can also use a tripod to smooth the texture to get a different effect, such as shooting the waves on a beach at a longer shutter speed to give the waves a smooth, milky texture.
When shooting a moving subject, such as waves or leaves in the wind, try shooting at both a quick and a long shutter speed, and observe how the changed texture tells a different story.
Choose your aperture settings

When choosing your f-stop, consider how you want the texture in your image to be perceived. A high aperture creates a lovely, shallow depth of field that makes each detail pop out at the viewer. This is great for shooting the edge of a fallen log, showcasing the tiny mushrooms just beginning to sprout while you blur the forest beyond into a mysterious, dreamy landscape.
On the other hand, shooting at a smaller aperture will bring more of the image into focus. This is great for showing the sense of scale or repetition when photographing texture, such as the dozens of bolts of fabric stacked in a clothing shop or the expanse of a brick wall in an old industrial yard.
If you love shooting food and products, then you need to know about flat lay photography, too!
How to find texture

Texture is all around you, and once you start looking for it, you will soon be seeing examples of great texture everywhere you go.
Texture in nature
Every climate has a unique world of texture to offer the photographer, from the spikes of a cactus in the desert to snow-covered pine needles in the mountains. Even a stroll around the local park can lead to stunning results. Try going on a walk around your neighborhood and observing the different plants growing, the bark on the trees, the cracked earth on a dry, hot day, or the raindrops collecting on the petals of a flower.
Texture in animals
If you have a pet, live near a farm, or have a way to get close to wildlife safely, you will discover ample examples of texture. Fur, scales, claws, and even the surface of your pet’s tongue can provide you with interesting subject matter.
Texture in architecture
The urban landscape is full of incredible textures. Think wood grain, brick walls, and peeling paint, to the undulating curve of a modern concrete building or the rusty links of an old chain fence.
Texture in repetition and pattern
Patterns and repetition are a great source of possibilities in the world of texture.
As you make your way through daily life, keep an eye out for the line of cobblestones worn from years of use, the colored tiles on a rooftop, or the row of apartment buildings, each sporting an identical balcony and window set-up.
Texture in food
The smooth apple peel, the crunchy loaf of fresh bread, and the steaming bowl of creamy soup are great examples of texture in food.
Shooting in the kitchen provides many colors and shapes to compliment the texture of your subject matter. Thus, it is a rewarding photographic experience.
Lighting

Lighting is a great tool for accentuating texture.
When shooting outdoors, heading out on a sunny day will naturally give you more extreme textures, as the intense sunlight will bring details into the foreground and provide a sharp contrast to the shadows.
When shooting indoors, you can use artificial lighting to up the contrast. Try positioning your lighting at an angle, rather than aimed directly at your subject. This will mimic the effect of a bright, sunny day and enhance the texture you are photographing.
Experiment with different angles and different times of day
Texture changes dramatically depending on the angle from which you shoot it, so it’s a great idea to try photographing the same object or subject from a different angle to figure out which option is the best. What does the texture look like if you’re shooting straight at it? How does it change looking down from the top? What about from the side?
Texture can also be totally different depending on what time of day you are shooting, especially when focusing on textures in the natural environment. Perhaps you shoot the craggy peaks of a mountain at the end of one day and wake up in the morning to find the view now awash with milky fog.
Or perhaps you photograph the surface of a lake in the morning when there is no wind, and the water is a glassy mirror. In the afternoon, in a small rainstorm, the lake’s surface is now alive with the sputtering of raindrops.
Creating your own texture

If you don’t want to go out looking for texture, you can always make some at home!
Oil in water can create alien landscapes from nothing, and the swirls and peaks of oil paint on canvas provide incredibly tactile textures for photography. Break out the hot glue gun, and you have loads of possibilities right at your fingertips.
Texture in portraits

Open up any fashion magazine, and you’ll see celebrities with faces so airbrushed, that you wouldn’t even know they had pores.
Boring!
Rather than discard all the textures present on the human body, this is your opportunity to embrace them. Freckles, wrinkles, and facial hair are outstanding elements of textured portraiture photography and can often create dramatic and striking pictures.
Our symmetry photography guide can also help with your portrait work. Check it out!
HDR

You achieve the HDR effect by taking multiple photos of the same scene at different shutter speeds. Tinker around with under-exposed, exposed, and over-exposed speeds. Each serves to bring out an incredible amount of detail.
This effect will make the visual textures in your photography pop but beware of going too over-the-top, as overly-edited HDR images can feel grotesque and unnatural.
Using texture in double-exposure

Double-exposure photography loves texture. When you do double-exposure photography, you layer two (or more) images on top of each other. This allows the image underneath to bleed through into the image above. Doing so creates a mysterious, jarring, unusual final product.
You might layer the silhouette of a face in profile with the rough bark of a tree, producing a half-human, half-tree hybrid full of rich texture and amazing imagery.
Editing

Texture can easily be accentuated in the editing process, especially through sliders for contrast, clarity, shadows/highlights, and dehaze in programs like Lightroom.
Black and white images are especially great for highlighting texture, removing the distraction of color. As with most editing processes, going too far on the slider of any of these controls can make the image unreadable. Use just enough to enhance the texture, but don’t go overboard.
Texture is everywhere, so experiment at a Peerspace
Now you have what it takes to start shooting some seriously compelling texture photography. The next question becomes: where to do so? Luckily, Peerspace can help you out there, too!
As the largest online marketplace for hourly venue rentals, we can find incredibly photogenic Peerspace venues for content creation.
So how do you get started? Here are a few of our favorite texture-heavy Peerspaces:
- This royal velvet baroque luxury space in New York City with plenty of velvet fabric, plants, and ornate decor
- This party, pool, and lounge backyard in Tomball, TX with a rock waterslide, outdoor seating, a grill, and other texture-filled areas
- This bright and sunny loft in Chicago with an exposed brick wall, metal duct work, wood furniture, and lush greenery
- This multi-set studio in downtown Los Angeles that includes several distinct scenes with unique lighting, design, and, of course, texture
- This luxury villa in Fort Lauderdale with an eclectic and modern open-space interior and an outdoor pool and lounge area
As you can see, Peerspace offers you an endless array of unique spaces brimming with texture. All you really have to do is go to the platform, enter your location, and see what pops up in the search! Book spaces that appeal to your aesthetic sense. And don’t forget your camera!
Texture photography: conclusion

Texture photography is a great way to expand your chops as an artist. It also gives your senses free rein to get creative. The more textures you photograph, the more you will find beauty in all of the everyday materials, structures, and landscapes around you.
So grab your camera, review these tips and tricks, book a dreamy Peerspace, and get to shooting!
Find unique photoshoot locations on Peerspace
Get together somewhere better
Book thousands of unique spaces directly from local hosts.
Explore SpacesShare your space and start earning
Join thousands of hosts renting their space for meetings, events, and photo shoots.
List Your Space