Source: Unsplash
Answered
Photoshoot locations on Peerspace typically cost $60 — $180 per hour.
- Find the perfect tree photography location
- Consider the time of day and weather conditions
- Take advantage of the seasons
- Spend time in one location
- Research the terrain and surroundings of your location
- The best lenses for photographing trees
- Include people, animals, or objects in the foreground
- Always embrace the unpredictable
If you love photographing nature, odds are you’re interested in tree photography. Trees are beautiful, and majestic, and are often native to specific regions.
The great thing about photographing trees is that they aren’t going anywhere: unlike other subjects, you don’t have to worry about them getting bored and wandering off or spooking if you get too close. With trees, you have the freedom to explore every angle at all hours of the day and carefully select your best shot. But that’s not to say that photographing trees is inherently “easy,” of course. There are many elements at play like anything in photography, and it will take some patience and creativity to get it right.
With these tips and tricks on photographing trees, you’ll be sure to turn an everyday moment into a truly spectacular photograph.
Find the perfect tree photography location
Sure, you can head outside your home and take photographs of the trees you see there anytime you like. But if you’re building your portfolio and really want to experience unique types of trees, you’ll need to step out of your comfort zone.
Enter Peerspace, the largest online marketplace for hourly venue rentals. Peerspace can connect you to amazing photoshoot locations everywhere, from professional photo studios to verdant outdoor spaces that let you play with light and experiment with some of the tips we share ahead.
To give you an idea of the types of amazing Peerspace venues you can book for your tree photography project, check out these examples:
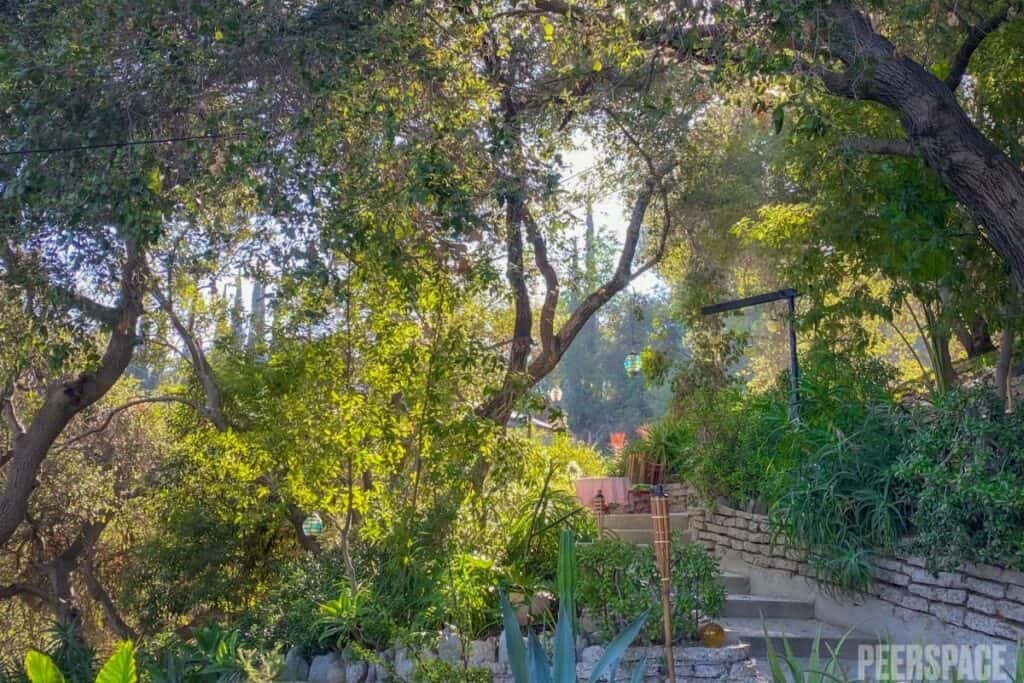
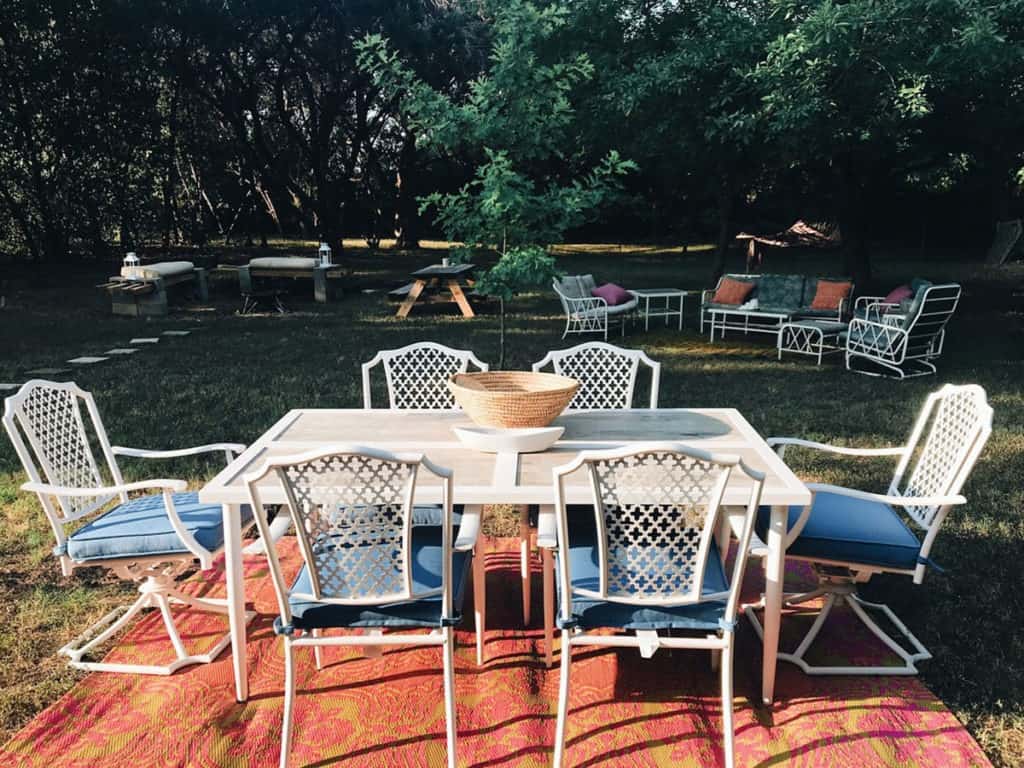
- This gorgeous vintage-vibes cabin in Los Angeles, CA surrounded by mature oaks (pictured above).
- This luxurious private studio with its own bamboo forest in Acworth, GA.
- This beautiful, lush open space with redwood trees in San Rafael, CA.
- This classic desert land with Joshua Trees in Palmdale, CA.
- This palm tree paradise house in Lauderhill, FL.
You get the idea! You can easily use Peerspace to search for incredible photoshoot locations near you based on location and/or tree type! Once you have the perfect setting for your photoshoot, it will help the rest of our tree photography tips fall into place.`
You know what can enhance your tree photography? These beautiful autumn photoshoot ideas!
Consider the time of day and weather conditions

We know we harp on this theme a lot in photography. But when photographing trees, it is especially crucial to consider the time of day and weather before heading out. After all, that’s the only changing variable here! It is common practice to avoid the midday sun and its harsh shadows when practicing landscape photography. Instead, try going out earlier in the morning or later in the afternoon and early evening. This is when you are more likely to get interesting or dramatic lighting, which will add a sense of intrigue and magic to your woody subject.
As for the weather, they say there is no such thing as bad weather — only bad clothing. Don’t be afraid to venture forth in the rain, fog, snow, or mist. What sort of story does the tree tell when its uppermost branches seem to disappear as they reach for the heavens? How do the colors of the fallen leaves change in their vibrancy following heavy rainfall? What do the falling leaves in a downpour look like? How does the tree buckle under the weight of a recent ice storm, compared to how straight they stand during a summer day?
These weather variables will give your photographs special nuances and help them stand out from the crowd. Of course, in any inclement weather, you need to protect yourself and your gear, so be sure to don waterproof clothing and bring a waterproof case or covering for your camera. No photo is worth compromising your safety, so if the weather is taking a turn toward the extreme, head inside!
Take advantage of the seasons
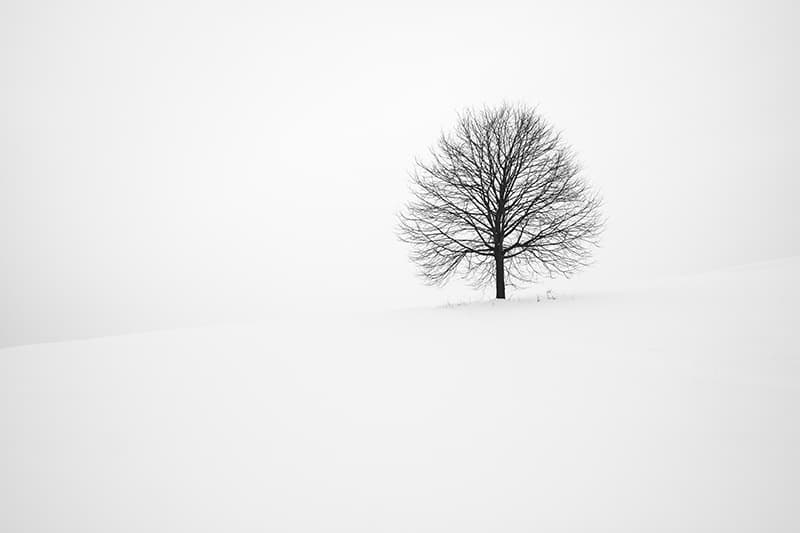
While trees may be stationary, that isn’t to say they’re always the same. One of the best things you can do for your tree photography is to return throughout the year and capture the tree’s transformation throughout the seasons.
How do the leaves change from spring to summer? What sort of colors do we find in the autumn? What does the tree look like in winter, naked and seemingly so vulnerable, yet persevering nonetheless? If you’re shooting an evergreen, then how does the world change around the tree? Each season will give you something different and beautiful to photograph.
Spend time in one location
“A tree does not reveal its secrets in just two hours” is the sage advice of National Geographic photographers Diane Cook and Len Jenshel. To understand the tree—to explore its every crevice and every angle—you need to hunker down and spend some time with the tree. Walk all around your subject, noticing the shapes made by the branches, the areas in shadow and light, and how the background frames the tree depending on where you’re standing.
Lie on your stomach and look upwards. How is that angle different from when you’re standing? Take a few steps back. Take a few steps forward. How is it different when the light is coming from behind? From the side? From the front? What story does the photograph tell if you have the whole tree in the frame or only a portion of it?
What is the texture of the bark? Can you see the veins in the leaves? Are the roots prominent? Are they covered in leaves? Has it been raining recently, and is there still moisture? Is the ground muddy? Are there dramatic clouds in the sky above the tree? What is around the tree — a fence? A blackberry bush? Is it alone?
Focus on what makes the tree unique and show us how that makes it special. Experiment. The tree’s not going anywhere, after all, so take your time.
Research the terrain and surroundings of your location
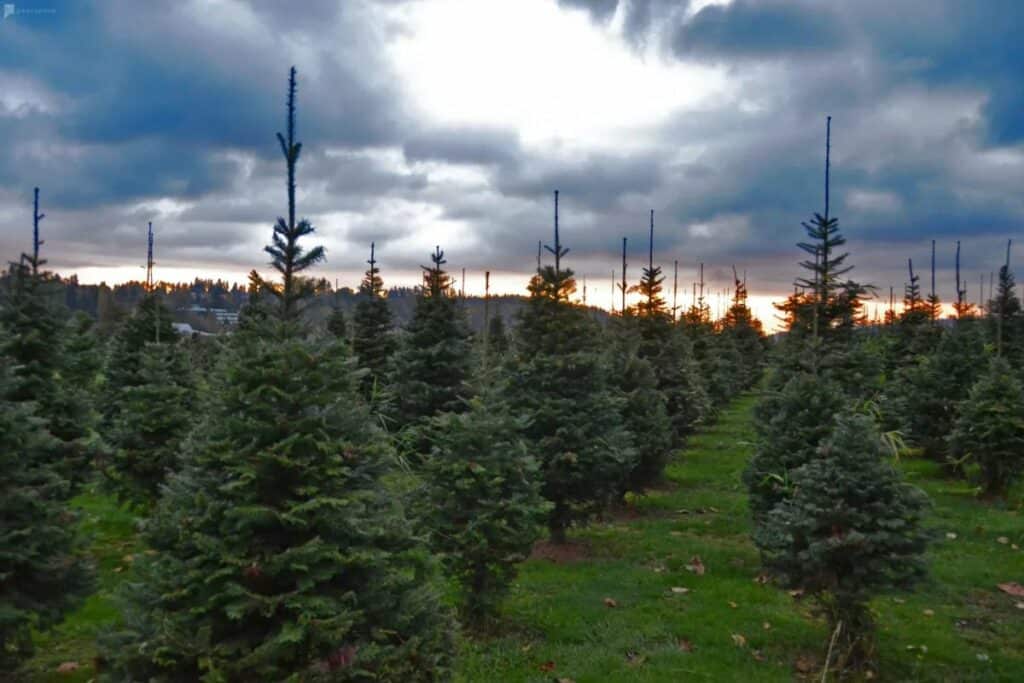
Many tools can help you scout out a location in advance. Applications like Google Earth or Google Maps will help give you a sense of terrain and landscape. A handy tool, that should be in the arsenal of any nature photographer, is the Photographer’s Ephemeris. Available for iOS and desktop, it allows you to see the position and motion of the sun in realtime. It also lets you plan for the future by choosing the dates when you’ll be out working and understanding the lighting conditions you’ll be dealing with.
If you’re going to a popular location, reach out to local experts to determine when the trees will be in bloom or when the leaves begin to turn colors—whatever will be the focus of your photograph.
The best lenses for photographing trees

When photographing something as broad and majestic as a tree, the use of a wide-angle lens is a no-brainer. But there are interesting choices to be made with any lens. A wide-angle lens will help you fit the entire subject in your frame, with the inevitable lens distortion sometimes working in your favor. You may snap elongated branches and root systems, while accentuating the height and majesty of the tree.
If you don’t have a wide-angle lens, another option is to stand further back and use a telephoto lens. There are many interesting results we can get from the use of a telephoto lens, especially as they tend to compress the landscape, making things appear much closer together than they really are. This can add a sense of unity to our tree photographs, allowing the tree to work harmoniously with its background rather than setting it apart.
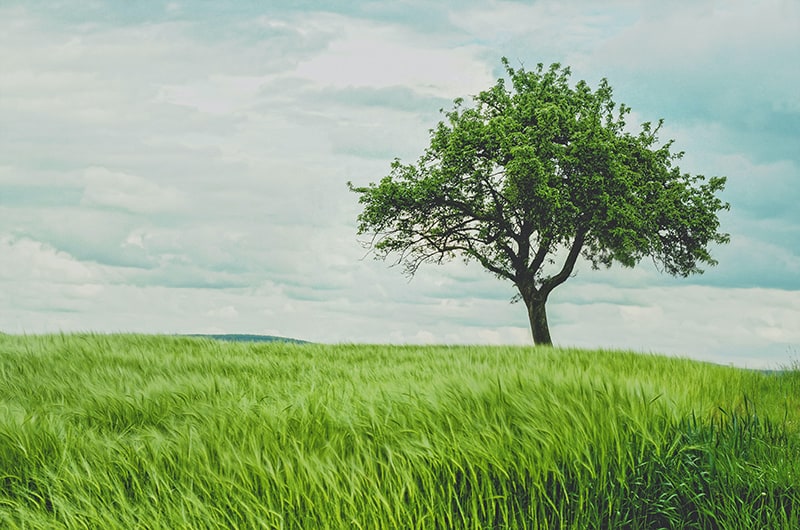
Telephoto lenses are also a great choice for the lone tree standing in a farmer’s field or atop an otherwise barren hill. In these cases, a wide-angle lens can make the image feel a bit bland, whereas cropping in on the image through a telephoto lens gives us a sense of the tree’s position in its surroundings.
Learn more about how to find unique photoshoot locations online right here!
Include people, animals, or objects in the foreground
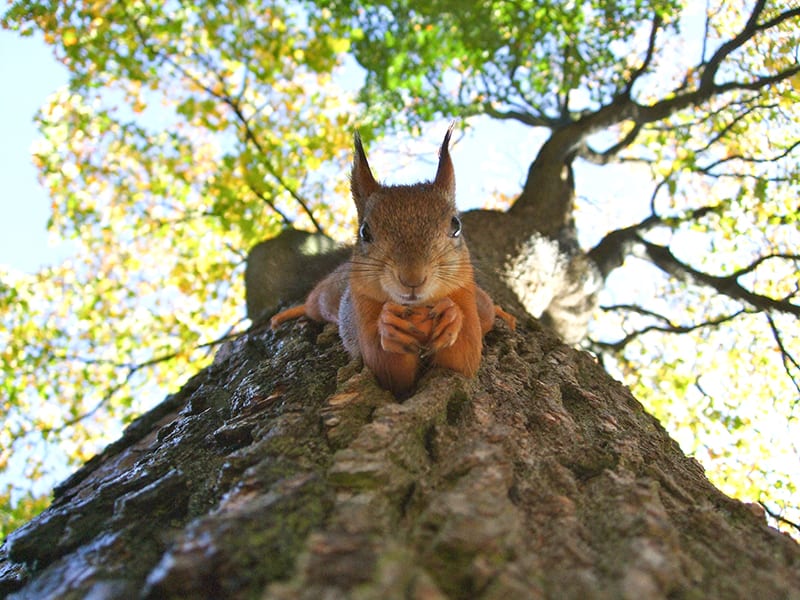
If you’re looking to add a little something extra to your tree photos, consider the use of a model or other foreground objects to accompany the scene. This could be your trusty pet, loving spouse, hired model, or playing child…among an endless sea of options, of course!
You could even bring some props along with you, such as a vintage bicycle, or a china tea set up ready for a picnic, or even some little fairy figurines, a la the Cottingley Fairies fame.
Always embrace the unpredictable

For all the planning, it is sometimes the unexpected moments that give your photograph its magic. Perhaps it’s an unusual bird flying overhead, a pair of lovers walking past hand-in-hand, a family of ducks waddling past, or the arc of a rainbow making its appearance after a thunderous rainstorm.
Always be willing to accommodate that you cannot predict or foretell, and let those unexpected moments work to your advantage.
Tree photography: conclusion
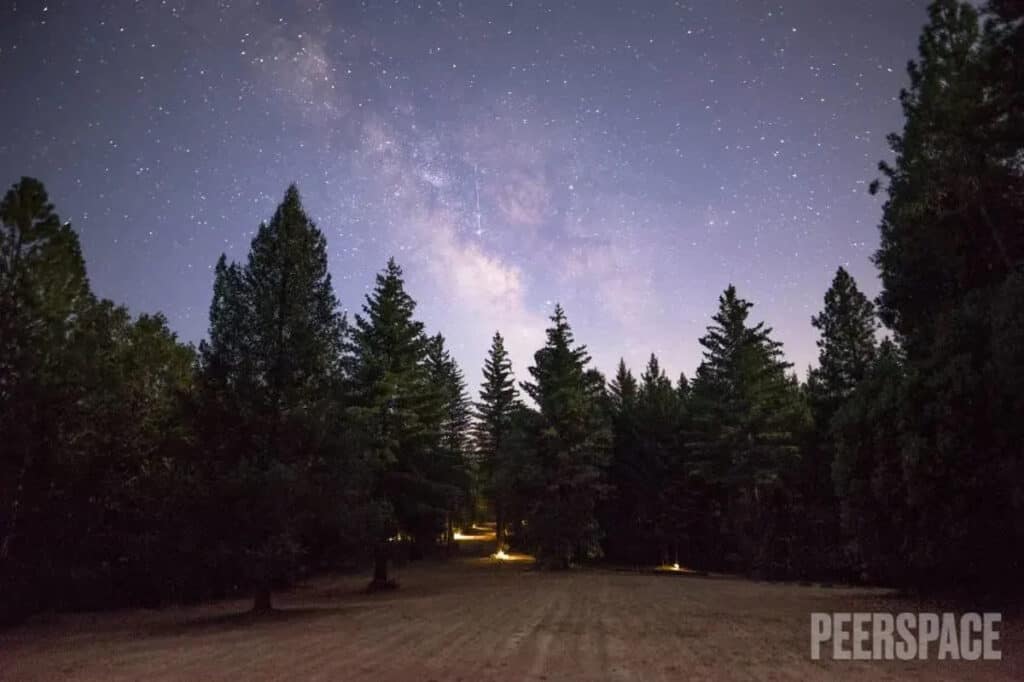
We hope this guide on tree photography has you looking forward to your next outdoor shoot. And remember, to make your shoot extra special, book a tree-laden photoshoot location courtesy of Peerspace. The right venue can help you explore specific trees that inspire your creativity.
Find unique photoshoot locations on Peerspace
Get together somewhere better
Book thousands of unique spaces directly from local hosts.
Explore SpacesShare your space and start earning
Join thousands of hosts renting their space for meetings, events, and photo shoots.
List Your Space


