What is Video Color Correction? And How to Do It
-

Writer & Filmmaker
- October 8, 2021
- 6 min read
- Filmmaking
Source: Pexels / Tranmautritam
From the whimsical worlds of Wes Anderson to David Fincher’s gritty thrillers, a key visual is in the colors used to create the atmosphere. It’s the first thing you see without being aware of the context of the story. Yet, the video color correction is the last visual element to a film and keeps consistent from beginning to end.
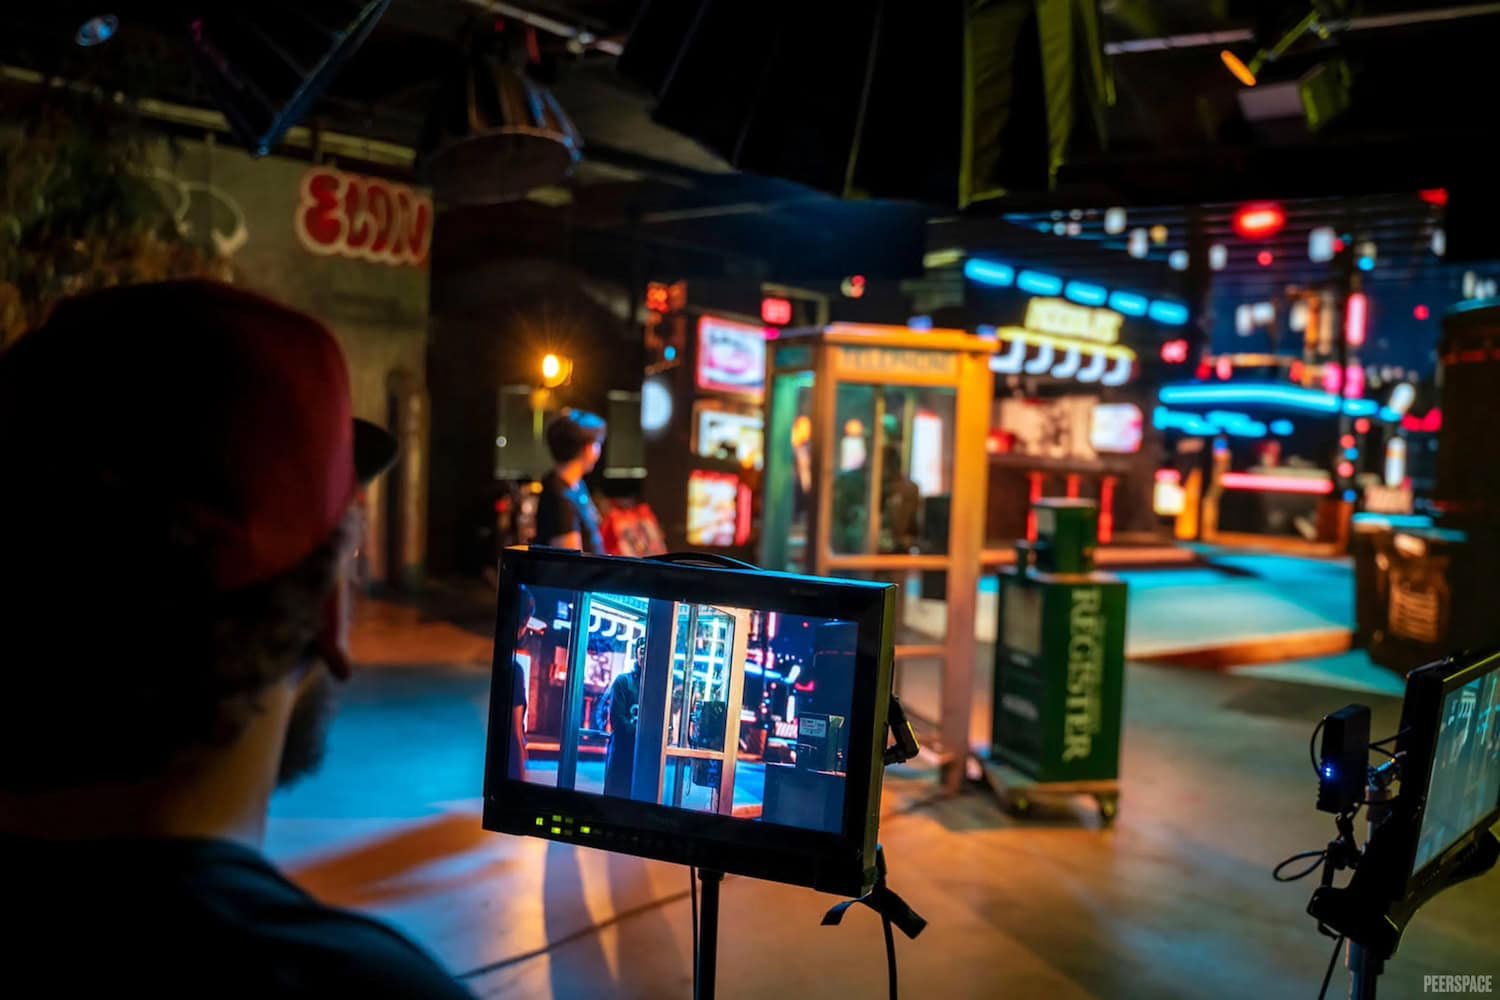
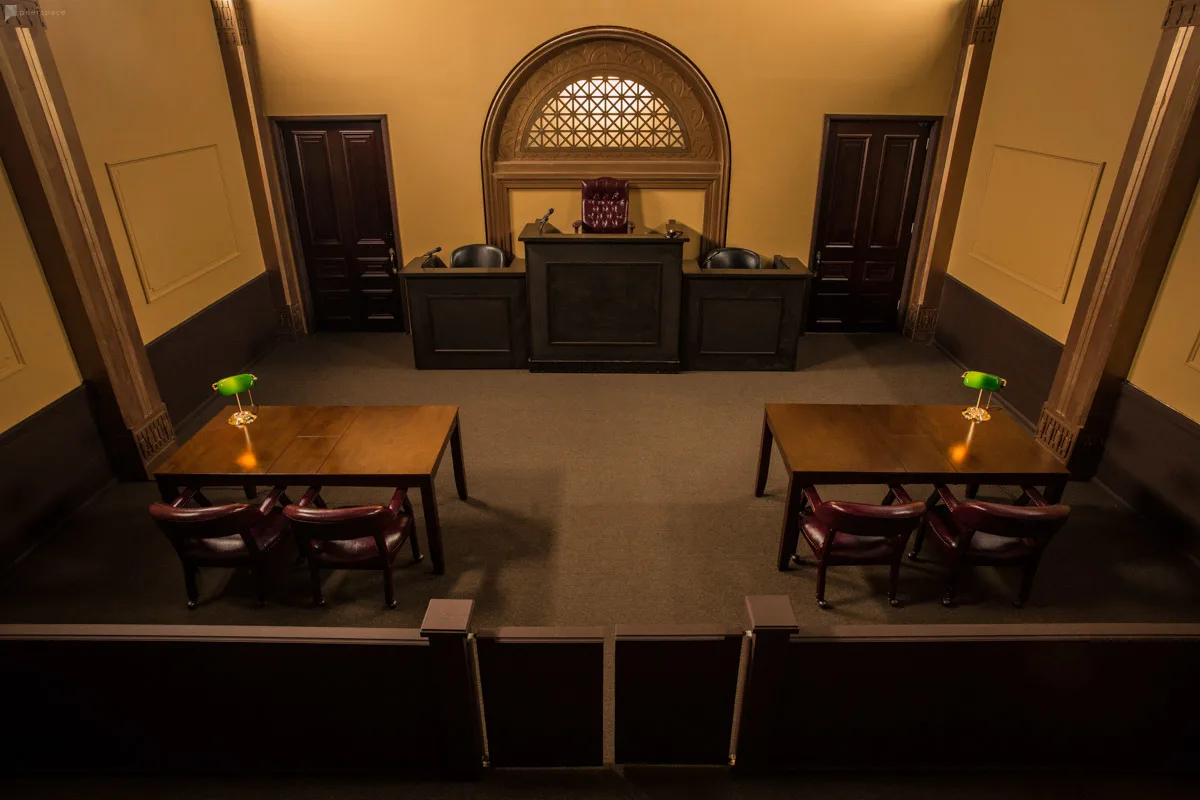
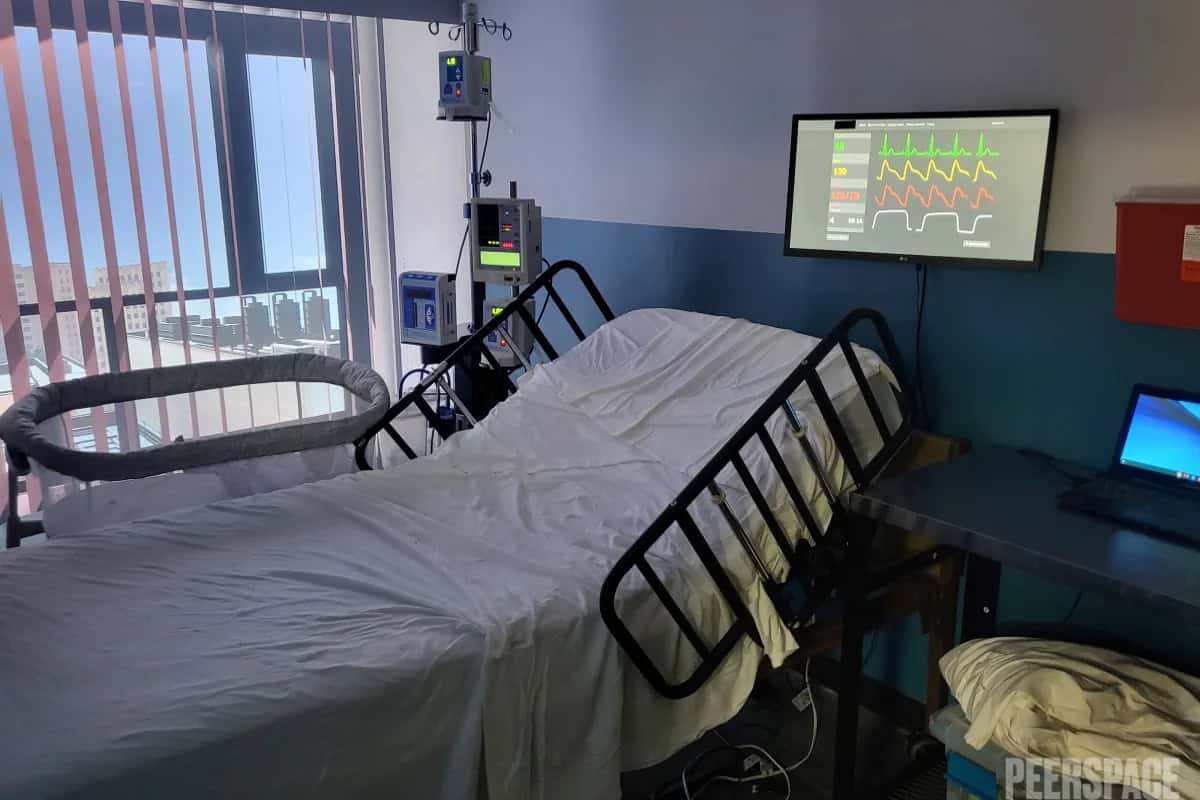
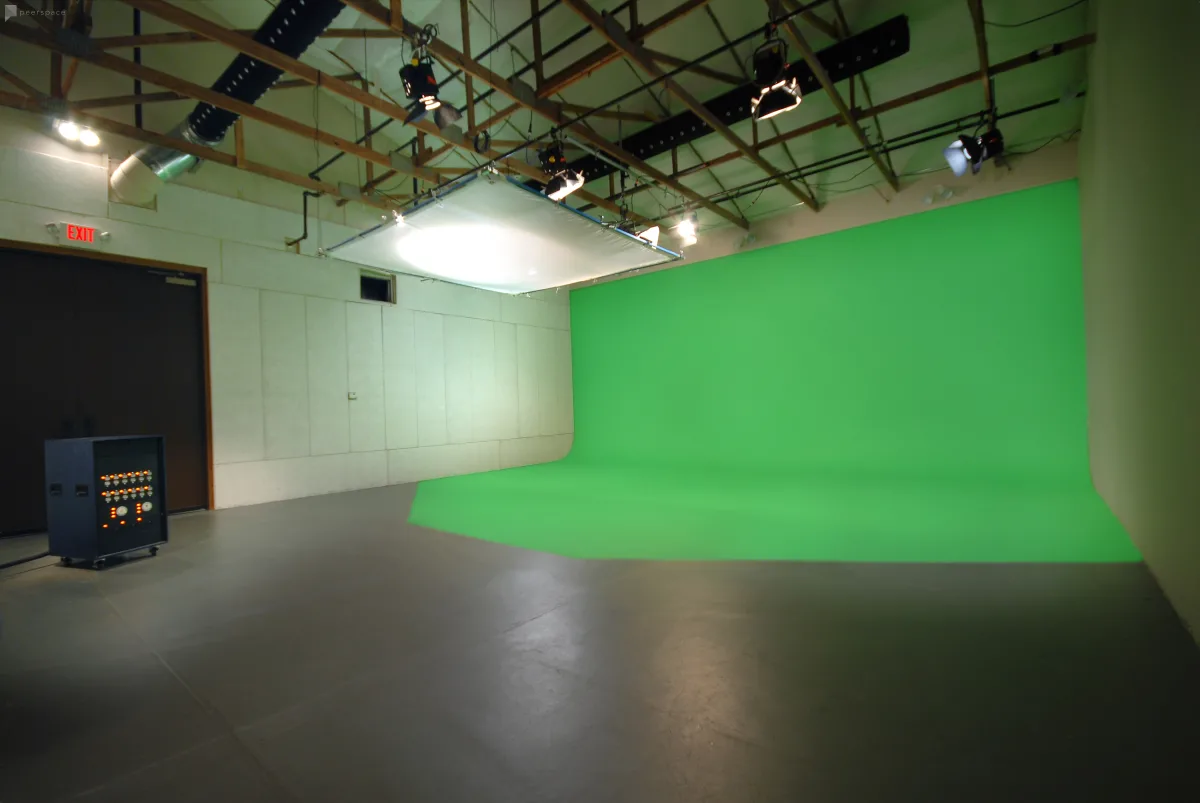
There are unlimited options for your next film’s color palette, just like there are endless options here on Peerspace. After you read all about color correction, you may naturally be itching to try it out for yourself. And with thousands of location options for your next project, booking a Peerspace is the most straightforward and thrilling way to do so. All you have to do is browse through the high-quality pictures to find a location that matches your vision.
But now, let’s get back to the subject at hand: video color correction.
What is video color correction?

The colorist is in charge of the color process during post-production and involves two parts: video color correction and color grading. The footage shot is in a format that receives the highest dynamic range. The range in which the camera can capture the darkest and lightest part of an image without losing any detail and give the colorist the best options to work with. That is why footage looks flat and dull straight out of the camera, making the image look muddy. That’s where color correction comes in.
Color correction happens first. It deals with making the image look naturalistic. This means you get the levels to a point where the white and black values balance, adjust the exposure, and boost the contrasts. It helps ensure that every clip is consistent. And, it gives the colorist a clean base to start with.
Color grading is the creative spin that adds atmosphere and creates a world. It can emphasize a theme or motif or foreshadow something to come. You boost the color to an extreme level that makes sense within the context of the film.

How do you color correct video?

First and foremost, you need the proper software at your side in post. The most popular software for colorists is Adobe Premiere and DaVinci Resolve. Both are non-linear editing software, although people most often use DaVinci for color correction. It’s up to you what software you feel most comfortable using.
Both have the same necessary tools for color correction:
- White balance: Set in-camera before shooting, but during the color process, you can adjust anything that might be a little off. During color grading you can make the whites more beige, more cool, or warm.
- Scopes: Waveform, Histogram, Vectorscope – visually indicates amount of color in an image
- Curves: Helps you create points to manipulate the highlights, shadows, whites, blacks, etc.
- Saturation: The intensity of the colors. When you make it higher it removes greys in the color, lower it adds more grey.
- Brightness: Controls the level of light in the colors. It either adds white into the color or black.
As stated before, color correction involves giving the raw footage a natural look. This consists in balancing the whites and blacks in an image, balancing the exposure, and giving the skin tone a realistic look (not orange or green!). It’s best to pick out a clip that has the best balance of light in the image and work on that one.
You can use your scopes and the RGB curves to help you visualize the changes. Afterward, you can color match the image to the rest of your clips or copy and paste your settings. Once you match all the clips, you can tweak each clip for any extremities ranging outside of your default clip’s color.
Color grading is where the director comes in to make sure the image matches what they envisioned. Before getting started, it is wise to create an adjustment layer over the footage to add the color grading effects before getting started. This layer keeps the footage from losing the color of the original footage and allows you to easily undo any changes you make that you don’t like.
There are also LUTs that can be created and used to color grade. LUTs stands for look up table and can be a packaged set of color adjustments that can be applied and automatically change the look of your film. You can also create your own LUTs within your editing software.
What impact does the color have?

Don’t underestimate the power color can add. Color grading can have an emotional and psychological effect on viewers and thus strengthens the story you are telling. In Sin City, all but one color is stripped away to call attention to essential things in the frame.
Sin City’s technique stays true to its graphic novel origin and forces the audience to pay attention to the details. In contrast, Spring Breakers amplifies all the colors to a bright and fluorescent hue to create a look of excess and psychedelic delusion that brings the audience to the edge of their seats. It is all made possible by understanding the story you want to tell.
A beautiful example of color grading from recent years is the movie Mad Max Fury Road. Mad Max uses the traditional Hollywood look of orange and blue yet takes it to a new level of prominence. Orange and blue are complementary since the colors are on the opposite end of the color wheel. This adds bold contrast to the look of the film, which is already a fast-paced action movie. The use of orange in the desert emphasizes the blistering heat and the desperation to find a sanctuary within a destroyed world. The blue is always a distant reminder of what was. At the direst of moments, the red and orange colors reign supreme on screen.
Video color correction: conclusion

Now it’s time for a few real-world application tips. First, for inspiration, make a list of your favorite color on film. By doing this, you might realize what palettes catch your eye most frequently.
Secondly, book a venue that allows you to experiment. Take shots that explore various angles and lighting to make the most of the available color. The final step is to fire up your editing software and marvel at the shots you took and how you can manipulate them best.
As a couple of final notes, don’t be afraid to experiment. And never underestimate what color can do for your production. Especially since the best color comes through with a mix of genuine innovation and focused storytelling. Happy color correcting!
Find unique production venues on Peerspace
In this article
Get together somewhere better
Book thousands of unique spaces directly from local hosts.
Explore SpacesShare your space and start earning
Join thousands of hosts renting their space for meetings, events, and photo shoots.
List Your Space