Video Editing 101: Everything You Need to Know to Get Started
-

Editorial Team
- October 29, 2021
- 9 min read
- Filmmaking

Source: Unsplash / @jakobowens1
Video editing as a skill set has been on the rise ever since YouTube first debuted back in 2005. Today, anyone can start editing videos from their phone for free. And there is seemingly no upper limit to how much you can learn to create better and better videos in the editing process. This video editing 101 guide will serve as a starting point for you to learn how to edit video at the most basic level. It will set a clear road map so you can continue to learn and grow as a video editor.
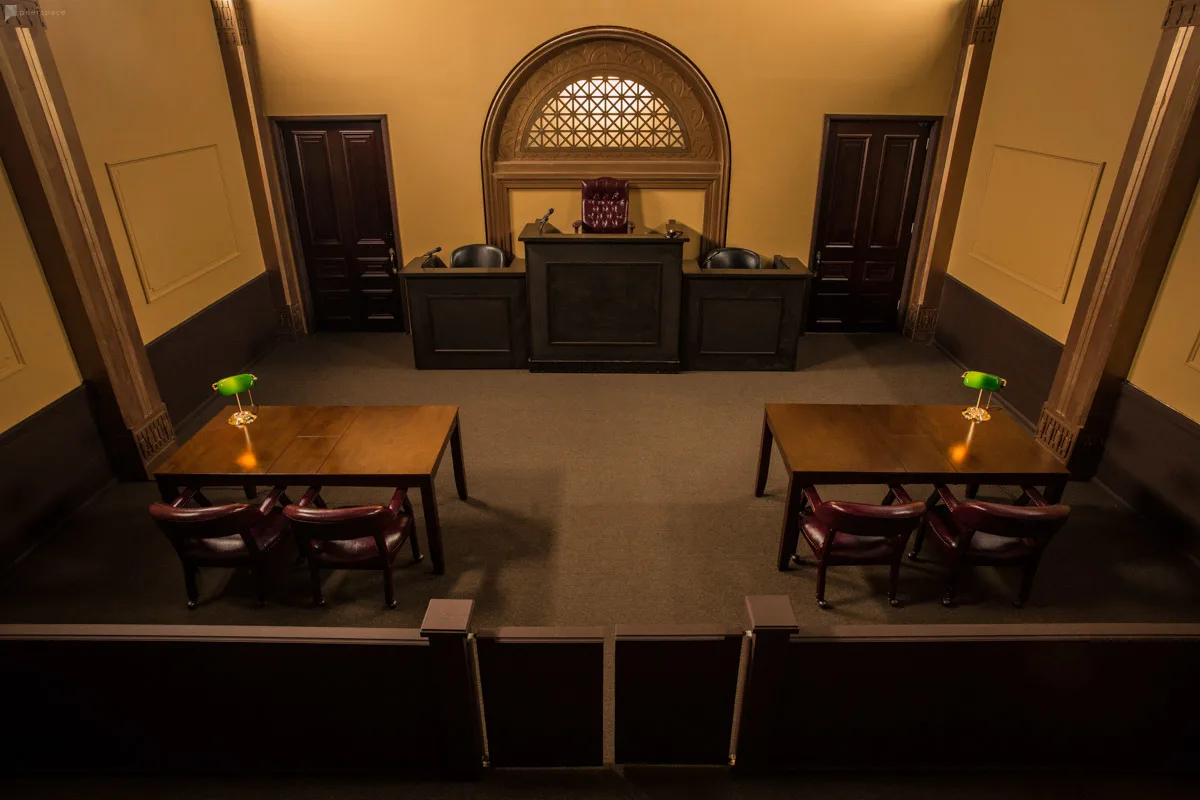
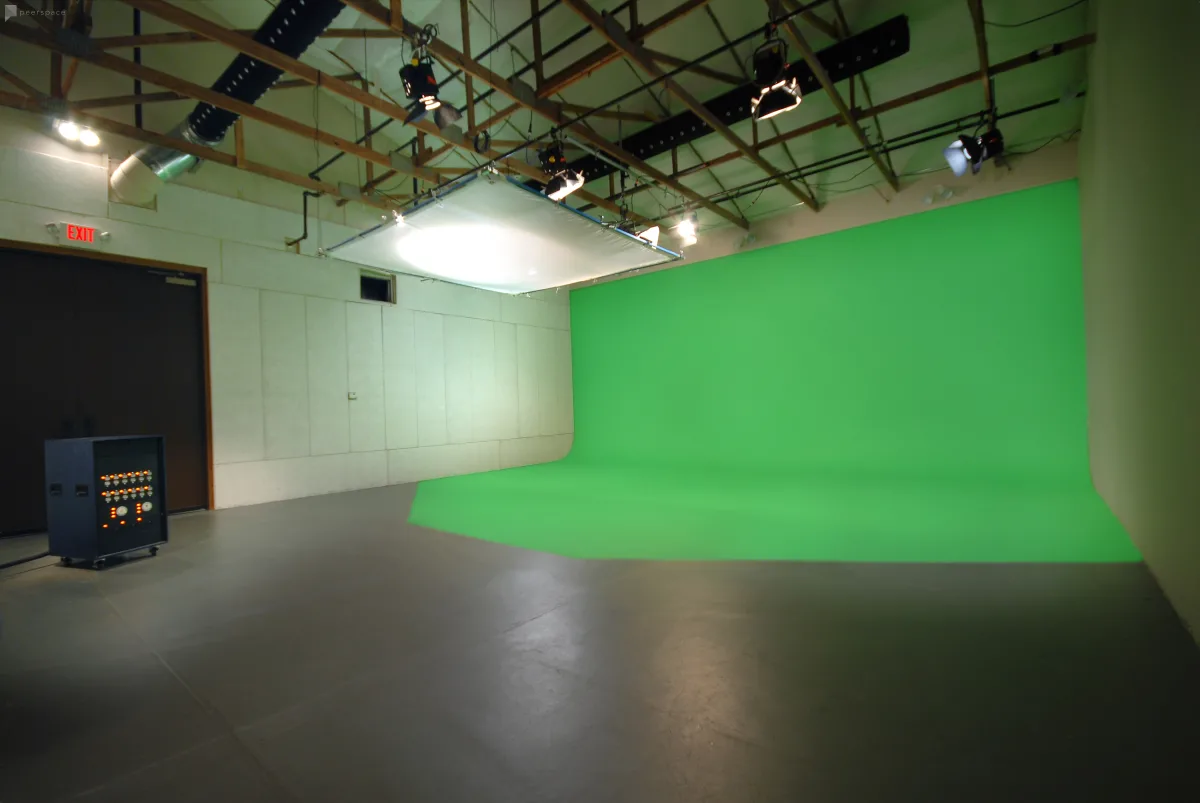
When you’re ready to shoot your film after learning how to edit, you’re going to need a fantastic location. Peerspace uncovers thousands of unique spaces in hundreds of cities, giving you creative places to shoot your next — or very first — film. Check out what Peerspace venues are near your filming destination. You can book a stunning penthouse, luxurious mansions, spooky cabin, glam rooftop, classic home, or pretty much anything else you like!
Download editing software

Video editing software is available on a wide range of devices, at many different price points, with an even more comprehensive range of capabilities. Look through the list, and choose the best software for you based on ease of use and price. Also, make sure it has all of the capabilities you will need for the projects you want to take on. This is one of the more essential parts of video editing 101.
These are our favorite download editing software programs:
iMovie (Price: Free)
If you own a Mac, iMovie is a great place to start making simple videos for YouTube or your next family home movie. The interface is simple and easy to use; the built-in tutorial will get you started with everything you need to know. Even the export process is easy to understand without knowing all of the technical details that go into it.
DaVinci Resolve (Price: Free, or $295 for the full package)
DaVinci Resolve is the industry standard for color grading, and it includes a full suite of video editing tools that is free to use. Resolve is well optimized for performance on both Mac and Windows and is available on Linux for power users.
The whole “Studio” version includes a few more features, such as multi-user collaboration, stereoscopic 3D tools, ResolveFX and FairlightFX plugins, HDR grading, film grain, and more. If you’re just starting, you probably don’t need the Studio package, and later on, you’ll likely turn to a program like Adobe After Effects for those extra features.
Final Cut Pro (Price: $299)
Final Cut Pro is arguably the best video editing option for anyone who is working on a Mac. In fact, it’s incredibly stable and well optimized for the Mac. And unlike almost every other software on this list, it can actually edit 4K video on something as underpowered as a Macbook Air. This is easily one of the basics of video editing 101, as many film school students often start out learning how to edit on Final Cut Pro.
Plus, the interface is well designed and beautiful to use. The built-in color grading tools are unorthodox but intuitive and effective. If a more powerful computer for editing is out of your budget, yet you still want a pro-level tool to work with, Final Cut Pro might be for you.
Adobe Premiere Pro (Price: $20.99/month)
Adobe Premiere Pro is the industry leader for video editing software in various industries, including advertising, digital media, YouTube, etc. Premiere Pro is incredibly robust, expandable through plugins and presets, and works hand in hand with Adobe After Effects to layer on VFX and for motion graphics.
It is well optimized for Windows but less optimized for Mac. Adobe Premiere Pro is the top pick for many film editors, ad agencies, and freelance videographers since it has every feature you could want. In addition, you can keep everything simple or make it as complex as you need to by working with proxies, different video codecs, bitrate settings, and more.

The best place to start

If you’re serious about learning to become a video editor, your best option is to purchase the full Adobe Creative Cloud Suite of apps for $52.99/month. With the entire Adobe Suite, you’ll have everything you need to go from beginner to a high-paid professional editor. You’ll be able to cut together a video in Premiere Pro, then make graphics in Photoshop or Illustrator, animate them in After Effects, and add that animation into the cutback in Premiere Pro.
Afterward, you can export it in high quality (h.264 2160x1440p at 23.976fps) from Adobe Media Encoder. If you’re unfamiliar with any of the above programs or terms, it’s okay. You can also just cut the video in Premiere and export with the YouTube 1080p preset right within Adobe Premiere Pro. In the next part of this video editing 101, you’re going to learn how to organize your footage, import that footage into your Adobe Premiere project, cut your video together, and then finally export that video into its own video file.
File organization is essential to video editing 101

Proper file organization when working on professional creative projects is massively essential. It’s the first thing people get wrong initially and then have to learn later on out of necessity. Improper organization can cause project files to become corrupted or contribute to lost assets, making it an uphill battle to edit your piece correctly.
Here is the best way to organize everything
Create a folder with the date, formatted by the year, month, and day (e.g., 20.01.20), followed by a searchable term for the project you’re working on. For example, 20.01.20_VideoEditing101 is great if you were creating a video based on this article.
Inside that folder, you’ll create 01_Import, 02_Projects, and 03_Export. Then, Inside 01_Import, you’ll add a folder with all the clips from each camera, as well as any assets you’ve gathered for the video. Finally, with Inside 02_Projects, you’ll create a folder called Pr, which is where your Premiere Pro project file will live.
When you start working with Illustrator (Il), Photoshop (Ps), and After Effects (Ae), you’ll begin making Il, Ps, and Ae folders, respectively, to house those project files. Finally, your export folder will hold your final edited files when you’re finished. Being organized is one of the essentials of video editing 101.
Basic editing in Adobe Premiere Pro

Here are your video editing 101 tips when working with Adobe Premiere Pro:
Import your files
When you first open Premiere Pro, you’ll notice an Import Pane on the left side if you’re in the default view. One way to import files is to double-click in that pane and then select files. We want our file structure within Adobe Premiere Pro to mirror our standard file structure. An easy way to import everything at once, with the same organization, is to drag and drop your 01_Import folder from your Finder (Mac) or File Explorer (Windows) to the Import pane within Premiere Pro.
Create a new sequence
In Adobe Premiere Pro, in your Project Pane where you imported your files, create a new “Bin” (Premiere’s term for folders) titled 02_Sequences. Select that bin and press CMD+N (Mac) or CTRL+N (Windows) to create a new sequence. Select the sequence settings that match what you want for your completed video file.
Add and trim clips
Now that you have a sequence add some video clips to it! Select your first clip, and just drag and drop it onto your timeline in sequence. To trim the clip down to the exact section you want, place the playhead at the starting point you want for the clip, and press CMD+K (Mac) or CTRL+K (Windows) to split the clip at the playhead. Then, just delete the piece you don’t want.
Do the same for the endpoint of the clip. When you add a second clip, follow the same steps to trim it down, and then select and delete the space between them to have them play one right after the other.
Export sequence
Now that you have a sequence of clips that you are happy with, you’re ready to export. Press CMD+M (Mac) or CTRL+M (Windows) to bring up the export panel. Choose the settings that match what you want your finished video to be.
If your sequence settings are correct, you can choose an h.264 preset called “Match source – High Bitrate,” which will be the best way to export your video at high quality 90% of the time. Select the 03_Export folder you created earlier to hold the file, and click export. Once it finishes rendering, you’re done!
Video editing 101 conclusion

Congrats on finishing this video editing 101 guide! You’ve made your first video. From here, you can add more clips and explore Premiere Pro to add titles and animations as you learn more. There are millions of tutorials online from thousands of teachers, both free and paid, that you can use as a resource to continue learning how to edit videos. Keep trying things, keep learning, and enjoy the process while you’re at it.
Book a Peerspace production venue near you to film something new and practice everything you learned here about video editing. It may just be the most rewarding (and most fun!) way to practice your craft and hone your skills.
Find unique production venues on Peerspace
In this article
In this article
Get together somewhere better
Book thousands of unique spaces directly from local hosts.
Explore SpacesShare your space and start earning
Join thousands of hosts renting their space for meetings, events, and photo shoots.
List Your Space