What is a Storyboard?
-
 Written by Peerspace Staff
Editorial Team
- February 19, 2020
- 5 min read
- Filmmaking

Source: Unsplash / @uh
So you have completed your shot list, what’s next in the filmmaking process? It is now time to break out the colored pencils and begin the storyboarding process. The purpose of a storyboard is to further explain each shot in the shot list visually. What is a storyboard you may ask? A storyboard is a sequence of drawings that represent the shots planned in the shot list.
Drawing out the compositions in a storyboard gives the shot list a visual component to further understand what a filmmaker is trying to create. Just like the shot list, the storyboard-making process is a collaborative effort between the director and the director of photography.
Why a storyboard is important
A storyboard ensures the filmmakers that there is full coverage of every scene and nothing is missing visually from the story. When a storyboard is complete, the filmmaker should be able to look at it sequentially and feel the flow of how the shots work with each other in order.
This allows the filmmaker to spot potential visual errors that may have gone unnoticed in the shot list. It is smart to plan out a detailed storyboard during pre-production rather than trying to find the right compositions while the clock is ticking during production.
How to make a storyboard
The process of making a storyboard is simple. Just follow these easy steps:
1. Review shot list
The shot list is the foundation for the storyboard. Pay close attention to what angle and lens is being used for each shot. This information will help you accurately draw a proper sketch of the shot.
2. Know your locations
It is not essential to know all of your shooting locations during the storyboard phase, but if you have access to them, it can help tremendously. Knowing how big the location you are shooting in will help determine what lenses and compositions will work within the space. It is also a good idea to take photos of your locations to use as reference images for your storyboard.
3. Make a template
There are many templates that filmmakers can find on the internet. If you want to save the ink in your printer, simply use a ruler and a pencil to create columns of rectangles on a sheet of blank paper. Label each rectangular shot with its proper shot number and scene number from the shot list.
4. Draw it out
Once you have reviewed the shot list and seen the shooting space, it is time to start sketching in your template. You do not need to be a professional artist to storyboard, the compositions just need to be intelligible. If your drawing skills are on the stick-figure level, don’t worry — you just need to represent the basic geometry of the shot. You can always label your drawings to help others further understand what they are looking at.
5. Mark it up
Add in notes about the composition that will be helpful during production. These notes could be for the director concerning the blocking of actors within the space, or for the director of photography concerning camera movement or equipment needed.
The production designer should take a look at the storyboard to see what each frame will look like and what will be needed to achieve the right atmosphere. The production designer may want a photocopy of the storyboard to mark it up on their own as well.
Pay attention to detail
Some storyboards can be extremely detailed with graphic-novel-equivalent illustrations depicting every single shot. This is commonly seen on Hollywood blockbusters, but rarely seen on low-budget productions. A good storyboard does not need to have gorgeous artistry; it just needs to convey detailed information that can be easily understood.
Oftentimes, it does not make sense to storyboard out every single shot that is in the shot list. For example, if there is an “insert shot of a doorknob” shot, you may want to skip drawing out this shot and focus more on the complex scenes that include blocking and action. You can make your details stand out more by using different colored pencils.
Consider detail vs. speed
Most of the time, a storyboard artist is working on a time crunch and must make compromises with how much detail they are including in each shot. As mentioned earlier, it is not entirely necessary to draw out every single shot in the shot list.
It is much more beneficial to draw out shots that have complex blocking and camera movement first. Focus on the easiest way of conveying detail with the time that you have. Remember, a good storyboard should be understood by anyone looking at it.
Show movement
Visually showing camera movement in your storyboard is accomplished by using multiple template frames representing the beginning and final position of the camera. Outside the lines of the frame, use arrows to show the direction the camera is moving.
Be sure to label what kind of movement the camera is doing, such as panning or dollying. There should be motivation in the blocking for every camera move. Note the movement of the camera in a different color.
Use storyboard software
Most storyboards are hand-drawn, but some filmmakers prefer using storyboarding software. There are many free options on the internet for creators to use, such as Storyboarder. It is typically faster and more efficient to use a digital stylus to sketch out a storyboard on a touchscreen rather than hand-drawing them.
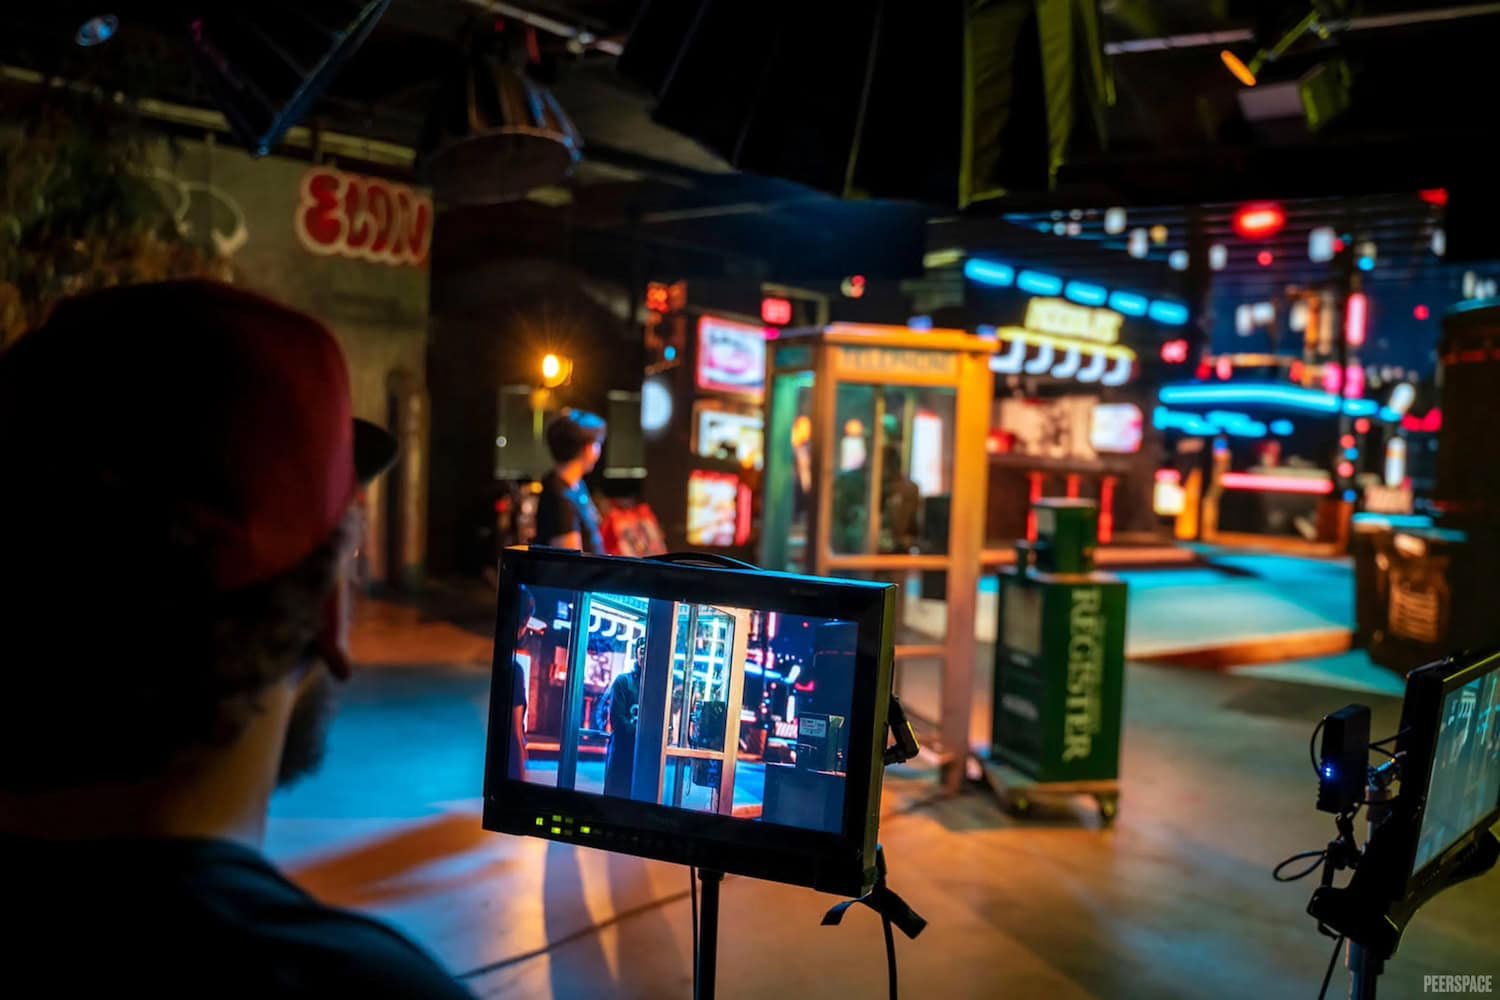
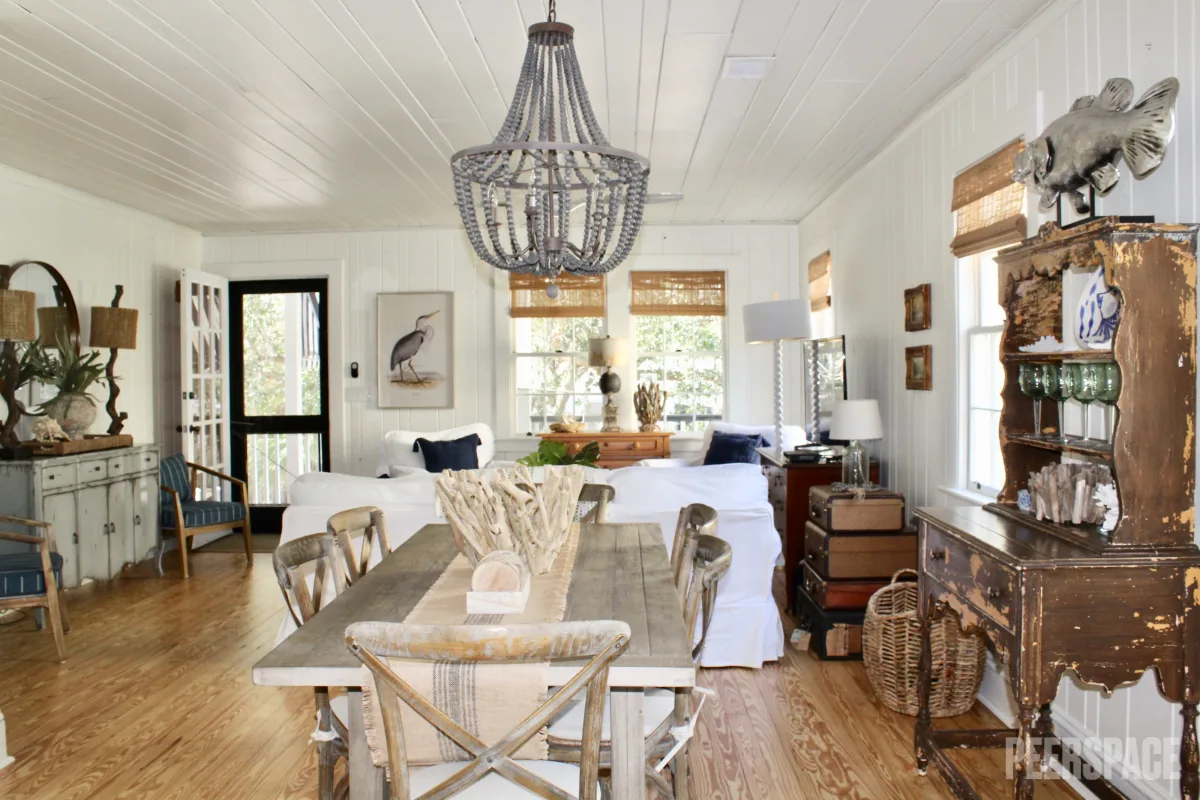
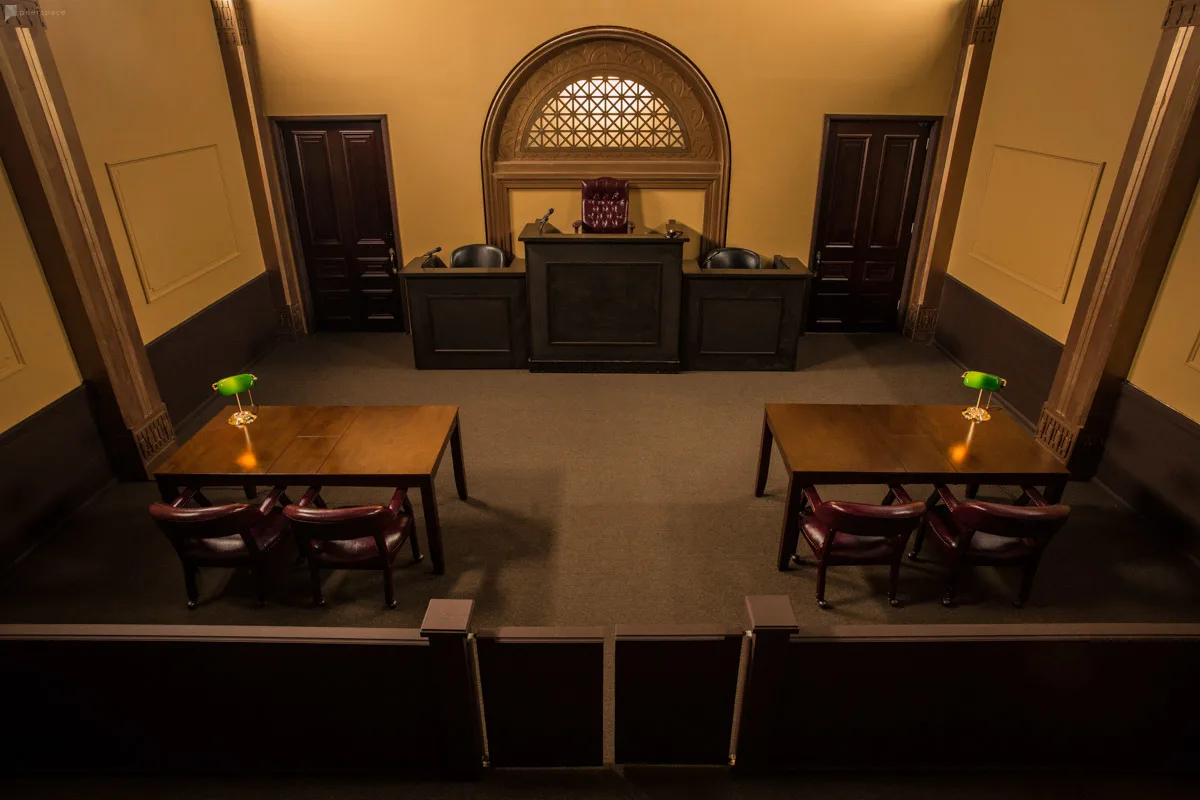
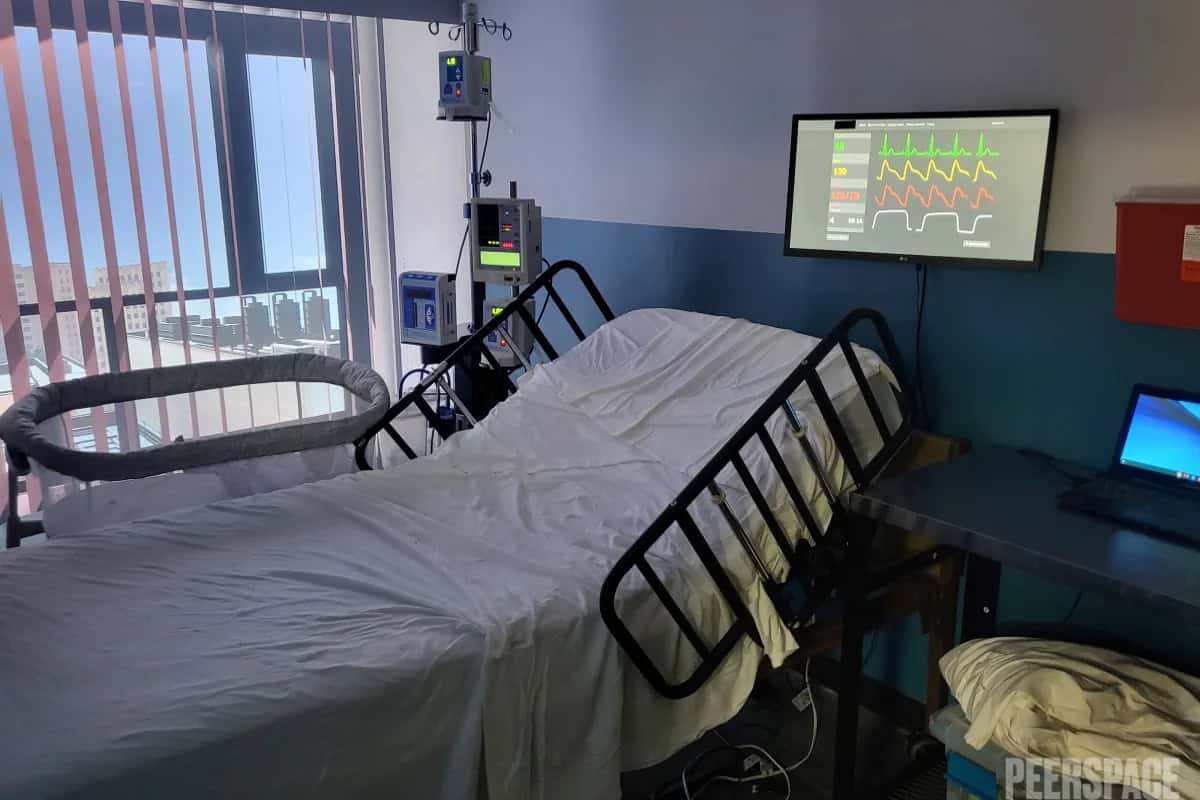
Find unique production venues on Peerspace
Get together somewhere better
Book thousands of unique spaces directly from local hosts.
Explore SpacesShare your space and start earning
Join thousands of hosts renting their space for meetings, events, and photo shoots.
List Your Space