7 Easy White Background Photography Tips (2025)
-
 Written by Peerspace Staff
Editorial Team
- June 13, 2024
- 12 min read
- Photography

Source: Peerspace
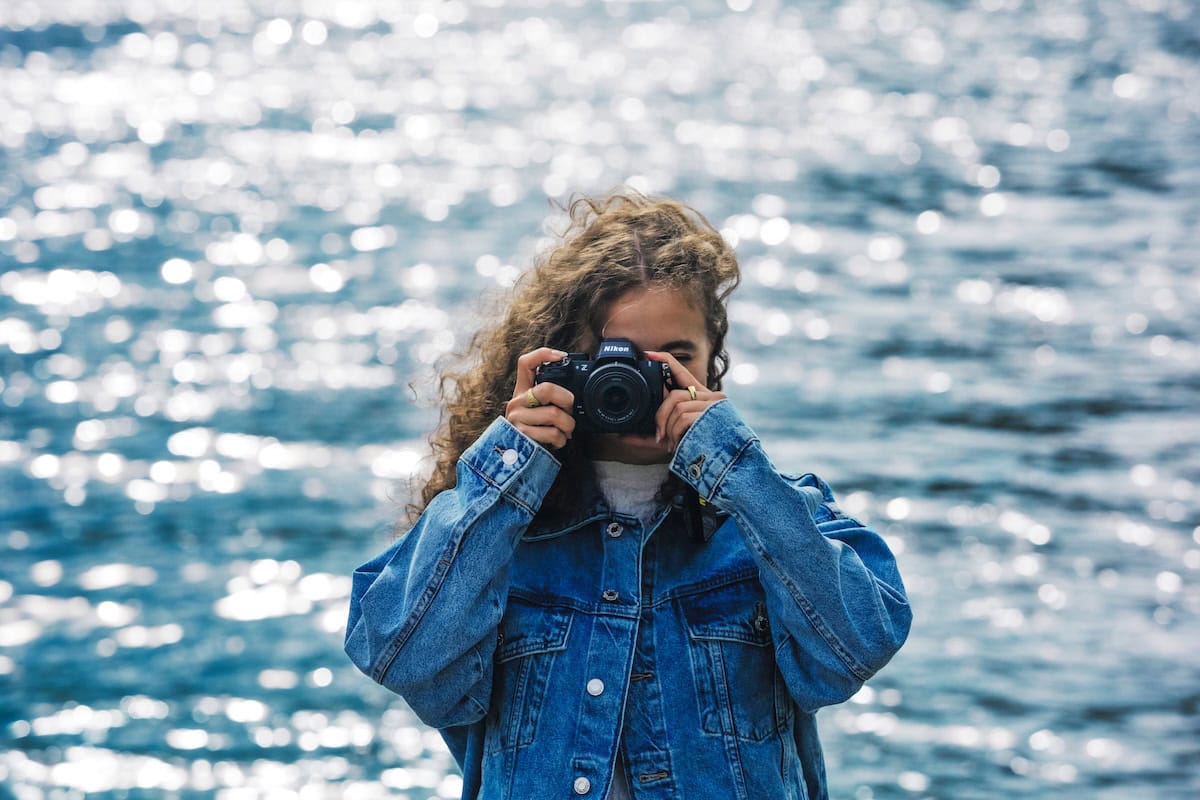
Interested in white background photography? Need a few pro tips to make yours pop? Then you’ve come to the right place! As the largest online marketplace for hourly venue rentals, Peerspace knows how crucial setting is when it comes to creativity.
In fact, we have hundreds of professional photography studios and incredible photogenic spaces in thousands of cities across the globe for your use. Ahead, we share seven tips to make your white background photos pop. Be sure to book a beautiful Peerspace venue after checking out these tips so you can put your new skills to the test!
After all, lighting a white background is one of the most important skills you can learn as a photographer. When you have a firm grasp on white background photography, you can take corporate portraits, product photography, and much more. You can even use a seamless backdrop to create the “infinite white background” effect, which is popular in movies and TV commercials. But if you don’t learn a few basic principles of white background photography, you could spend hours moving lights around trying to figure it out by trial and error.
But don’t fret! Here are seven easy tips to help you master white background photography when you’re on the go or in the studio.
1. Use a proper light meter to set up ideal lighting

With all of the built-in tools to adjust your focus and exposure, it’s tempting to put your camera on autopilot and let it do all the work. But a big part of photography is understanding how light falls on your subject in ways invisible to the naked eye.
When shooting white backgrounds, your background should be brighter than the subject of your photo by around two f-stops. This means you’ll need to use a light meter or the spot meter on your camera to measure both the amount of light falling on your subject and hitting the background.
So if your background is too well lit, your subject will be in silhouette. And if the subject is more brightly lit, then your background will appear gray or off-white.
Love the lighting set up at your place? Then check out these 11 creative at home photoshoot ideas to maximize your four walls!
2. Keep some distance between your subject and the backdrop

The biggest mistake that new photographers make when shooting on a white background is placing the subject right up against the backdrop. But it’s important to leave enough space between them so that you can light both the subject and backdrop separately. And about 10 feet is usually a good place to start.
If your backdrop is too close, then any light you aim at the backdrop will spill onto your subject as well. You may end up with a halo effect or an improperly backlit subject. Your subject will look “flat” due to the lack of contrast. Leave enough space between them, and you’ll be able to light them both separately. Instead, use flags and diffusion to direct and control the light.
Don’t miss our 13 inside photoshoot ideas that’ll pop on the ‘gram!
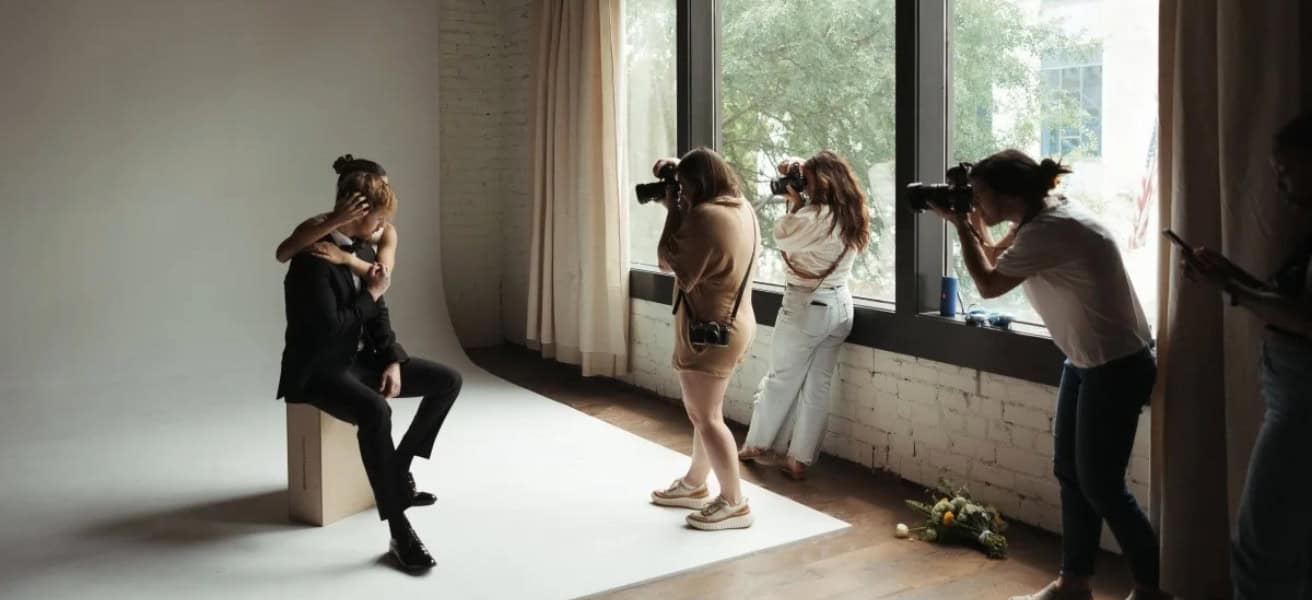
3. Use a seamless backdrop to remove unwanted shadows
If you’re shooting in a studio, then you may already have cloth or paper backdrops available. For example, many of the venues and studios available on Peerspace come with the option to rent photo and video equipment directly from your host.
Wondering what types of Peerspaces you can rent that already come with seamless backdrops? Then check out these studios:
- This indoor photo studio in Woodland Park, NY, with a seamless backdrop area with 12′ super white seamless paper included in the rental charge, as well as color backdrops for an extra charge
- This unique studio in East Atlanta, GA, with 7′ seamless backdrops in white, spice, and green screen colors housed within a spacious residential home
- This Create Within photography studio in Seattle, WA, with a variety of seamless backdrops included, as well as lighting equipment, a changing area, and Bluetooth speakers
- This multi-room content studio in Los Angeles, CA, with different colored seamless backdrops and several rooms for shooting unique content
Why are paper backdrops best for white background photography? While they’re heavier and easier to tear than muslin backdrops, they’re less likely to appear dirty or wrinkled. You don’t have to iron or steam them before your shoot. In addition, their uniform color means you can easily make adjustments in post-production.
Using a white backdrop in studio to mimic the outdoors in post? Then our 13 cute picnic photoshoot ideas can come in handy!
4. Create an “infinite” background

For headshots and close-ups, use small backdrop that fills the part of the background that will be in the frame. For full-body shots, you’ll need to extend your backdrop across the floor so that your subject is standing on it.
If that’s the case, you can use clamps and tape to hold the backdrop in place. Place a thin layer of plexiglass over the paper to prevent damage when your model stands on it. Plexiglass will also help you add a bit of depth to your image. While you want to avoid casting shadows on the backdrop, floor shadows can prevent your model from appearing to “float” in mid-air.
Discover the 12 business photoshoot ideas to elevate your professionalism today!
5. Make sure your background is lit evenly

Looking at the LCD screen on your camera is an unreliable way to tell if your image is under or overexposed. The best way to make sure that it’s evenly lit is to use the built-in histogram function on your camera. You can typically find it by pressing the “info” button, depending on which make and model of camera you have.
The histogram is a graph that shows the brightness of each pixel on a scale of zero to 255. For a well-exposed photograph, the values will peak in the middle of the range, with highlights showing up toward the right of the scale and shadows to the left. If all of your values are clustered to the right, then your image is overexposed; if they’re clustered to the left, it’s underexposed.
You can also use the zebra stripe function, which uses diagonal lines to show overexposed parts of a photo. It takes some practice, but once you know how to read it, you’ll be able to tell instantly whether you need to adjust the lighting or exposure for any given shot.
Shooting in NYC? Then check out these 12 studio photoshoot ideas in New York City to enhance your project
6. Make your own lightbox for product photography

If you’re doing product photography, then it doesn’t make sense to roll out an entire seamless backdrop to shoot a product that’s five inches tall. Creating your own mini-studio or DIY lightbox will allow you to properly light and expose your products.
The same principles that apply to full-size backdrops apply here. Instead of a roll of seamless white paper, you can use white poster board attached to the inside of a cardboard box. Use a small sheet of plexiglass as your surface to create those reflective floor shadows.
Here’s a step-by-step guide on how to make your very own lightbox. These are the materials you’ll need:
- A cardboard box (large enough for your desired size of lightbox)
- Tracing paper or vellum paper
- White tissue paper
- Ruler
- Pencil
- Box cutter or scissors
- Tape
- LED light strip or small desk lamp
First, choose a cardboard box that is the size you want for your lightbox. You can upcycle an old shipping box or purchase a new one from a store. Then use a ruler to measure and mark the sides of the box where you want to cut out windows. You can have windows on multiple sides depending on your design preference.
Carefully use a box cutter or scissors to cut out the windows on the marked sides of the box. Make sure to be precise with your cuts for clean edges. Cut pieces of tracing paper or vellum paper to fit over the windows on each side of the box. Secure the paper in place using tape on the inside of the box.
Next, cut pieces of white tissue paper to cover the inside walls of the box. This will help diffuse the light and create a softer glow inside the lightbox. Place your LED light strip inside the box or position a small desk lamp outside one of the windows to illuminate the inside of the lightbox.
Experiment with different objects, shapes, and colors to place inside the lightbox for creative effects. You can use paper cutouts, translucent objects, or even small plants to create interesting compositions.
And with that, your DIY lightbox is now ready to use! Play around with different lighting angles and objects to create unique and captivating scenes inside your handmade lightbox. Enjoy exploring your creativity through this simple and affordable project.
7. Shoot outdoors to take advantage of natural light

You don’t need to shoot in a studio to achieve a white background effect, but shooting with natural light can definitely add complications to your setup. Since the sun can be a lot stronger than studio lights, having flags and reflectors on hand will give you control over how much light is falling on your subject and backdrop.
For outdoor shoots, it helps to have an assistant to make adjustments as your lighting conditions change. Stationary flags and diffusion simply won’t work if the light is changing too quickly. Try to shoot in the shade or on an overcast day to avoid overexposure.
In the DFW? Then you need to check out these 11 gorgeous outdoor photoshoot locations in Dallas!
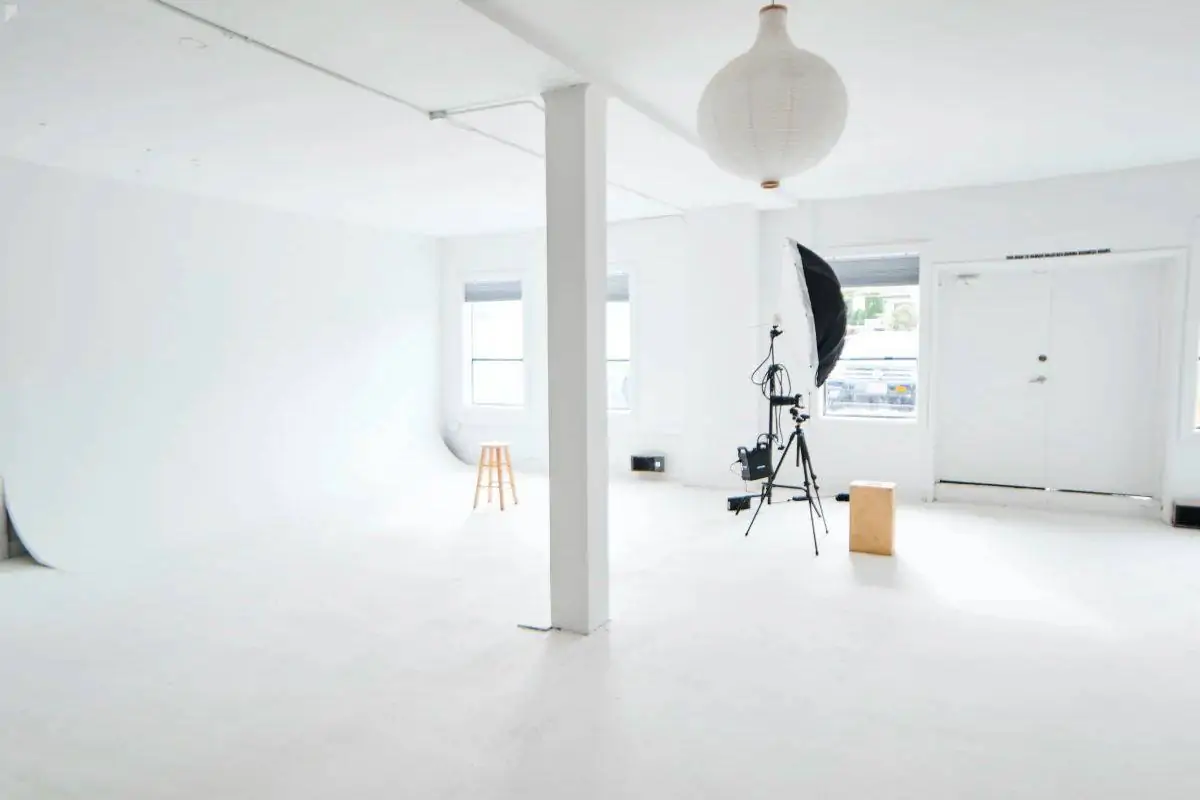
Bonus: Make use of a cyc wall

A cyc wall, short for cyclorama, is an all-white backdrop with smoothed edges that lets you create a look of infinite space. Using a cyc wall as your white background allows you to open up a whole world of creative possibilities.
And luckily, when you use a platform like Peerspace, you can easily find a studio space with a cyc wall. Simply visit Peerspace.com, enter your city, and see what spaces pop up! Refine your search by clicking “More filters,” and then click “cyclorama” under Production Equipment. Each listing in your chosen location that has its own cyclorama will appear.
Browse the listings and examine the space’s high-def photos, description, pricing, and user reviews to decide if it’s perfect for your project.
Need help getting started? Then check out these cyc wall studios that you can book today on Peerspace:
- This cyc wall in a warehouse studio in Los Angeles, CA, measures 30’ by 30’ and allows for endless creative opportunities
- This spacious studio with cyclorama wall in Seattle, WA, is ideal for wide or multi-angle shots on a white background
- This unique and versatile cyc wall studio in Toronto, Ontario, Canada, odders a 10′ x 12′ cyc wall and a variety of other backdrops and props
- This all-white photo studio with a cyc in Lower Manhattan, NY, has an L-shaped cyclorama and ample natural light tucked away in a cool loft space
- This multipurpose production studio in Atlanta, GA, boasts a 12′ x 12′ pre-lit cyc in addition to a centerstage skylight and floor-to-ceiling windows
This is only a small sample of the types of spaces you can book on Peerspace to create your white background photography projects. Before you know it, you’ll have access to a super cool studio with professional equipment and a portfolio filled with stunning white background photography.
Be sure to check out our photography resources for even more ways to further hone your craft.
Shoot white background photography in a pro studio

Finding a white background to practice your white background photography is easy. But finding a photo studio that sparks your creativity is a whole other story.
Luckily, that’s where Peerspace comes in! There may be a lot of factors to keep in mind when shooting white background photography. But with a little practice, it will become second nature to you. White backgrounds are portable and versatile, as well as easy to work with in post-production. You can use them for product photography, portraits, and more.
Why not rent a fully equipped studio on Peerspace and give it a try today? We have thousands of studios in cities across North America and beyond. Many include white backdrops and all the lighting equipment and props you could possibly need.
We’ve included spaces available for you to rent on Peerspace throughout the article to show you what could very well be your next shooting space. Professional photographers just like yourself typically own these spaces. Plus, these hosts will let you know what precise equipment is available with your booking and what else may be added on for an additional charge, such as pro lighting gear.
And if you own a professional studio and would like to share it with the world, why not become a Peerspace host? You’ll earn money, meet other creatives, and provide a space for new images to come to life.
Find unique photoshoot locations on Peerspace
Get together somewhere better
Book thousands of unique spaces directly from local hosts.
Explore SpacesShare your space and start earning
Join thousands of hosts renting their space for meetings, events, and photo shoots.
List Your Space