Focal Point Photography: What to Know & How to Nail It
-

Editorial Team
- May 11, 2024
- 10 min read
- Photography

Source: Unsplash
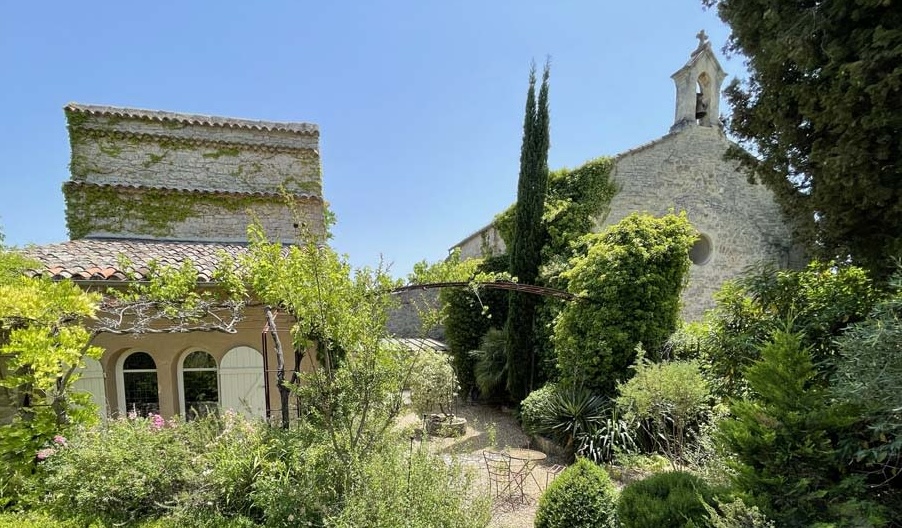
Photoshoot locations on Peerspace typically cost $60 — $220 per hour.
See unique photoshoot locations- What is focal point photography?
- How color helps define focal point photography
- The role of depth of field in focal point photography
- Composition in focal point photography
- Framing techniques that help your focal point photography
- How lighting affects your focal point photography
- How to find focal points
- Where can I practice focal point photography?
Curious about the art of focal point photography? In photography and fine art, the focal point of your image is the main point of interest. It’s the spot that catches your eye. When you look through your camera, the focal point is you asking the question, “What am I taking a picture of?”
As the largest online marketplace for hourly venue rentals, we at Peerspace have had the pleasure of seeing lots and lots of photography. Along with sharing some expert tips and tricks with you to hone your craft, we can also connect you with special spaces that bring your creativity to life. Use our platform to discover and book photoshoot locations in cities across the globe, spaces that help you achieve your goals.
As you may know, defining a clear focal point in your photography will help you tell a story and result in more engaging images. Following these tips and tricks, you will see what makes focal point photography so inviting. Plus, you will also learn how to master it in your work.
What is focal point photography?

Whenever you look at an image, be it a photograph or a work of art, you inherently want to know why the artist chose to convey this picture. For example, if you are looking at a photograph of a woman, many stories can be told. Each story depends on the image’s focal point. When you focus on her necklace, hands, and hair, the image’s narrative changes. And that is why focal point photography is such a favored medium.
Typically, a strong contrast in the scene conveys an image’s focal point. There are lots of ways to accomplish this, including but not limited to: color, depth of field, composition, framing, and lighting.
Let’s look at each of these in more depth:
- Color: Contrasting colors can set your subject apart from the rest of the image.
- Depth of field: Photographing your subject with a shallow depth of field will eliminate confusing visual clutter. It also makes your subject more pronounced.
- Composition: Position your subject closer to the camera or along the grid lines of the Rule of Thirds. You can also include other elements in the photo to highlight your subject. This will tell the viewer what is most important visually.
- Framing: By cropping in on an image, or changing the camera position, you allow your subject to become the focal point.
- Lighting: Similar to color contrast, having a sharp differentiation in lighting in your photograph will immediately draw the eye to your subject.
Further reading: what is micro photography and how to nail it
How color helps define focal point photography

One of the best ways to use color in your focal point photography is to find extreme contrasts. For instance, a brightly-colored artistic mural set against a single-colored wall. Each color itself has a contrast on the color wheel, and incorporating this into your photography will also help define a clearer focal point.
Since purple and green are opposites on the color wheel, photographing a purple flower against a sea of green grass will immediately draw the eye toward the purple flower.
Hoping to try milk bath photography? These are the tips and tricks you need to know to master it.
The role of depth of field in focal point photography

Shooting at a narrow depth of field will naturally add contrast in your photography between the subject and the background. When you shoot at a higher f-stop, you get a wider depth of field. This in turn puts everything in focus: statues, buildings, sky, and pedestrians in the foreground.
However, when you shoot at a lower f-stop, it gives you a more narrow depth of field. This allows you to control exactly what will be in focus within the image. By removing the rest of the visual clutter, the eye naturally focuses on the subject and creates a more dynamic photo.

Composition in focal point photography

An image can contain more than one focal point. And in this case, you can use the composition of the elements within the image to tell the viewer where to look.
You can do so with the use of leading lines to guide the viewer’s eye towards the focal point. Alternatively, you can arrange objects so that they point to, encircle, or otherwise nod towards the subject.
Try setting one object apart from the rest and letting the contrasting space between the subject and the other objects guide the conversation toward the solo object.
Texture is another crucial factor to convey in your photography. Learn how to nail it here!
Framing techniques that help your focal point photography

Related to composition, framing the image is the moment you look at it and decide where to draw the lines. Using framing techniques like the Rule of Thirds will help you craft a compelling image just by placing the subject in the right area of the image.
When you use the Rule of Thirds, divide the image evenly into thirds horizontally and vertically. The spots where the lines intersect are the most visually important to your image. Placing your subject in one of these areas makes it feel the most meaningful.
Of course, placing your subject directly in the center of the frame will also indicate a clear point of focus, and is great for portraits. But to create a more advanced photograph, the Rule of Thirds sets you up for greater creative success.
Another easy trick for enhancing your vocal point is to physically move the object closer to your camera. Doing so allows it to appear larger in the image, which also tells the viewer that this is what they should look at.
Here’s everything you need to know about collapsible backgrounds for your tool kit!
How lighting affects your focal point photography

By allowing your subject to be the brightest spot in the frame, lighting tells the viewer it’s important. You can manipulate lighting to your heart’s content in a studio, but we can also use lighting as a tool when photographing on the street.
Look for opportunities such as through a window to get the naturally darker frame around the image, directing attention towards the couple passing outside the window. Experimenting this way will soon have you noticing interesting imagery all around you.
Hoping to shoot outdoors? Then our beach photography guide can help you get started!
How to find focal points

Incorporating focal points into your photography is a great way to produce more interesting and engaging content. But if you don’t know where to start, we have some pointers there, too. Let’s take a look at some common subject matters that can easily be incorporated into focal point photography.
Isolated items
Like color and lighting, another great way to bring contrast into your photo is by finding objects in isolation. This can be anything that stands out in a scene, such as a single slice of birthday cake leftover after a child’s messy and exuberant birthday party or a solitary tree growing in the middle of a cornfield.
The contrast between nothing and something immediately gives your subject priority and gives you a strong example of focal point photography.
People and the human element
Incorporating the human form into your photography is a great way to set the tone. It also gives your viewer something to focus on.
When shooting out in a city, you might like the exterior of a building but find that it looks a bit motionless and uninspired in picture form. If you photograph that same building with a little girl walking past holding a red balloon, suddenly the image has a much more concrete focal point and gives us something to take interest in.
The human element is another way to add a focal point to your image. A pair of sneakers hanging over a telephone line, an old bike forgotten by its owners and slowly being swallowed by vines, or even just footprints on the beach will immediately give your photograph clear direction.
Unique features
Like an object in isolation, an object out of place with the rest of its surroundings can immediately create a compelling photograph. Take, for example, a scene of smartly dressed business people walking briskly to work with their briefcases in hand. In the middle of all of this stands a clown — this contrast creates an interesting photograph with a clear focal point.
Learn what a protection lens filter is and how to use it here!
Where can I practice focal point photography?

Now you know the importance of focal point photography and its elements, you probably want to get some practice in. We have some ideas on where you can do that successfully, too. Put your newly acquired knowledge to work at a Peerspace venue!
As we mentioned, Peerspace is the largest online marketplace for hourly venue rentals, so you can rent professional photography studios and otherwise photographic spaces in cities across the globe using our platform. From maximalist jungle penthouses in Los Angeles, CA filled with an array of colorful bric-a-brac to minimalist modern daylight photo studios in Washington, D.C., and everything in between, Peerspace can help you book it.
All you have to do is click the link, enter your location, click search, and see what pops up. Every venue has its own dedicated listing, complete with high-def photos of the space, a detailed description, upfront pricing, and reviews from past renters.
Many photo studios on Peerspace are owned by professional photographers who fill their spaces with incredible props and gear rentals, enhancing your experience exponentially. It’s a simple (and super fun!) way to discover new creative outlets, no matter where you’re located.
Focal point photography: conclusion

Incorporating focal points into your photography will give your work a greater sense of purpose and direction. When a viewer looks at a photo, they want to know why the photo was created, and what they should be getting out of the experience of viewing it.
Photographers use these elements of composition, lighting, color, and contrast to make the subject as clear as possible. So what are you waiting for? Grab your camera, book a photoshoot location on Peerspace, and start practicing focal point photography today!
Find unique photoshoot locations on Peerspace
Get together somewhere better
Book thousands of unique spaces directly from local hosts.
Explore SpacesShare your space and start earning
Join thousands of hosts renting their space for meetings, events, and photo shoots.
List Your Space