7 Simple Steps For Cinematic Interview Lighting
-

Editorial Team
- May 28, 2024
- 10 min read
- Filmmaking

Source: Peerspace
Production locations on Peerspace typically cost $40 — $120 per hour.
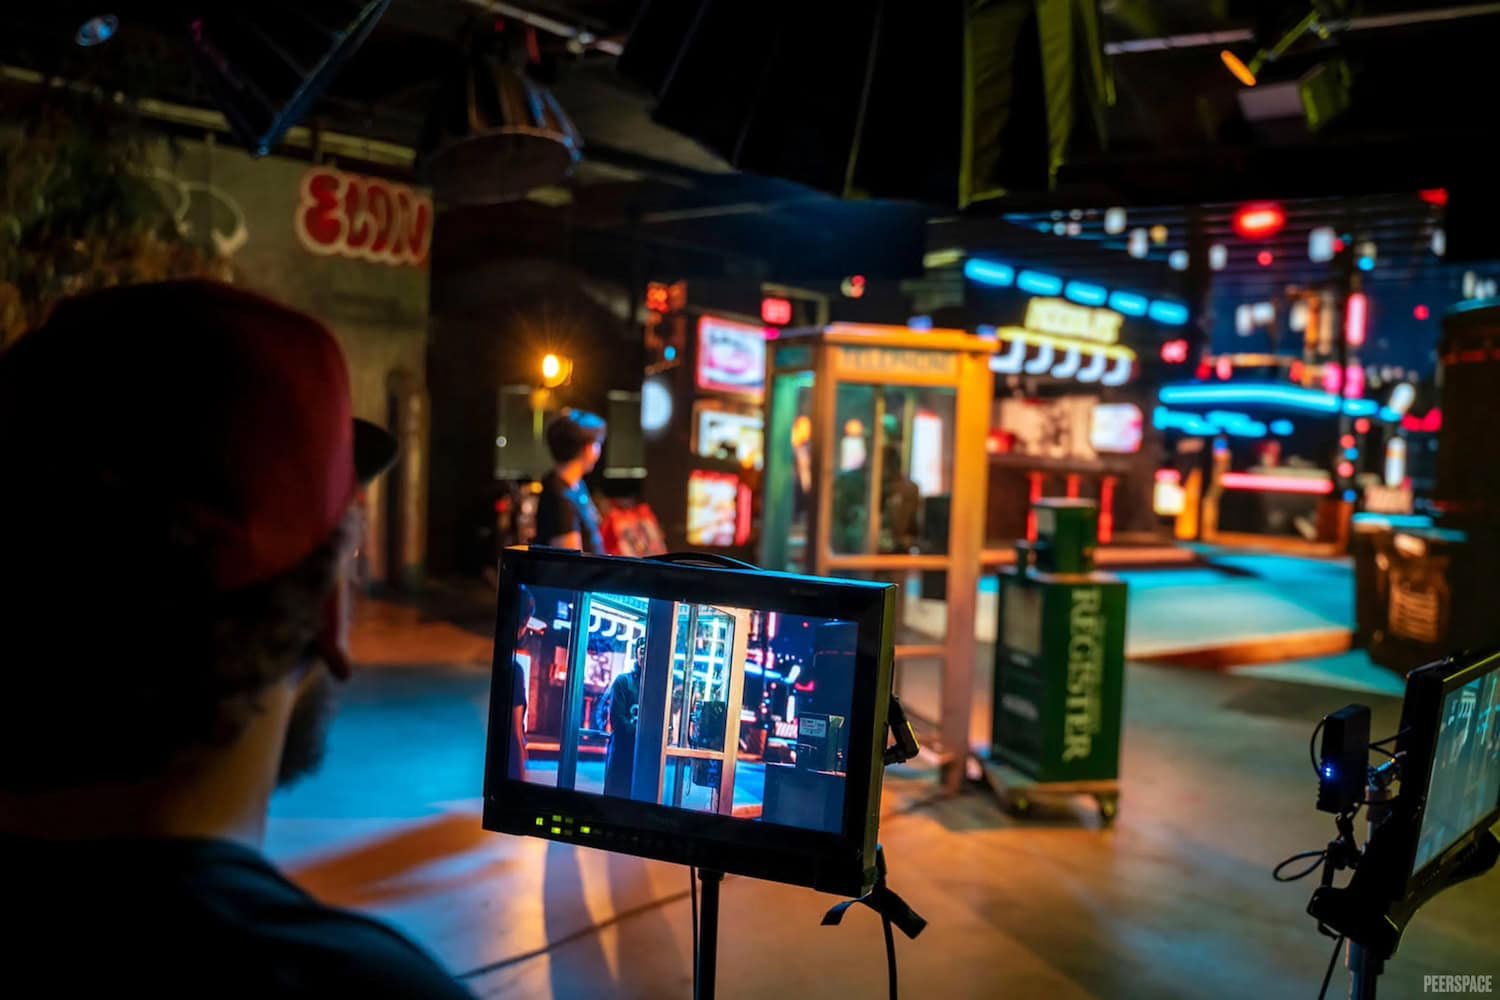
See unique production venuesInterview lighting can be extremely challenging for a lot of new videographers, documentarians, and filmmakers for many reasons. Every interview will present its own challenges based on the equipment available, the environment you’re shooting in, and the people who will be on camera.
Let these simple steps for cinematic interview lighting serve as a guide that you can reference at any time for most lighting situations, and use the rule of thumb below as a starting point for every setup.
And if you’re looking for the perfect venue to shoot an interview, Peerspace has you covered there, too. After all, we are the world’s largest event venue marketplace with hundreds of listings across thousands of global cities. Whether you’re looking for a mansion, a studio, a yurt, or a rooftop, it’s available to rent on Peerspace!
Now, back to the topic at hand: interview lighting.
1. Start by setting your key light

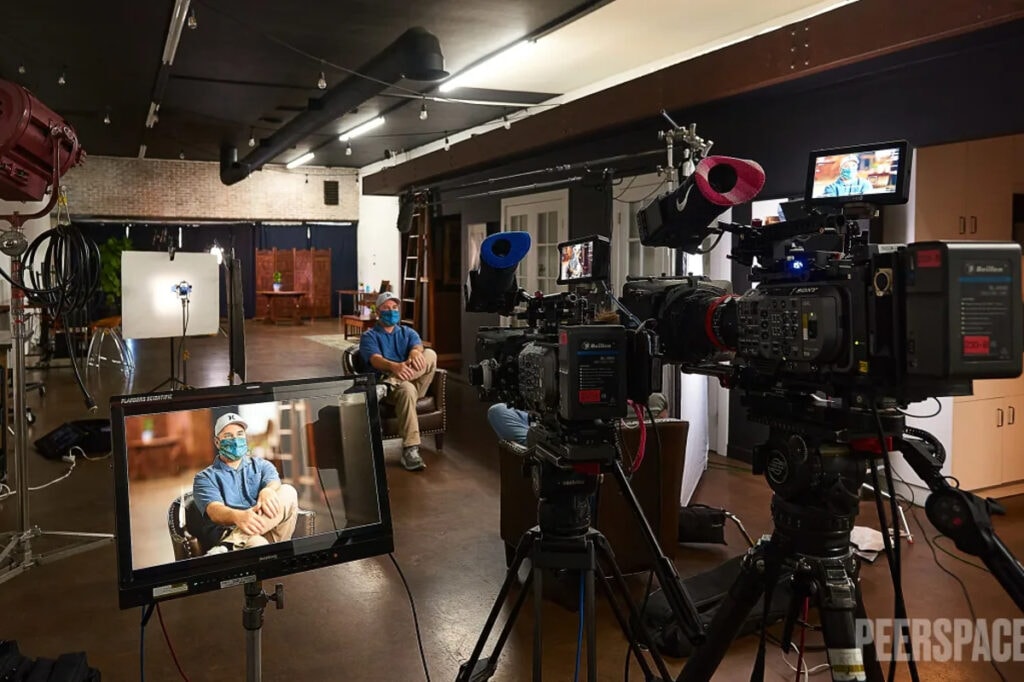
For every interview you produce, you will have at least one light source, one interviewee, one interviewer, and one camera. With these four elements in mind, here is the most basic rule of thumb for light and camera placement. Always place your interviewer between your key light and the camera.
Here is the rule, broken down into three simple steps:
- Sit directly in front of your subject, and conduct the interview talking directly with each other.
- Set the camera at eye level height, to the left or the right of the person conducting the interview, as close to the eye line as possible. As a guide, try to keep the camera between 6” and 2’ to the left or the right of the interviewer. To achieve this more easily, you can use a telephoto lens (85mm or longer for Full Frame Cameras). Shoot over the shoulder of the interviewer from behind, still 6” to 2’ from the established eye line.
- Use as big and soft of a light source as possible, and place it on the opposite side of the interviewer.
If you follow this rule of thumb as the starting point of every interview lighting setup, you will always have beautiful, flattering light on your subject. From here, you can go deeper into the rest of this article to craft an image painted with light worthy of the big screen.
2. Set the right color temperature for interview lighting

When setting up your interview lighting, color temperature is a huge consideration. It ensures that you capture accurate color on your subject.
Cold temperature also allows your interview lighting to complement the ambient lighting of your environment.
You must pay attention to both the color temperature of your light source, the color temperature of the ambient light, and the white balance on your camera to capture colors the way you intend.
Memorize the following color temperatures to set up the perfect interview lighting:
- Daylight shines at 3200 Kelvin, which means the camera must be set to 5600 Kelvin to read colors correctly.
- Tungsten light bulbs (the warmest of common light bulb temperatures) shine at 5600 Kelvin, which means the camera must be set to 3200 Kelvin to read it properly.
Follow these two color temperatures each time you set up interview lighting. That way, you can set your lights and camera correctly without the need to take measurements at each shoot.
What is tungsten light photography? Learn all about it here!
3. Adjust the indoor color balance

When filming indoors, it is often best to match your key light’s color temperature to the ambient light in the room. Once you do, set your camera’s white balance to the corresponding temperature to capture it accurately.
For example, if the ambient light in the room is coming from warm lamps and overhead lights, use a key light that is also tungsten balanced (very warm) and set your camera’s white balance to 3200 Kelvin.

4. And/or, set the color balance for outdoor interviews
When filming outdoors, the sun will always be the ambient light you have to work with. The sun is naturally very cool in temperature at 3200 Kelvin, and your camera’s white balance must be set to 5600 Kelvin for accurate color. If the sun is not your key light, your key light should be set to a cool temperature of 3200 Kelvin to match the sun.
One extra consideration when filming outdoors is what to do when filming in the shade. Shade is naturally even cooler temperature than sunlight and some of the coolest light you will encounter. If it is an overcast day, the ambient light can read 2000 Kelvin or even cooler.
If you are shooting in the shade without adding your own artificial light source, you will need to set your camera’s white balance to 7000 Kelvin as a starting point. You can also use a gray card for a more accurate white balance setting, especially in extreme cases like this.
Let’s say you are adding a key light on an overcast day or while working in a shaded environment. In these cases, it is best to use a daylight-balanced light source (3200 Kelvin). Then, set your camera’s white balance to 5600 Kelvin to read your subject’s color properly. The ambient light will naturally appear cooler, but you will notice how naturally appealing it is to see shade as cooler than your key light.
5. The key to creating contrasting color temperature

In some indoor interview lighting situations, there will be fluorescent bulbs creating the ambient light. Fluorescent bulbs fall somewhere in the middle reading at roughly 4000-4500 Kelvin and cast a bit of a green tint. This combination of reading level and tint makes them very hard to work with when setting up interview lighting.
When dealing with these odd-colored lights, it is best to turn them off, then re-light the scene with your own sources. If you can’t turn the lights off for one reason or another, you can use it to your advantage to create extra color contrast by mixing color temperatures.
To achieve aesthetically pleasing color contrast, always keep your subject’s light warmer than the ambient light, and set your white balance to accurately read your key light.
If you have extra time to experiment, intentionally mix color temperatures for deeper color contrast in your image. Setting your key light to be tungsten-balanced, but using a cooler daylight-balanced source for your environment is a great start. From there, you can experiment with what looks good to you.
Here are five easy portrait lighting setups. Learn ’em, use ’em, master ’em.
6. Additional light sources you may need to add
By now you have your key light set exactly to achieve beautiful light on your subject. You also matched your color temperatures in the camera with the temperature of your key source. Now, you can start adding other lights to further set the scene.
Rim light
A rim light or hair light is another source of light that can help separate your subject from the background. It does so by outlining your subject on the darker side of the face, where the camera is. This separation is important for cinematic quality, and fairly easy to achieve.
A good rule to follow is to place the light behind and above your subject, on the opposite side of your key light. As a final step, ensure that you cannot see the light in the frame before shooting.
Fill light
A fill light is meant to add light and expose details in the shadows of your image left by your key light. For example, if you start your interview lighting setup in a conference room and turn off the overhead lights. After adding your key light, you’ve likely created shadows on the wall, while the dark side of our subject’s face is very underexposed.
For fill light, you want a large, soft source. You’ll need to be able to dial in the brightness of that source exactly to expose your image properly. Dimmers are extremely helpful for fill lights to get exactly the exposure you’re looking for to achieve the contrast you’re aiming to see.
Fill lights can simply wash over your whole scene, or you can place them to specifically fill in the background, the dark side of the face, or correct specific shadows in the image. Just be creative, and keep your color temperatures matched.
7. Book an interview venue that has it all
Speaking of getting creative, remember that Peerspace is your destination for unique spaces that you can rent by the hour. And yes, this includes venues that offer professional lighting included with your rent that are perfect for holding an interview.
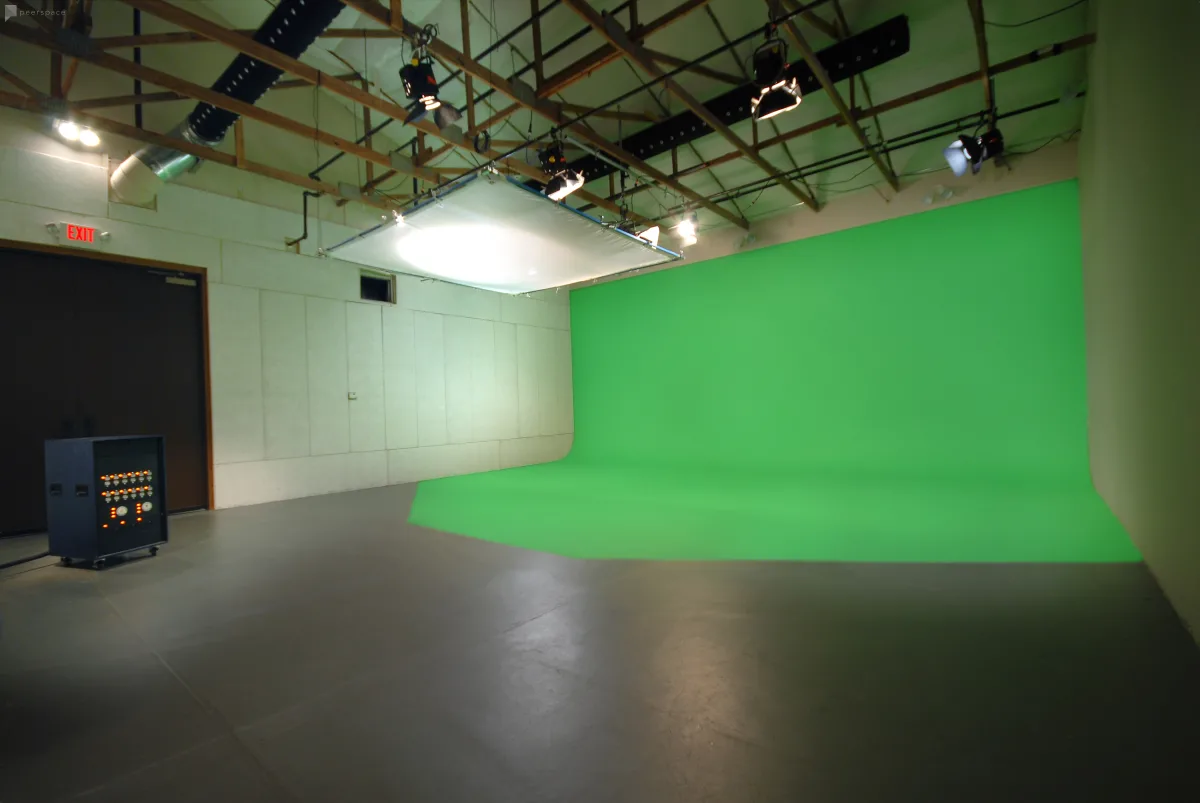
For instance, check out this documentary-style interviews film location in Burbank, CA. It’s a 1,900-square-foot studio with a flexible open floor plan, control over the lighting and sound, and backdrops, props, and furnishings to help you set your scene.
It also has hundreds of rave reviews on Peerspace from past renters! Like this one from a producer who filmed a production here: “Lovely space for a small documentary shoot! Would love to work with Brad again.”
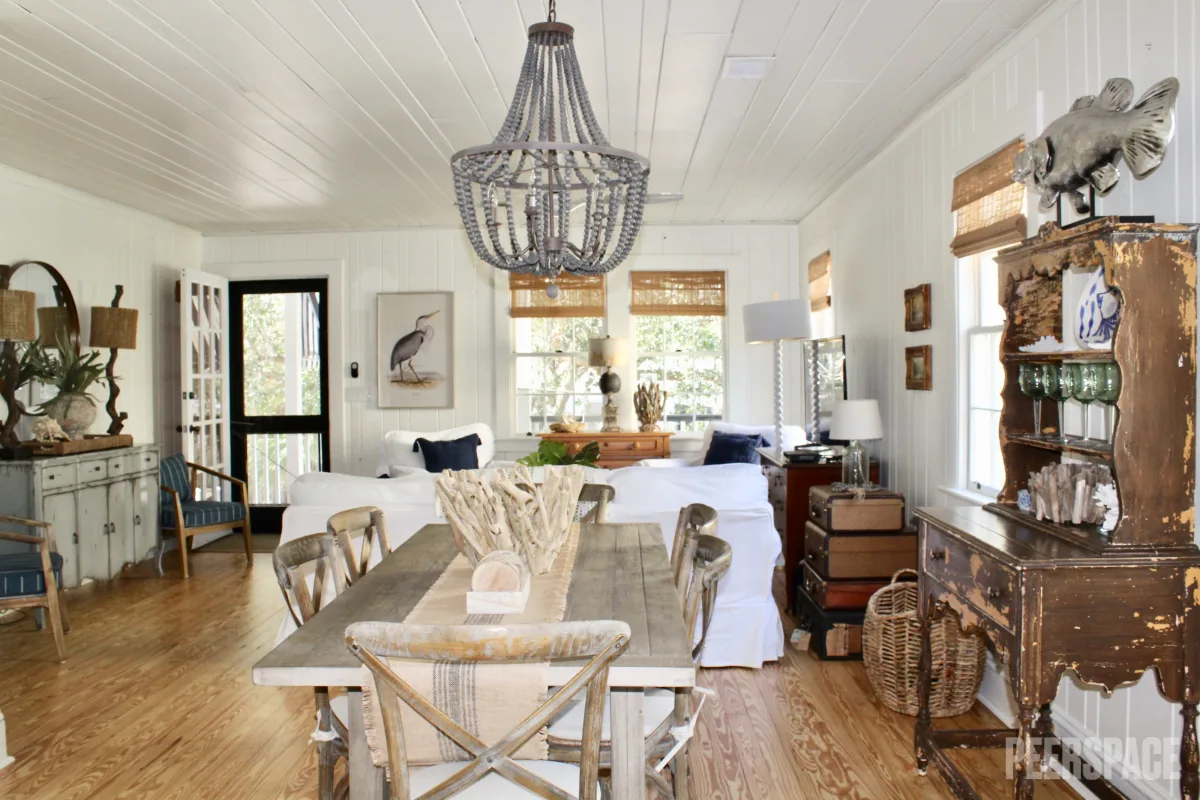
If you’re looking for a more homey feel for your interview shoot, then check out this cozy library with stained glass windows in Washington, D.C. It’s an elegant setting ideal for interviews with political or educational figures. The library boasts oak bookshelves, comfy seating, and both abundant natural light and decorative lighting.
Our friends in Texas should check out this video studio with provided props in Dallas. It’s a professional multimedia studio that has cameras and audio equipment connected to its control room, so you can easily manage your settings as you record. The host also provides several add-on services to enhance your booking if interested.
A musician who booked a shoot here shared the following Peerspace review: “These guys are always very accommodating and professional. Helped us through issues during our shoot and made the accommodations needed for my unique production. I’ll be back sooner than later.”
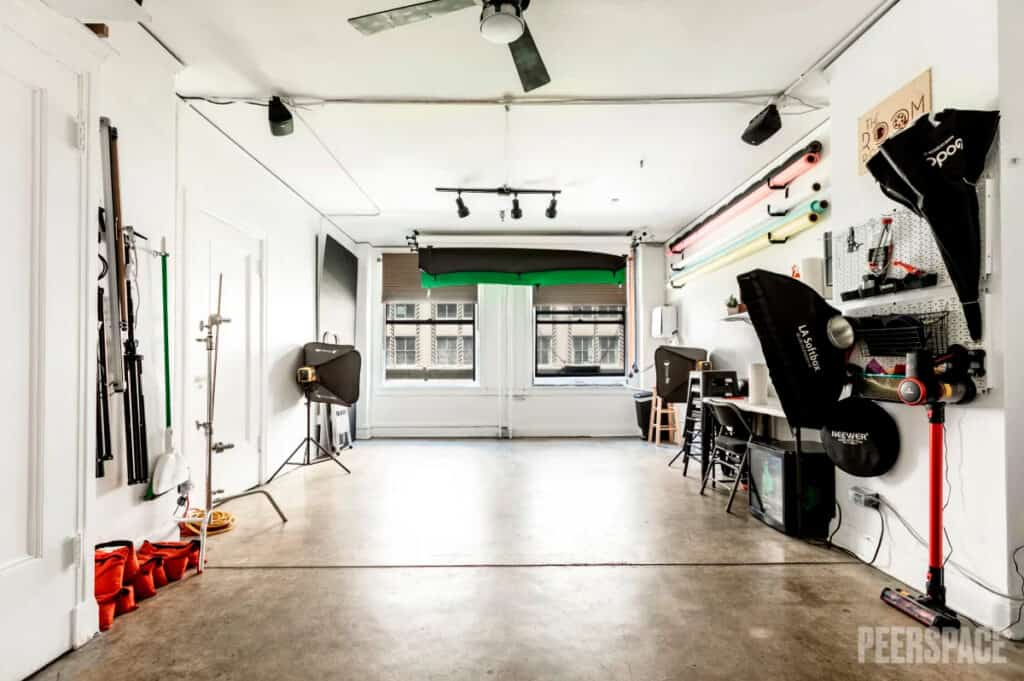
You can also host your interview at this professional photo studio in Los Angeles, CA. It’s a blank-slate space with both natural lighting and an array of professional lighting gear that will perfectly capture your subject.
Peerspace reviewers call it: “Perfect space for a small team” and “Small & professional space… Cold A/C and Mini Fridge was a nice touch.. Would 10/10 book again.” If it sounds ideal for the size and scope of your production, then check it out!
Interview lighting: a conclusion

Now that you have all you need to know about interview lighting, you can get out there and start setting up incredible shots. And remember, when you’re looking for new territories to practice your lighting methods or to conduct professional productions, book a production studio on Peerspace.
You’ll discover tons of rentable venues near you with all the amenities you need, from lighting and backdrops to props and views. And if your venue is short of anything, say additional A/V equipment or even catering, contact your venue’s local host. Your success is their success, and so they strive to assist you in any way you need. Using Peerspace may just be the easiest way to nail professional shoots time after time!
Find unique production venues on Peerspace
In this article
- 1. Start by setting your key light
- 2. Set the right color temperature for interview lighting
- Book the perfect film production space.
- 3. Adjust the indoor color balance
- 4. And/or, set the color balance for outdoor interviews
- 5. The key to creating contrasting color temperature
- Book the perfect film production space.
- 6. Additional light sources you may need to add
- 7. Book an interview venue that has it all
- Interview lighting: a conclusion
- Find unique production venues on Peerspace
Get together somewhere better
Book thousands of unique spaces directly from local hosts.
Explore SpacesShare your space and start earning
Join thousands of hosts renting their space for meetings, events, and photo shoots.
List Your Space