8 Tips on How to Shoot Video That Doesn’t Suck
-
 Written by Peerspace Staff
Editorial Team
- July 31, 2024
- 8 min read
- Filmmaking

Source: Pixabay
Answered
Production locations on Peerspace typically cost $60 — $220 per hour.
Wondering how to shoot video that doesn’t suck? If you’re new to the world of content creation, you may feel overwhelmed but all the information out there. But never you fear — here at Peerspace, we’ve boiled down the information you need to eight essential tips. This is how to shoot video that doesn’t suck, whether you’re shooting a music video, a corporate video, influencer content, or any other type of video.
1. Book the perfect video shoot location on Peerspace
Location is everything when it comes to a successful video shoot. You want a space that suits your creative vision, falls within your budget, and has the amenities you need on-site to shoot professional footage.
Luckily, this is Peerspace’s wheelhouse! As the largest online marketplace for hourly venue rentals, we make it easy to uncover and book amazing production spaces in cities across the globe. Use our platform to find video shoot locations near you that suit your needs, hosted by a dedicated local who welcomes your production.
Using Peerspace, you can book incredible shoot locations like:
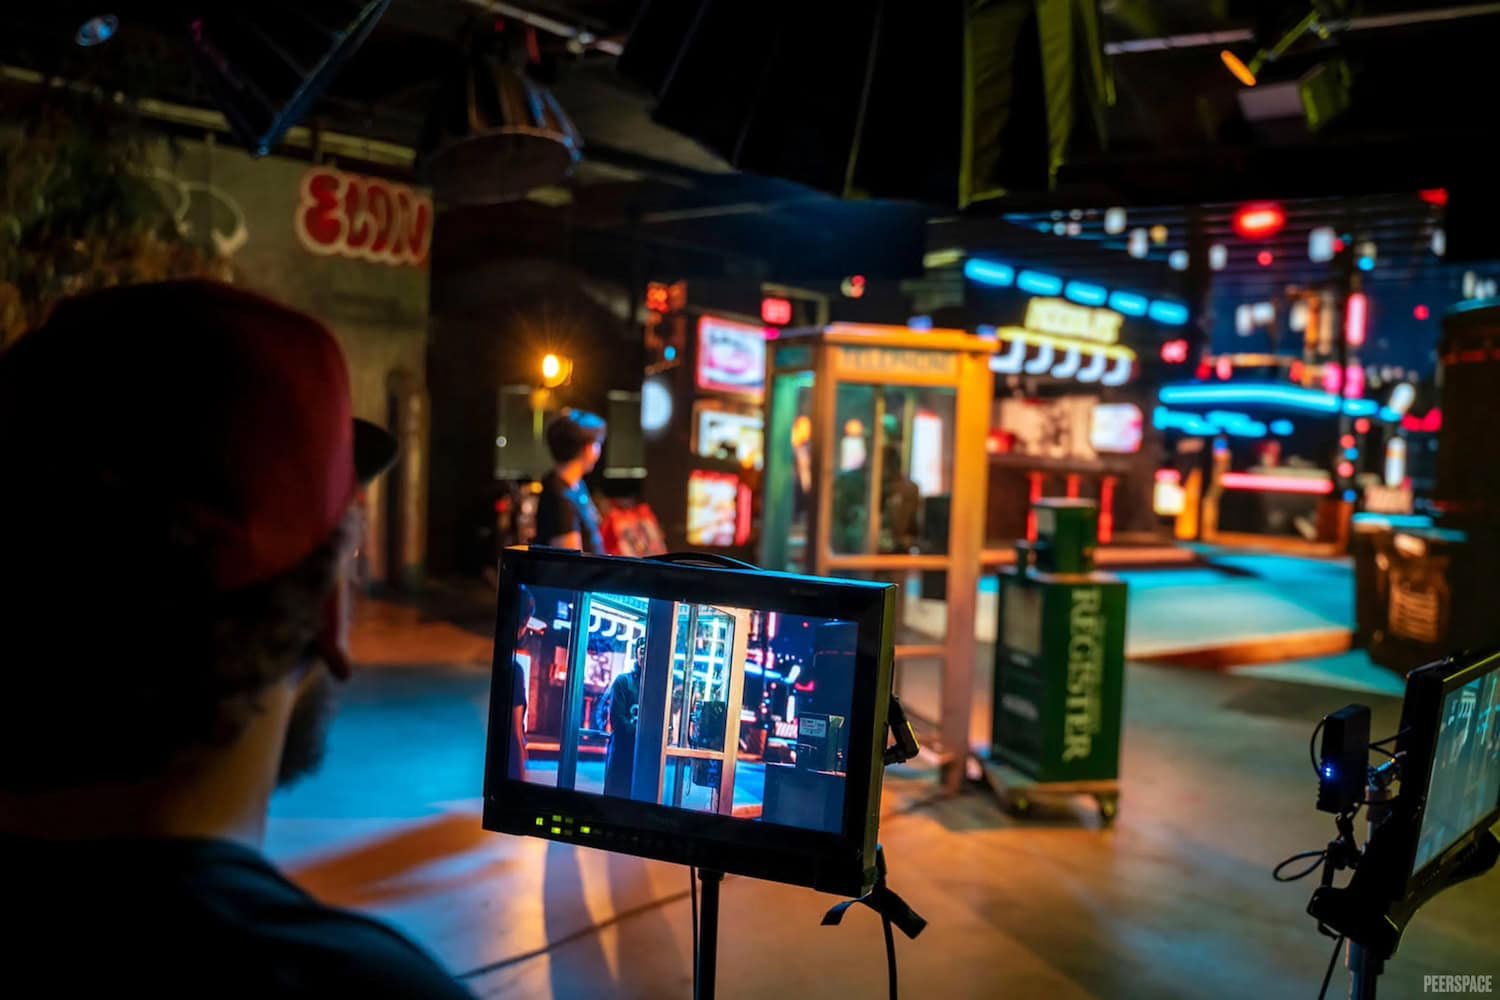
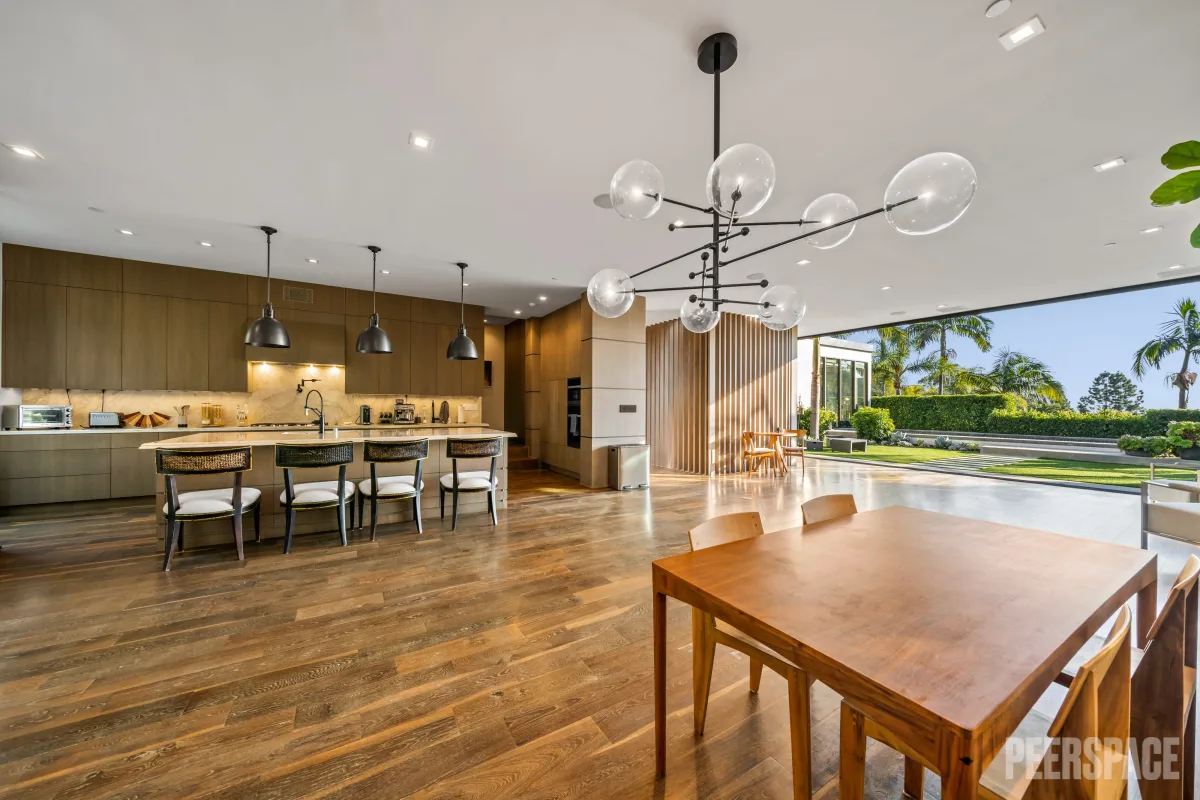
- Spectrum Studios in Chicago, IL (pictured above) with multiple sets included with your rental fee and professional gear as an optional add-on service.
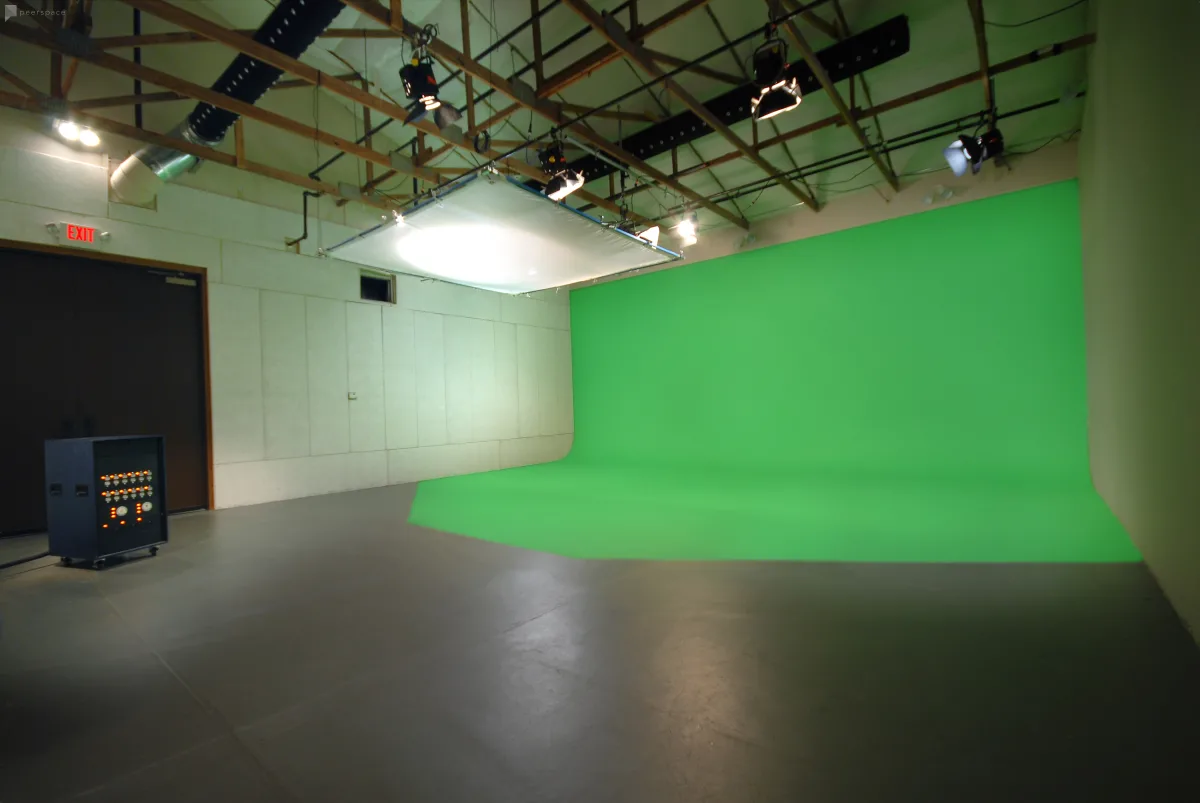
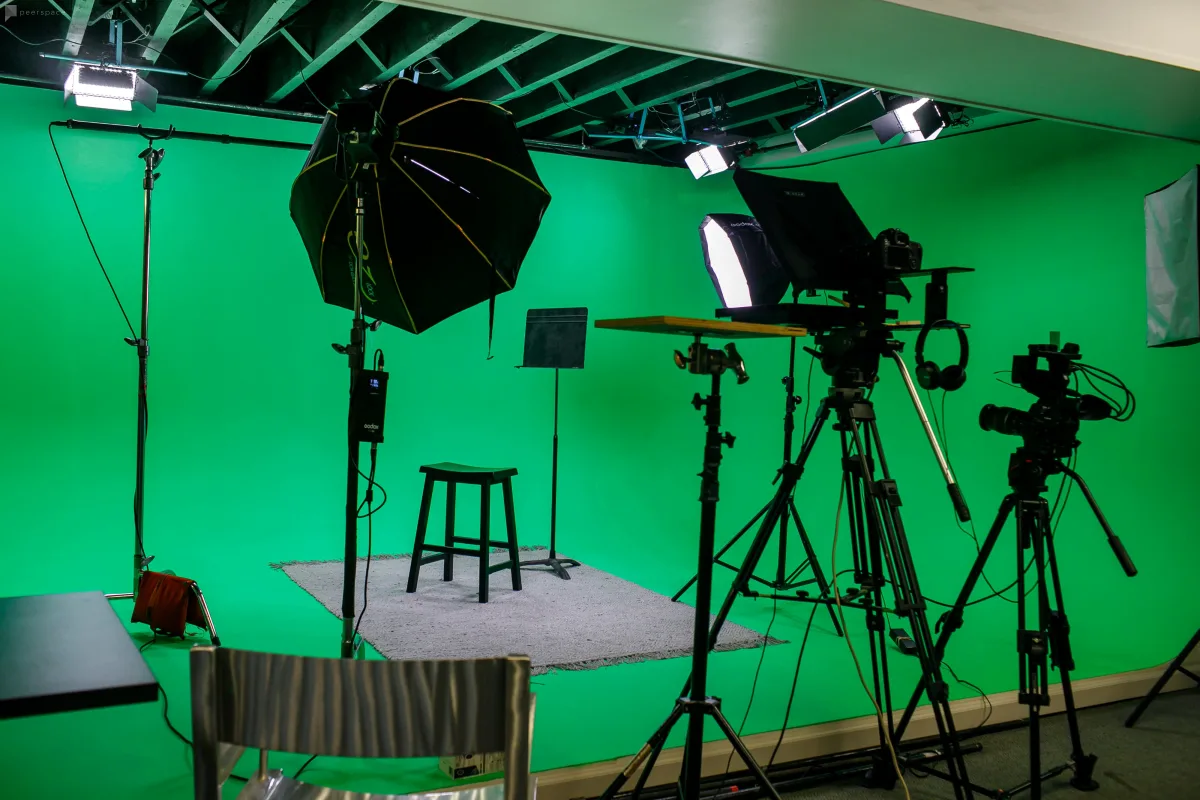
- This photography/videography rental space for professionals in Tampa, FL with 1,600 square feet of space, a 50′ corner cyc, and high-end lighting equipment at your disposal.
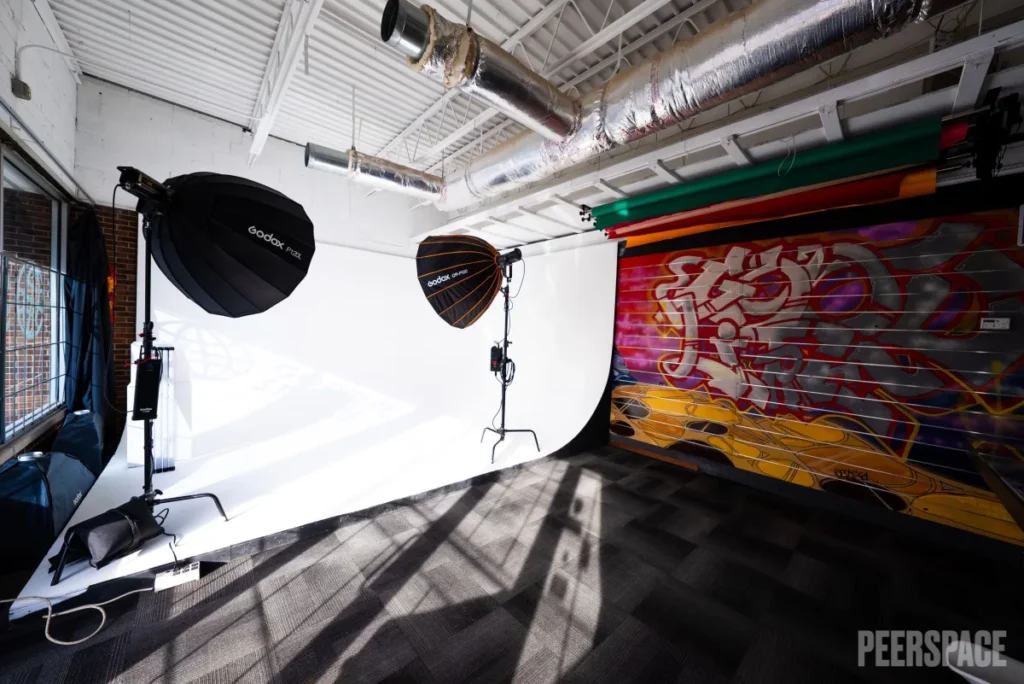
- This spacious studio with pre-rigged RGB LED lighting packages in Brooklyn, NY with 24/7 access, 2,500 square feet of space, a 900-square-foot cyc wall room, and more.
You get the idea! These are only a couple of examples of the types of well-equipped spaces that you can book through Peerspace that can help you turn your next video shoot into a masterpiece. Along with the rest of our tips on how to shoot video that doesn’t suck, of course…!
2. Create your shot list and shoot for the edit
Planning is the most important part to video production. You should have all of your creative production elements lined up and ready to go by the time you arrive on set. This includes having a detailed shot list. Shooting for the edit really means thinking about your final video while you’re on set. Sometimes you need to shoot out of order to capture all of your scenes. You should have a clear breakdown of all the elements that you need to capture on video before you arrive on set. Make sure to check off the shot list as you go through the day.
Planning a musive video shoot? Then you need to check out these cool music video ideas that will help up your creativity!
3. Record high-quality audio and check it throughout the day
One of the most important elements of a good video is high-quality audio. You can shoot amazing video, but if your audio is unprofessional, then the quality of the video will suffer greatly. Whether you are a one-person crew or larger production, be sure to check the audio throughout the day. Invest in audio equipment rentals or purchase your own audio package.
There is a variety of audio equipment options — even a budget audio package can make all the difference. This way, you can make sure that your subject can be heard clearly. Audio can be sweetened in post-production, but if the quality is low, there is very little you can do to improve upon it. Recording good audio is a critical part in how to shoot video that doesn’t suck.
4. Shoot lots of coverage from multiple angles

What do we mean when we talk about coverage? Getting good coverage really means making sure that you’ve shot your video from various angles and with multiple takes. This is so important. Your editor will rely on good coverage in post-production to assemble the edit. Even if you’re shooting with a single camera, you can still get great coverage by shooting various takes from multiple angles. It will take more time, but it will be worth it.
5. Compose your shots using the rule of thirds
Let’s talk a little bit about shot composition. Classic photography and film composition rules apply here. First, let’s talk about the rule of thirds. Ask yourself — where are my points of interest in this shot? The rule of thirds requires you to mentally break up your image into a grid.
The grid provides you with two horizontal lines and two vertical lines. Put the most important subjects of your scene along those lines or points where the lines meet. Like all rules, this is also meant to be broken, but it’s important to understand how to compose your shots before you take any real risks in your shot composition.
6. Stabilize your footage as you shoot

Stabilizing your footage is another important element of how to shoot video that doesn’t suck. While you can stabilize your footage in post-production, refer to tip No. 1 — shooting for the edit. Will you be using a tripod for the majority of your shots? If things are locked down, stability is less of an issue. If you are moving throughout your scenes (i.e., tracking your main subject, capturing B-roll or behind-the-scenes footage), you will need to think about stabilization in a different way.
There is an array of low-tech to high-tech options for video stabilization. A simple shoulder mount will help you shoot smooth video. A gimbal, which is essentially a robot with three small motors, works to stabilize your footage as you move. Gimbals allow the rotation of any object (in this case, your camera) on a single axis. So it is the gimbal that is controlling the movement, not you.
This level of stabilization takes video production to the next level. If you are shooting on a DSLR, you might want to consider renting a gimbal. There is even a variety of gimbals on the market now for mobile filmmakers.
Do you work with gamers and influencers? Then consider using these creative video ideas for YouTube on your next shoot.
7. Light your scenes and subjects

Think about how you want to light your scenes. Are you using high-key lighting? If you’re shooting interview subjects against a background in a controlled lighting situation, or out in the field, spend the time to test your lighting before you start shooting. Make sure that your shots are lit with a consistent look and feel so that the footage has a similar look once you get to the edit.
8. Check your exposure and white balance

Exposure and white balance are critical aspects of how to shoot video that doesn’t suck. Let’s start by talking a little bit about your exposure settings. Your exposure setting and your white balance are both very important, but your exposure setting refers to how much light is hitting your camera’s sensor. This will impact and ultimately determine how light or how dark your footage appears. It’s critical that your footage has consistent exposure throughout the shoot.
White balance is different, as it refers to how you control the overall color that is cast in your footage. You want to take the time to test your exposure settings, as well as set your white balance. Light comes in different temperatures and different colors. For example, candlelight is incredibly warm light, while natural daylight on a cloudy day will be much cooler. Your camera most likely has a variety of white balance settings.
Often, your camera’s auto white balance settings will do the trick, but the more control you have over your settings, the better. It is worth it to learn how your camera handles white balance. Also, invest in white balance cards. You can get a small wallet-size pack of grey and white balance cards for a few dollars online.
How to shoot video that doesn’t suck: conclusion
So there you have it – follow these eight tips and you will be on your way to mastering the art of how to shoot video that doesn’t suck! Start by booking a well-equipped and super stylish Peerspace video studio rental and you’ll be surprised to see how easy it is to pull off the rest of these tips as you create one killer video.
Find unique production venues on Peerspace
Get together somewhere better
Book thousands of unique spaces directly from local hosts.
Explore SpacesShare your space and start earning
Join thousands of hosts renting their space for meetings, events, and photo shoots.
List Your Space