Rembrandt Lighting: What It Is & How To Use It
-

Freelance Travel and Food Writer
- June 28, 2024
- 7 min read
- Photography

Source: Pixabay
Photoshoot locations on Peerspace typically cost $60 — $180 per hour.
See unique photoshoot locations- First of all, what is Rembrandt lighting?
- How and why filmmakers and photographers use Rembrandt lighting
- How to successfully execute the technique
- Where can I go to practice Rembrandt lighting?
It’s always a bright idea for creatives to learn versatile skills to accommodate an array of clients’ tastes. One of the more distinctive styles that photographers and cinematographers can easily master is Rembrandt lighting, named, of course, after the Dutch painter and his trademark style of portraiture effect. Rembrandt may well have been the original Thomas Kincaid, the other master of light.
Once you learn to recognize this technique, you’ll start to see it everywhere. It’s such a distinguishing look that can easily elevate your portfolio. It’s super simple to set up and doesn’t take too long to learn to get it just right. It requires only your typical studio gear yet creates an intense mood that can enhance various artistic and commercial projects.
While most of this article goes over the use of Rembrandt lighting in the context of studio photography, you can apply the info to moviemaking and stage lighting as well. As long as the setting is relatively dark and the background is kept simple, Rembrandt lighting will work out fab.
First of all, what is Rembrandt lighting?

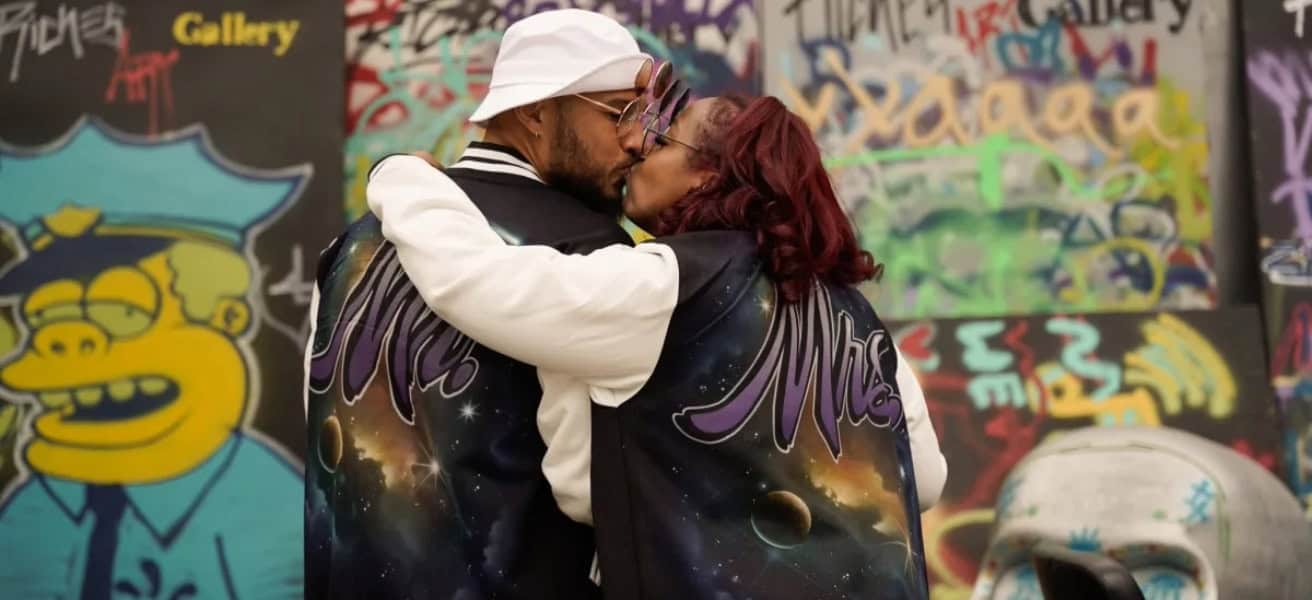
Rembrandt lighting is a romantic, dramatic effect most often used in portraiture. A small triangle of light is aimed directly below the subject’s eye, on the cheek. This triangle of light is a feature that many of Rembrandt’s portrait paintings have in common. Viewers don’t notice it unless they’re taught to look for it – but you know it when you see it.
Learn everything you need to know about shadow photography here to further enhance your portrait-taking skills.
How and why filmmakers and photographers use Rembrandt lighting

This technique is most often used to evoke a dramatic effect in low-key portraiture. While it’s straightforward, Rembrandt lighting can provide a simultaneously serious or intense and natural aesthetic.
The high contrast effect places an intense focus on the subject, which is almost always a person. And yet, it looks soft and approachable. It also creates a slimming illusion, elongating round faces (the principle works for makeup contouring as well).
It is an ideal lighting style for a noir-style film or photoshoot. In stage lighting, it’s perhaps best suited for a monologue or to dramatize documentaries that feature a lot of so-called talking heads. The light triangle adds suspense, mystery, and even a tinge of suspicion without advanced equipment.
Perhaps the most notable example of Rembrandt lighting in film is Cecil B. DeMille’s noir-style portraiture shots. In fact, it was DeMille who allegedly coined the name of the technique! Cinematographers have popularized the style, including Alejandro G. Iñárittu in his Oscar-winning “Birdman” of 2014. Check out this clip that shows how he used Rembrandt lighting to evoke some serious drama.

How to successfully execute the technique

According to an article on Photoblog.com, Rembrandt lighting involves three steps.
- Aim your key light from about five feet from the model and tilt it at a 45º angle. The light needs to hit just above or below the model’s head – usually about two feet above their eye. Adjust throughout the shoot as needed. Pro tip: in order to make micro-adjustments, it’s simpler to move the subject than it is to move the light.
- Place the projector opposite the light source, at about the same height.
- The photographer stands in front of the subject, between the light and the reflector. The model angles just a tiny bit toward the light.
Next, you shoot your photos. Especially when first learning the technique, start in a dark space – substantially more dark than you’d probably normally shoot. Make sure you don’t have much going on in the background. Clutter will only detract from the subject.
Watch this video by Jordan P. Anderson to learn how to apply the technique specifically to film.
Take your Rembrandt lighting game to the next level by:
- Adding secondary lights to differentiate the subject from the background and to fill in dark shadows
- Placing the subject by a bright or less-than-bright window (which tends to add more little triangles), and
- Asking the model to tilt into or away from the key light
Rembrandt lighting is great for portraits, such as those that may have a theme, like milk bath photography! Check out our guide to nail it.
Where can I go to practice Rembrandt lighting?
Photoblog.com notes that Rembrandt lighting is so easy to accomplish that the cameraperson needs exactly zero pieces of special gear to do it right. It requires only three elements: a reflector, a light source, and a model (or something at which to aim your camera).
But what if you’re still new to photography and don’t have these items on hand? No worries; that’s something else we at Peerspace can help you out with! As the largest online marketplace for hourly venue rentals, we make it easy to discover and book photoshoot locations across the globe.
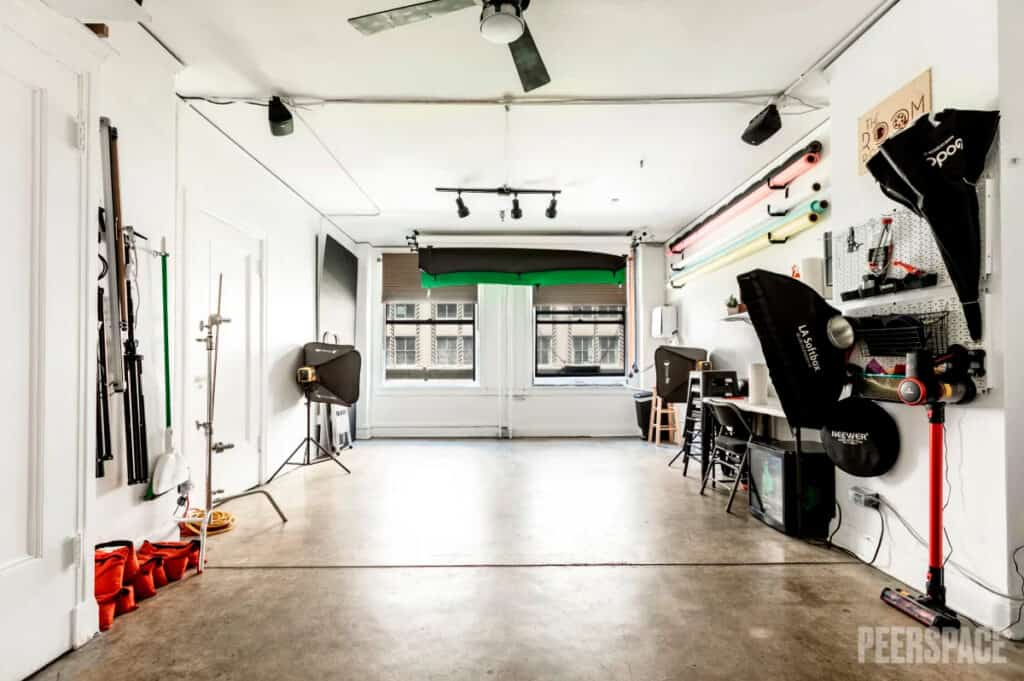
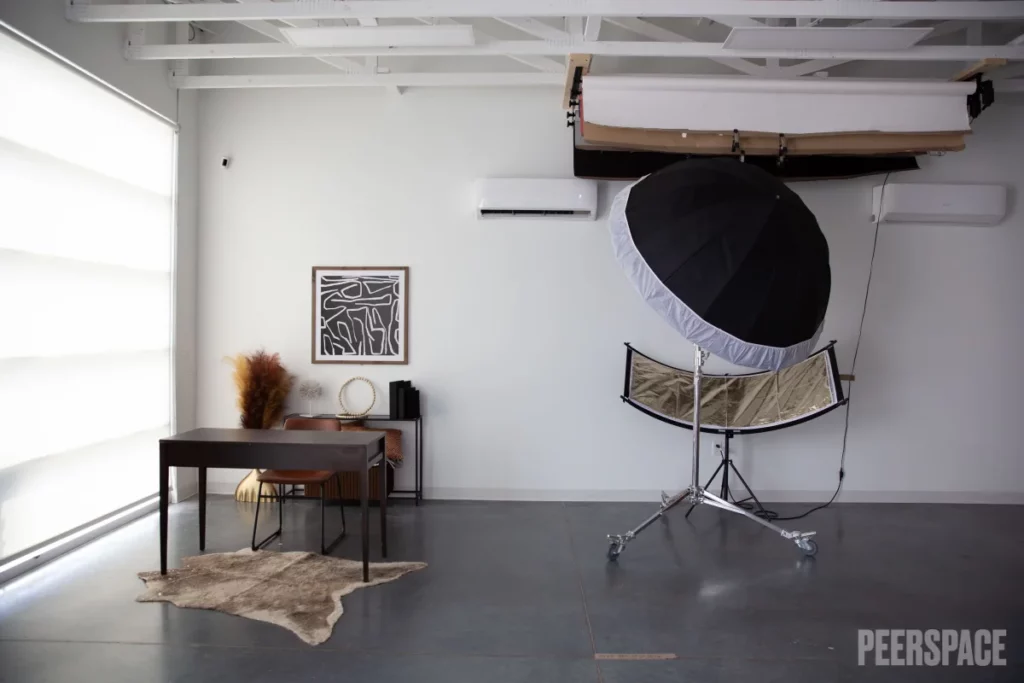
Want to see a few Peerspace venues that we think are ideal for mastering Rembrandt lighting? Here are some ideas:
- This professional photo studio with lighting gear included in Los Angeles, CA (pictured above).
- This studio space in midtown Oklahoma City, OK with backdrops, props, and lighting included.
- This film studio with stage lighting included in Tinton Falls, NJ.
- This photo studio with lighting gear included in Nashville, TN.
- The Library, a portrait, fashion, and film studio in Chicago, IL with equipment available.
- This large production studio in Lafayette Hill, PA for large-scale productions and add-on equipment.
- This luxury portrait studio in Southaven, MS with props and lighting equipment included.
- This downtown creative photo and video studio in Las Vegas, NV with gear available.
You get the idea! With Peerspace, it’s easy to discover your city’s best hidden gem spaces that provide you with the space and gear to get to work.
While all Peerspaces charge by the hour, you can easily find a venue that suits your budget. And because of its high-impact effect, adding Rembrandt lighting to your arsenal of creative abilities can translate into clients and referrals. Talk about a return on investment!
Rembrandt lighting: conclusion
By now, you know all about Rembrandt lighting and how to use it like a pro. We recommend you keep practicing this technique and others that you learn about in our photography resources blog pages to improve your craft or hobby.
And remember, when it comes to finding unique spaces ideal for trying out any of your favorite photography styles, rely on Peerspace. From fully-equipped photo studios and artistic lofts to serene gardens and neighborhood bars, we make it easy to find and book spaces that help you achieve your creative vision.
Find unique photoshoot locations on Peerspace
Get together somewhere better
Book thousands of unique spaces directly from local hosts.
Explore SpacesShare your space and start earning
Join thousands of hosts renting their space for meetings, events, and photo shoots.
List Your Space